SELFI3-D (Team 25)
Project Links:
Video Presentation: https://drive.google.com/file/d/1sy48BRhTGOZGALmXs6vqCy8FWG29Dy37/view?usp=sharing
Slides: https://docs.google.com/presentation/d/1zkYf_PaTcNOcJQ9zm6GEchQKSZcR_9UkQWpHz39Ku-E/edit?usp=sharing
GitHub Repository: https://github.com/mich889/SELFI3-D
Project Webpage: https://mich889.github.io/SELFI3-D/index.html
Abstract
SELFI3-D is a project focused on creating high-quality 3D face reconstructions from various views of a person, as well as applying custom texture mapping to the resulting geometry. Our goal is to develop a pipeline that can generate accurate 3D face models and enable creative applications on these models, such as virtual face tattoos.
Technical Approach
Our pipeline is broken down into a few key steps. Firstly, from a set of input views, we constructed a sparse point cloud using DUSt3R, providing us with a starting point for our 3D reconstruction. Next, we used MAST3R to produce a dense point cloud from the same set of input views, creating a dense 3D mesh. We then used CloudCompare to remove outliers from the mesh and refine the geometry. We then proceeded to apply texture mapping and bump mapping to the surface of the mesh, which gave the appearance of natural skin texture. Finally, we applied a custom texture mapping to the resulting geometry, allowing us to apply custom textures, such as tattoos, to the face.
DUSt3R, MAST3R
DUSt3R and MAST3R are both open-source tools for creating varying densities of 3D point clouds from a set of input views of varying angles. We used DUSt3R to create a sparse point cloud from the input views, as well as a mesh from the point cloud, which we then used as a starting point for our 3D reconstruction. We then used MAST3R to produce a dense point cloud from the same set of input views.


Improving Confidence Maps
Image Segmentation with SAM2
We experimented with using the Segment Anything Model 2 (SAM2) to segment out the background from our input images before reconstruction. The goal was to isolate just the face and remove low confidence components. SAM2 was able to effectively separate the foreground (face) from the background in our input images. However, when we attempted to reconstruct the 3D model using these segmented images in DUSt3R, we found that the results were significantly worse than using the original unsegmented images. This was likely because removing the background eliminated important visual features and depth cues that DUSt3R uses to establish correspondences between different views and estimate 3D structure. The lack of background context made it more difficult for the system to determine relative camera positions and perform accurate triangulation.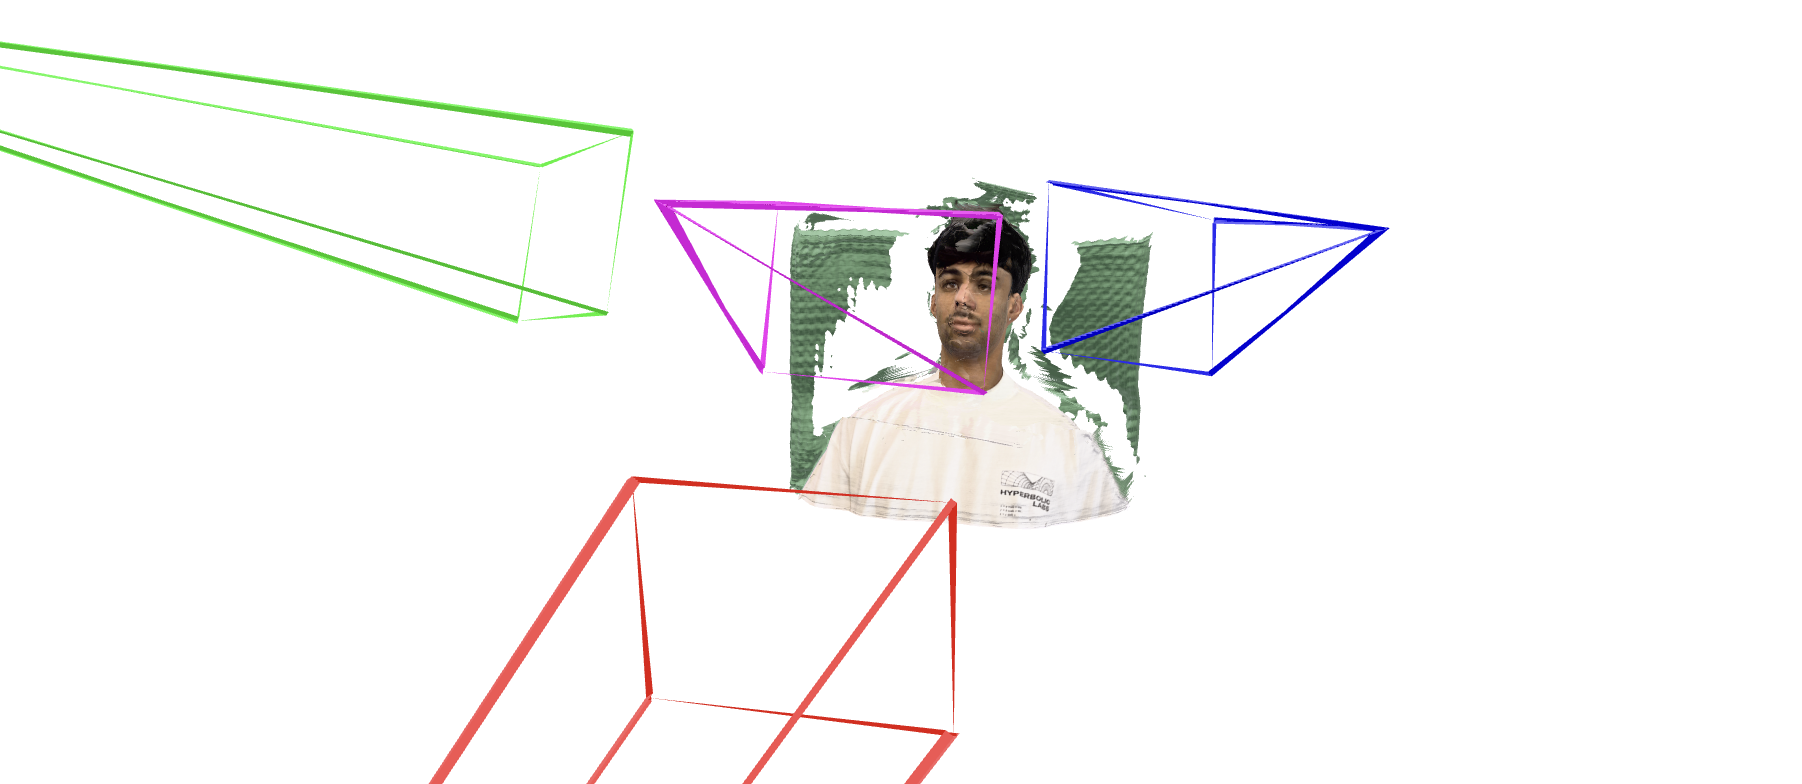
RANSAC for Plane Prediction
We then tried to use RANSAC to predict the location of the plane in the scene and remove the background and increase confidence levels. This was more effective than the SAM2 approach, as it preserved the background context and allowed for more accurate reconstruction.

Creating a 3D Mesh
Poisson Reconstruction
Poisson Reconstruction is an algorithm for creating a 3D mesh from a point cloud, where the vertices of the mesh are sampled from the points in the point cloud. We attempted to implement Poisson Reconstruction to create a 3D mesh from the dense point cloud produced by MAST3R. However, we were unable to get good results, so we decided to use CloudCompare's built-in Poisson Reconstruction instead.
CloudCompare
CloudCompare is an open-source software, similar to Blender or MeshLab,for creating and editing 3D point clouds. We used CloudCompare to remove outliers from the mesh and refine the geometry before applying Poisson Reconstruction with an octree depth of 8. In order to feed into CloudCompare's Poisson Reconstruction, I created a script to estimate the normals of each point in our point cloud that was also fed into CloudCompare.

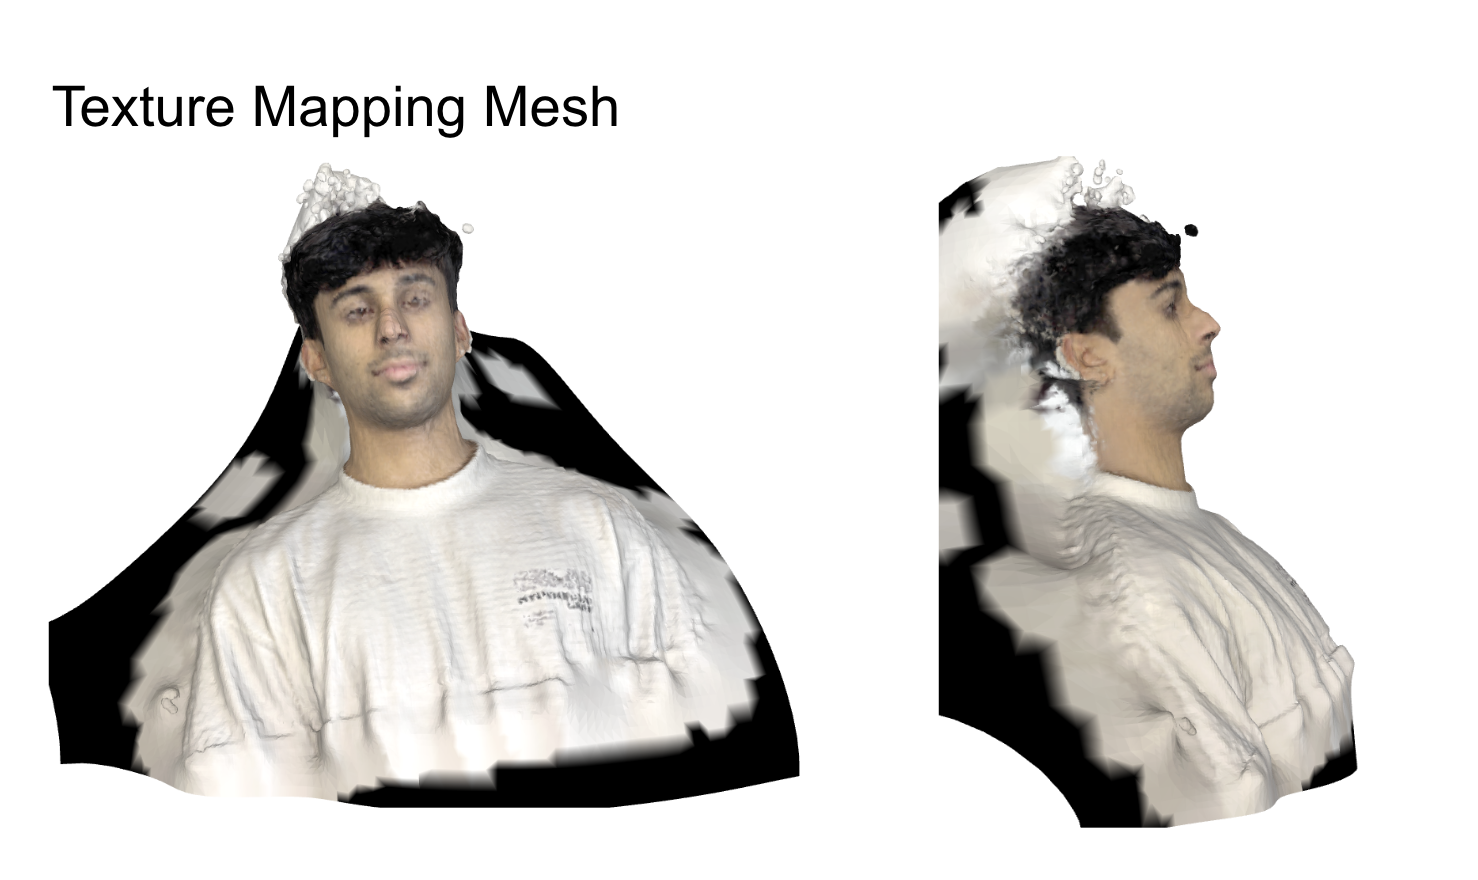
Texture Mapping the Mesh
We used both the colored point cloud and target mesh, and transfered the colors to each mesh vertex by weighting the nearest point cloud samples. First we tried using a frontal source image, and used projection methods and coordinate transforms to map the colors onto the mesh. However, this was extremely difficult to do, and we were unable to get good results. Thus, we stuck to using the colored point cloud as our source of color information.
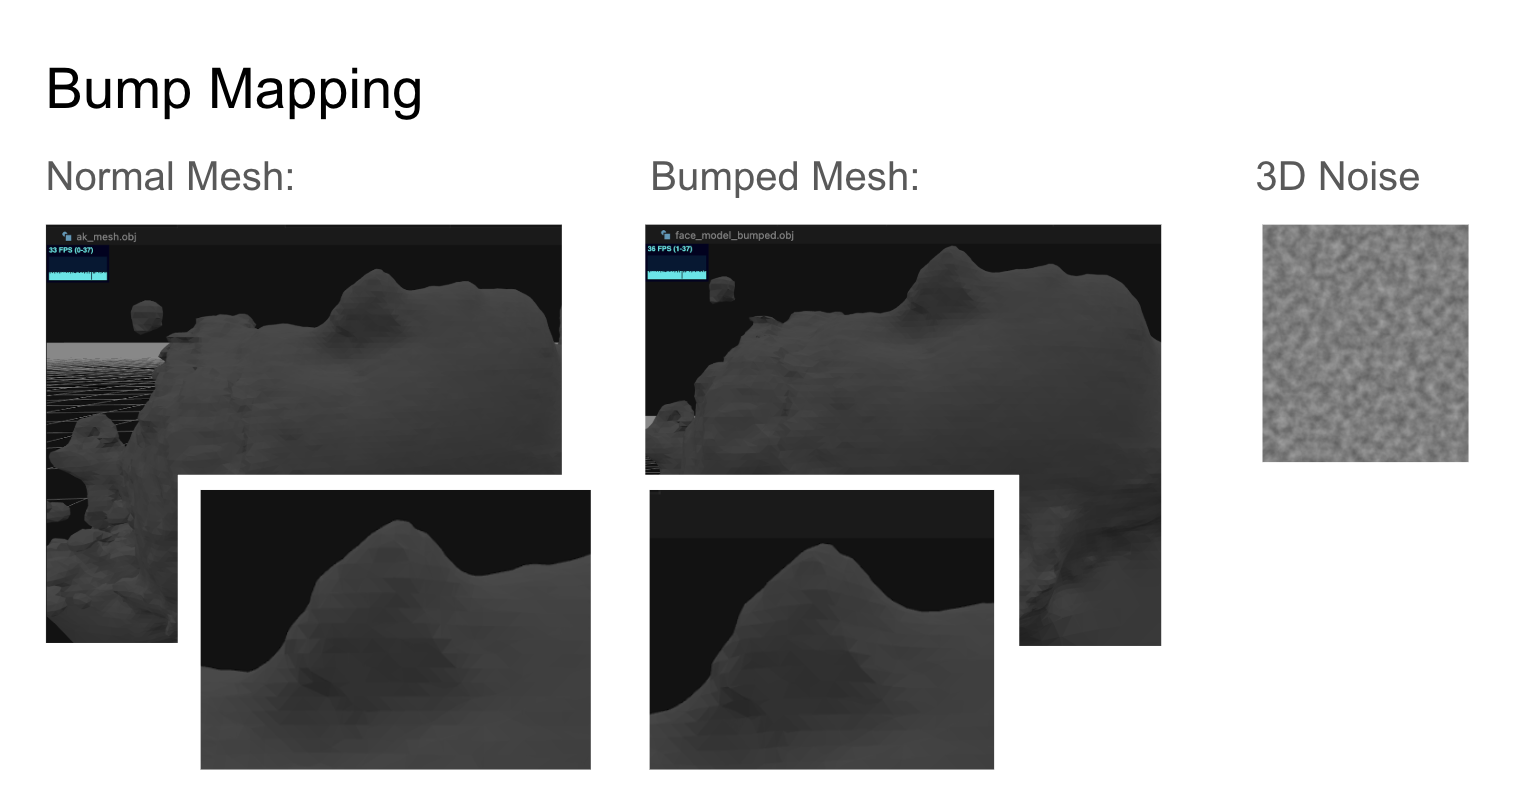
Perlin Noise
Perlin noise is a type of noise that is used to create natural-looking textures. We used Perlin noise to create a bump map for the surface of the mesh, which gave the appearance of natural skin texture.
Tattoo Projection
Mask Implementation of Tattoo
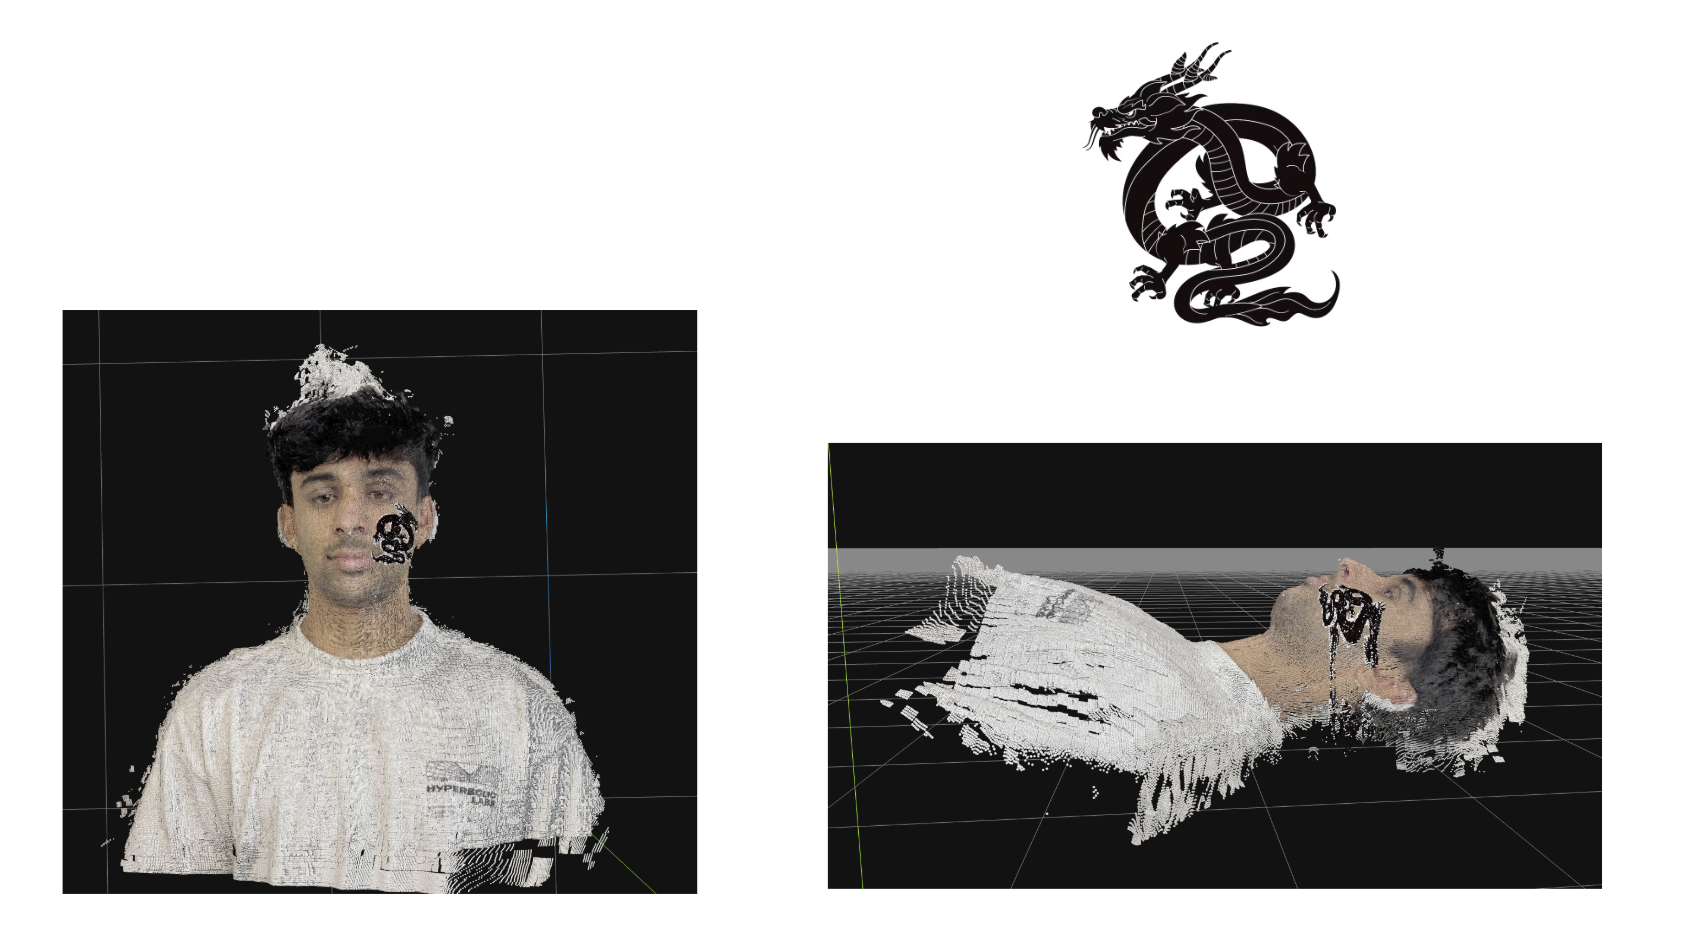
Taking a 2D tattoo image as a RGBA mask, the script computes a per pixel darkness value and projects it onto the 3d model via front facing plane. For every point, the code samples the tattoo's darkness and alpha and applies a shallow depth-based fade so only points close to the plane are inked and linearly blends black over the original mesh color given a darkness threshold. The modified mesh is saved and rendered with Open3D.
However, because we did not normalized the camera positions, the tattoo projection was not aligned with the face from the front camera view. This resulted in distortions in the final mesh.

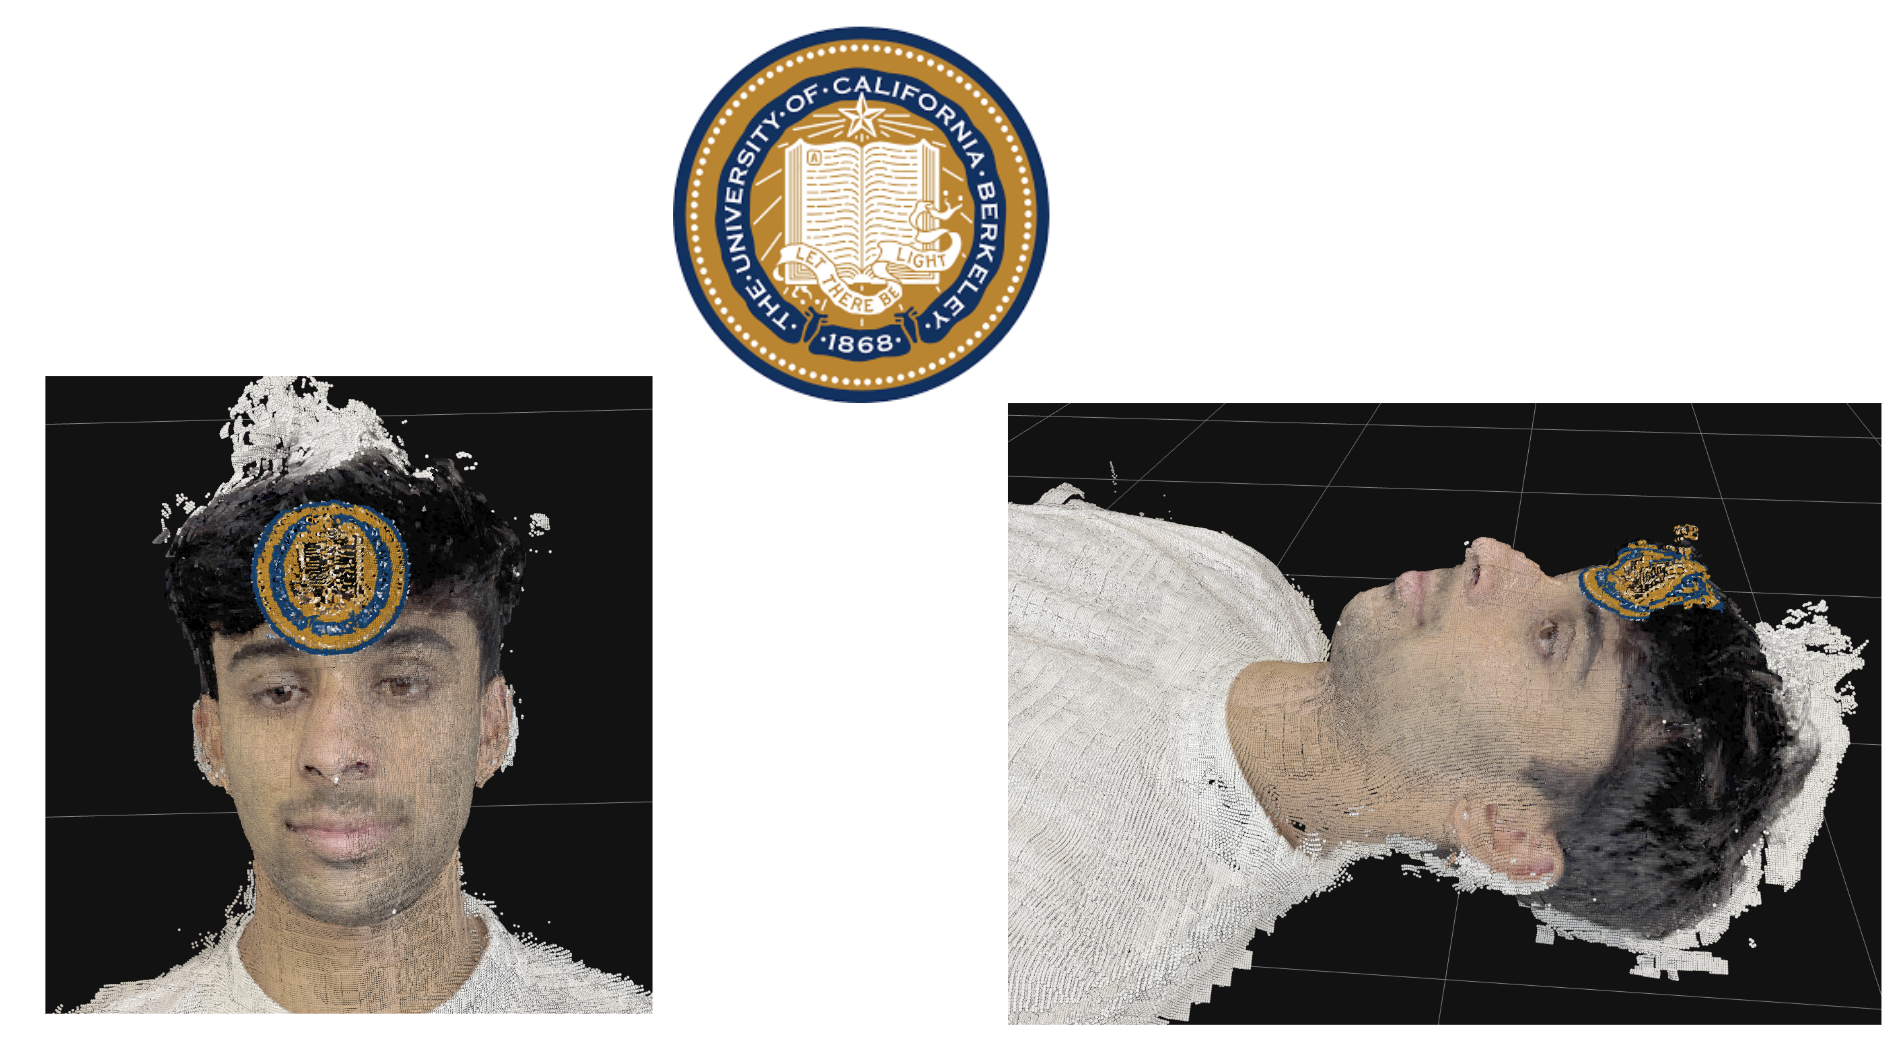
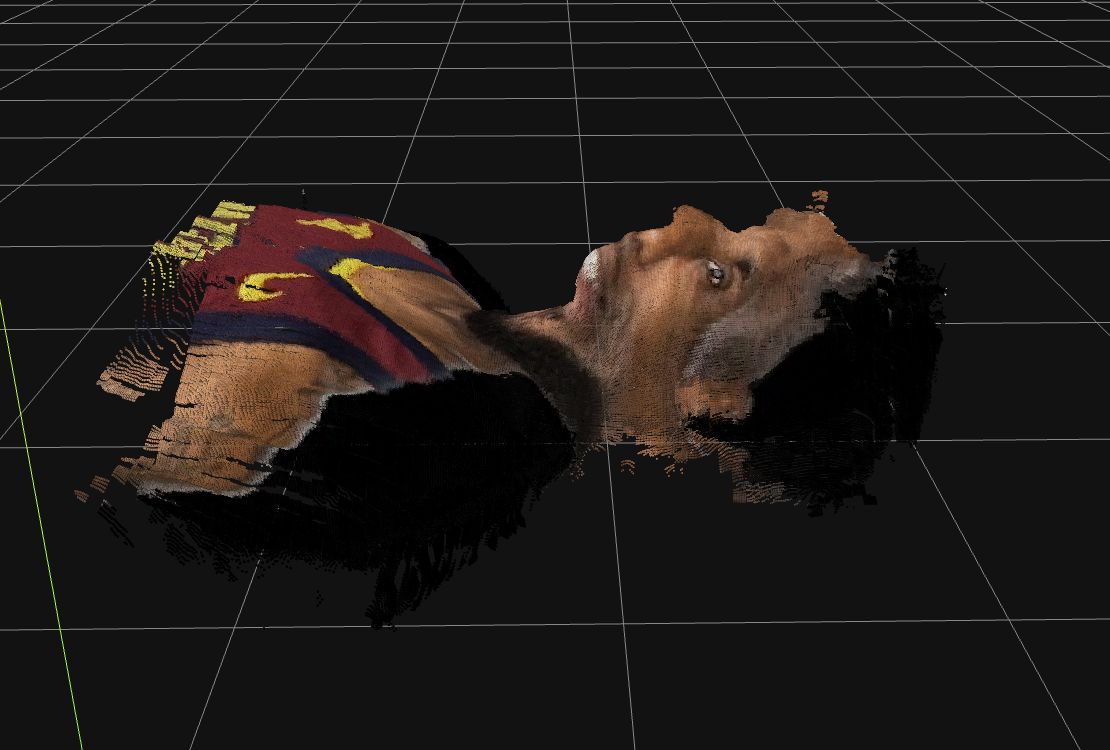
Normalized Camera Implementation
To adress this issue, we normalized the camera positions by centering the face in the image along a center axis and projected the 2d image onto the depth of the face of the mesh. We also wanted to try projecting colored tattoos onto the mesh, so we decided not to mask out by brightness factors and instead project the image per pixel onto the mesh.This resulted in a much more accurate tattoo projection.
Results
Tattoo
Jameson Fan

Berkeley
Lebron

References
DUSt3R, MAST3R, CloudCompare, COLMAP, FaceScape, Open3D, Perlin Noise, Poisson Reconstruction, SAM2
Team Contributions
Michelle Chen:
- Created Dust3R mesh reconstruction using input images by looking through existing code and implementing for our use case. Additionally created confidence maps of the reliability of each component of the mesh reliability.
- Attempted image segmentation using SAM2 to remove background (areas of low confidence) from input images before generating mesh and generated a new mesh without the background included.
- Attempted pipelining the entire process and connecting backend endpoints with the frontend user experience. However, there were issues displaying the point clouds on gradio and we did not have the computational resources for a fully pipelined demo.
- Built the tattoo projection pipeline that took a 2d tattoo image and projected it onto the 3d point cloud by mapping image pixels to 3D points based on UV mapping techniques.
Valerie Li:
- Worked on creating a 3D mask overlay through FaceScape's bilinear model. This involved updating or refactoring outdated dependencies, fixing API breaks, and tuning model hyper-parameters to fit our dataset.
- Designed and implemented procedural bump mapping by displacing each mesh vertex along its normal using a 3D Perlin noise field. Initially, tried a 2D random noise approach, which produced streaks, instead of true, isotropic skin-like micro-detail, which the 3D Perlin noise field did!
- Developed and debugged per-vertex texture-mapping routines: created both orthographic and pinhole UV projection methods, handled coordinate transforms (reflect/rotate/translate), in an attempt to pick up skin-tone and hair coloration from a frontal photograph. Unfortunately, this was not successful.
- Built an RGB overlay tattoo: composited an input of a transparent facial tattoo into a texture atlas, generated the corresponding .obj file with embedded UVs, and attempted to bake the overlay onto the mesh. Unfortunately, this also did not work on the mesh. Ultimately, unable to succeed in rendering the mesh in a different color.
Akshaan Ahuja:
- Worked on running DUST3R to create a sparse point cloud from the input views. This involved debugging the output based on the produced confidence maps. Experimented with varying the amount of input views as well as the difference in camera positions between views.
- Implemented Poisson Reconstruction to convert our dense point cloud from MAST3R into a complete mesh. Initially attempted a novel Python implementation based on the logic from the state-of-the-art Poisson Reconstruction repository: https://github.com/mkazhdan/PoissonRecon, working through the mathematical foundations of the algorithm. Later utilized CloudCompare software for a more robust solution, where I imported the point cloud, debugged and filtered noisy or outlying points, then applied Poisson Reconstruction. This process required significant experimentation with reconstruction depth, by varying the Octree depth to achieve the best results. After reconstruction, I trimmed the model based on the confidence values of the reconstruction to remove low-quality mesh regions, resulting in a high-fidelity 3D facial mesh that was ready for the next step of the pipeline which was bump mapping. In order to feed into CloudCompare, I created a script to estimate the normals of each point in our dense point cloud that was fed into CloudCompare.
Jameson Crate:
- Tested COLMAP and MAST3R to get a point cloud from our sparse views. At first our point cloud results from COLMAP were very noisy, so I used filtering techniques such as nearest neighbor and statistical outlier rejection. The result of this step was a dense point cloud which we could use for further mesh reconstruction and texture mapping.
- Implemented mesh texture mapping from a point cloud by finding each vertice's nearest neighbors in the point cloud and weighting each points' color by distance.
- Further filtered point clouds through plane / wall removal using RANSAC for plane prediction in the scene. After predicting the location of the wall / plane in the scene we filter points some distance above and below the plane to remove wall points.