Lightfield Camera 📸
This section focuses on depth refocusing and aperture adjustment with light field data. Our data comes from the Stanford Light Field Archive, and is a set of images taken at regularly spaced intervals. We use this data to simulate a light field camera, which allows us to refocus the image after it has been taken.
Depth Refocusing
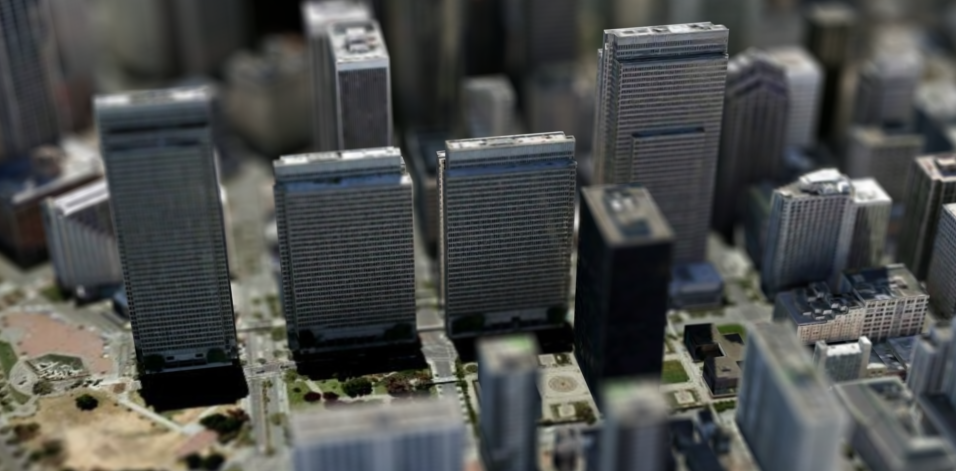
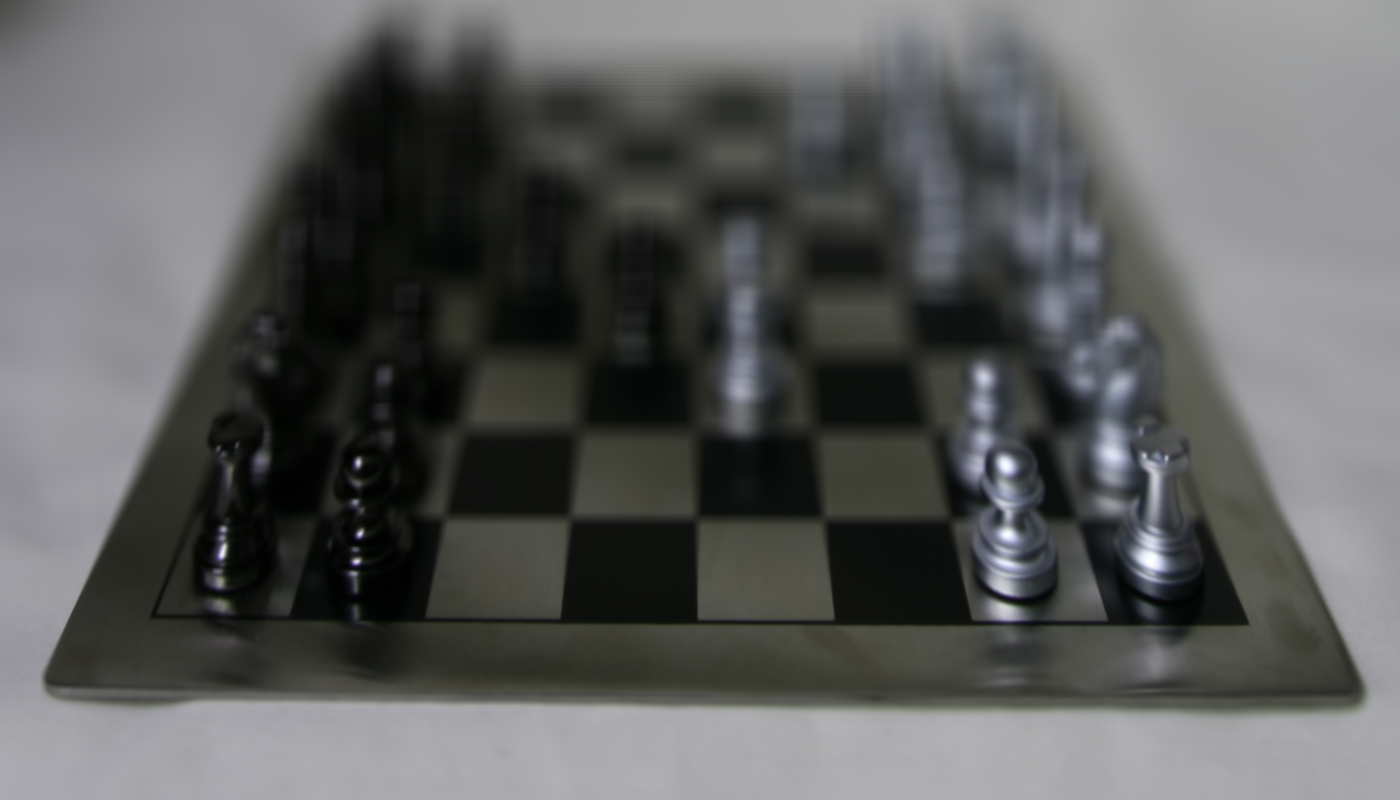
Our images span a 16x16 grid, and were taken at each point in this grid (meaning a total of 289 images, counting edges). If we average all these images together, we can expect that nearby objects will have more movement and therefore appear blurrier, while objects far away appear clearer because they have moved less.
Average of all images
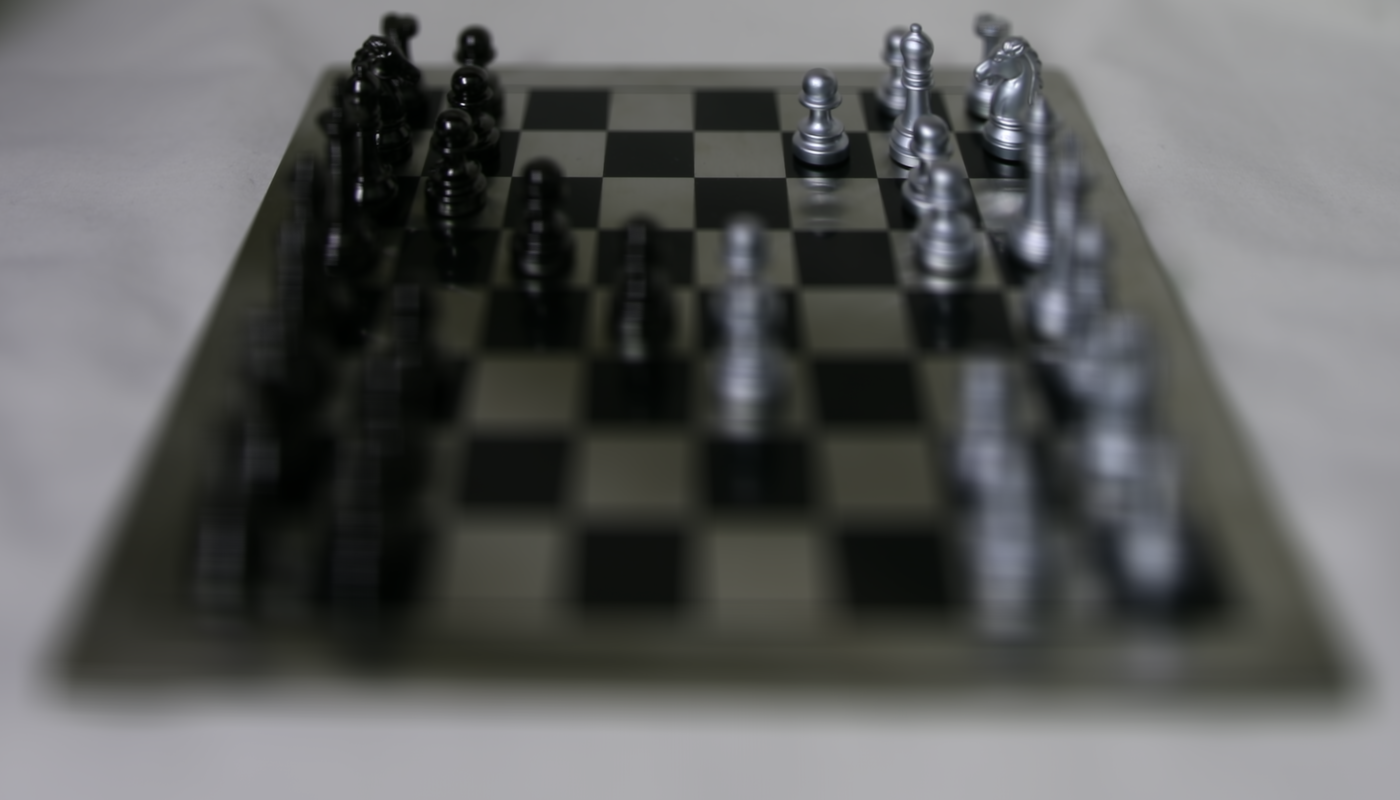
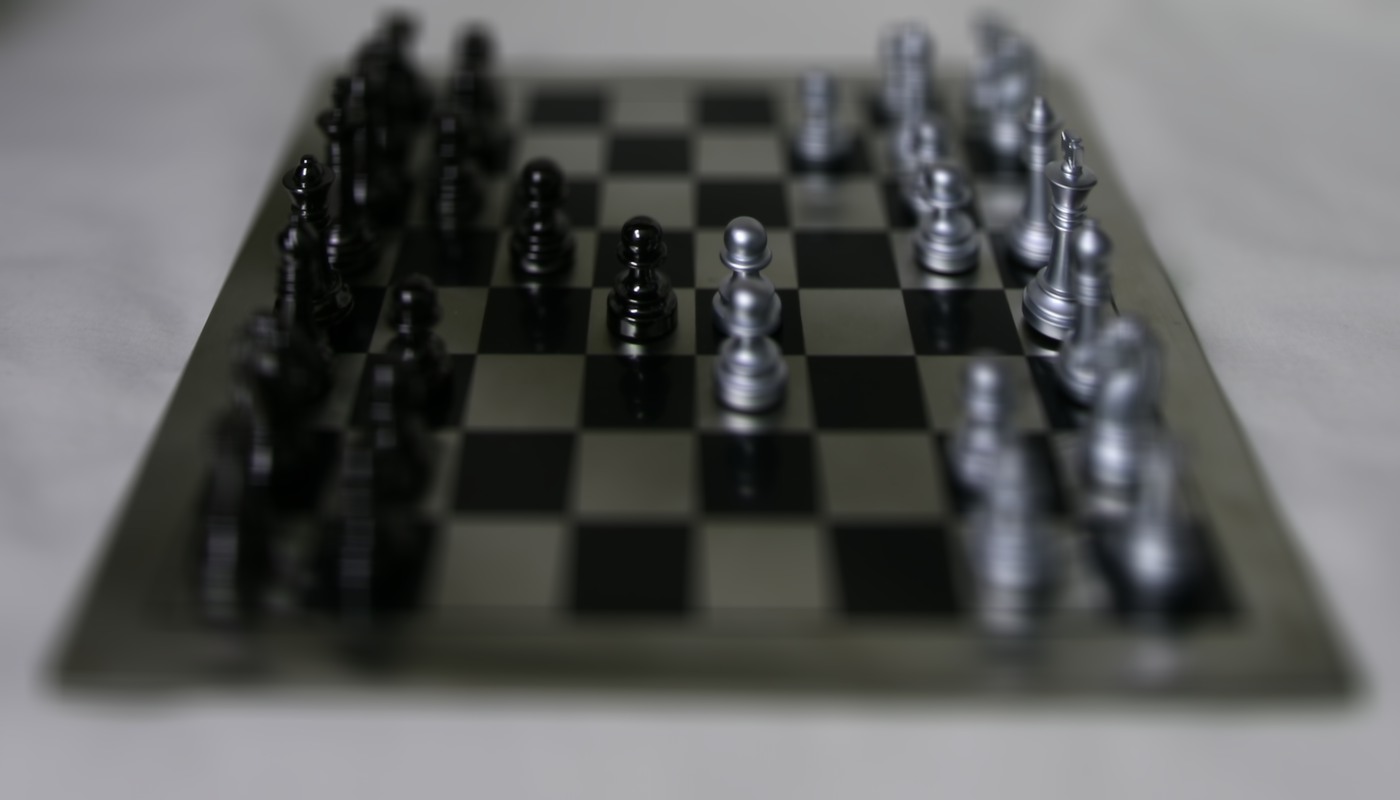
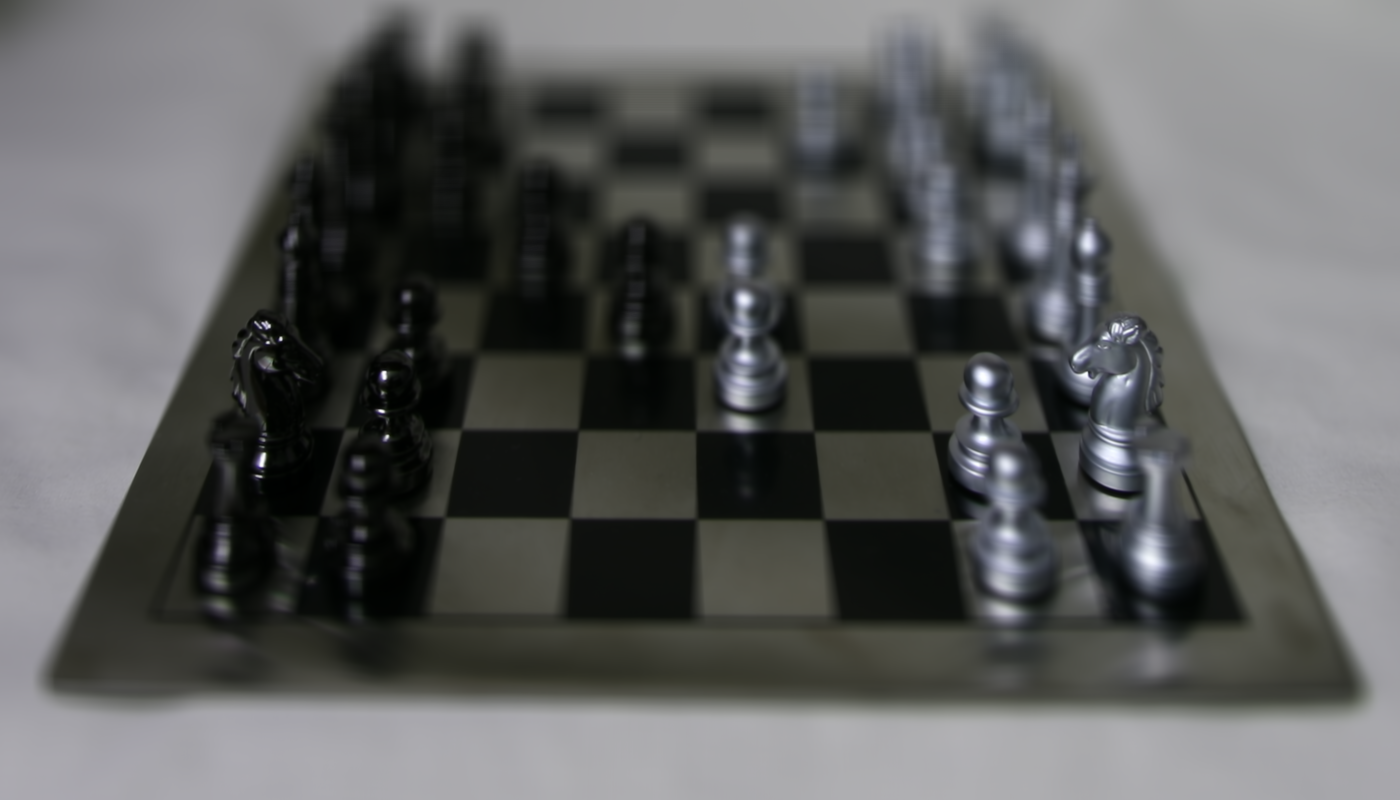
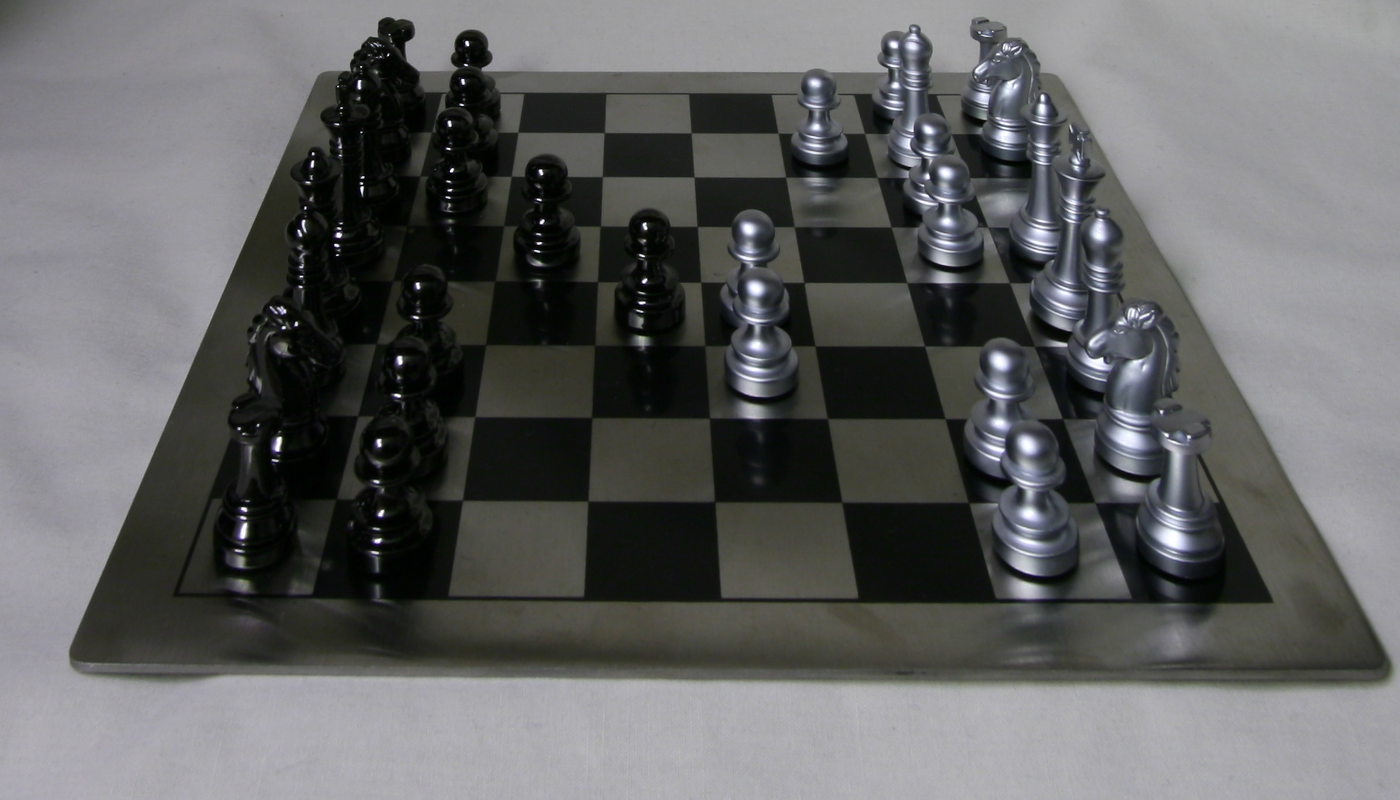
To refocus the depth of the picture, we can shift the images so that closer items are in the same spot. This will result in those closer items being more focused in the average image. I used the shift amounts dictated by the file names of each file name - if an image was shifted right by 3 pixels and down by 4, I shifted it up and left by 3 and 4 respecitvely. To change the area focus, we multiply these shift amounts by some C. Below are the average shifted images with C = 1, 2, 3.
C=1
C=2
C=3
I also computed the average image for every C value between 0 and 3 at a step size of 0.25, and used those to create this GIF. You can see that the focus shifts from the back of the photo to the front, and back again.

Aperature Adjustment
Averaging a large number of images sampled over the grid mimics a camera with a larger aperture because more light rays are captured, and the additional different perspecitves mean that more of the image is blurred. To mimic different aperatures without changing the point of focus, we change the amount of images in our average. For a treshold t, we only add images to our average if both the horizontal and vetical shift are less than or equal to t.
Below are the images for t= [0,8]. The smaller the t value, the smaller the aperature.
t=0
t=1

t=2

t=3

t=4

t=5

t=6

t=7

t=8
Bells and Whistles: Interactive Refocusing
To implement this, I used plt.ginput to accept a user-clicked coordinate on the picture. For a patch around that point, I tried to find the shift with minimal MSE loss for another image in the set. What's interesting here is I only need to compare the patch with one other image, not all of the images. My goal here is to find the C value (like in Part 1) that minimized loss around that specific patch. When I have the C value for one image, I can use that value with all other images and use their respective shift amounts. This results in the image "focusing" wherever I click.
Below is a video of the working interactive refocus. The video is at 2x speed for convenience.
Conclusion
I learned a lot about lightfields from this project. One thing I found particularly cool was that by capturing additional information about the light in an image, we can change the focus of a picture even after it's captured.