CS184/284A Spring 2025 Homework 1 Write-Up
Link to webpage Our website!
Link to GitHub repository: github.com/cal-cs184-student/sp25-hw1-waffle
Overview
In this homework, we implemented a simple rasterizer capable of rendering vector graphics from a simplified version of SVG files. The rasterizer includes features like triangle rasterization, supersampling for antialiasing, hierarchical transformations, and texture mapping with antialiasing. What we found interesting was the overlap in methodology for reducing jagged edges and creating a smooth gradient between colors. We had fun seeing just how drastically supersampling improved the visual quality, and found it interesting how there are tradeoffs between the rendering performance and image quality!Task 1: Drawing Single-Color Triangles
First, this algorithm computes the bounding box in which it calculates whether a point is within the triangle or not. This bounding box is obtained by finding the smallest and largest integer coordinates that cover all three triangle vertices. This ensures that only pixels within the bounding box are checked.
The algorithm then iterates through each point within the bounding box. For each pixel, it computes the center of the pixel, which is at \( (x + 0.5, y + 0.5) \). Then, it calculates the scalar cross products of each pair of vertices of the triangle with the test point:
-
Cross product for a line defined by \( (x_A, y_A) \) and \( (x_B, y_B)
\):
\[ (x - x_A) \cdot (y_B - y_A) - (y - y_A) \cdot (x_B - x_A) \]
The three cross products calculated are between the points:
- \( (x_0, y_0) \) and \( (x_1, y_1) \)
- \( (x_1, y_1) \) and \( (x_2, y_2) \)
- \( (x_0, y_0) \) and \( (x_2, y_2) \)
If all three cross products have the same sign, then the test point is inside the triangle. This means the point is on the same side of all three edges relative to the triangle's orientation.
- If all the cross products are negative, the point is inside for clockwise triangles.
- If all the cross products are positive, the point is inside for counterclockwise triangles.
Since this algorithm checks each point within the bounding box once, it is no worse than an algorithm that checks each sample within the bounding box.
Task 2: Antialiasing by Supersampling
Supersampling is an anti-aliasing technique used to reduce jagged edges (jaggies) that occur when high resolution images are rendered on lower resolution displays. The way that supersampling is used to reduce these jagged and more sharp edges is by taking multiple color samples per pixel and averaging them, which results in a smoother looking image, with less jagged edges. Without supersampling, as in task 1, a single color is computed per pixel. However, since supersampling calculates colors at multiple subpixel locations, the resolution of the rendered image is increased, before being downsampled back to the target display resolution. It is useful because it provides a tool for computer graphics that allows an image to a more improved visual quality, with smoother lines.
To implement supersampling, we made changes to the rasterization
pipeline. In particular, first, we began by computing an axis-aligned
bounding box that enclosed the triangle, by finding the smallest and
largest x and y coordinates. Then, instead of only evaluating the center
of each pixel, at \( (x + 0.5, y + 0.5) \), the algorithm iterated
through multiple subpixel positions within each pixel, based on the
sample rate. Specifically, the positions were determined by dividing
each pixel into a grid of
sqrt(sample_rate) * sqrt(sample_rate). This ensured equal
and uniform coverage across the pixel. For each of these subpixels, the
algorithm uses point-in-triangle tests to determine if that subpixel
lies inside the triangle. If it is, then the interpolated color is
stored in the sample_buffer.
Another modification made is how the pixel colors are actually stored
and resolved. Instead of writing the colors directly to the framebuffer,
the colors were accumulated in the sample_buffer, which
stores the sample_rate samples for each pixel. When
rasterization is complete, the final image is produced in the
resolve_to_framebuffer() function, which then averages the
subpixel colors for each pixel and writes the blended and down averaged
color to the framebuffer.
|

|

|

|
Task 3: Transforms
My robot is dancing. It has a blue shirt on, so one can see its arms moving to its fullest extent. This sort of dance move is one that is seen when the music is funky, groovy, and one is just jamming to their heart's content, without care for who is watching!

To make the cubeman dance, I had to apply a series of transforms. For the arms, I first translated the rectangle, then rotated, and finally scaled. I did the same for the legs. For the torso, I changed the fill of the polygon to be blue, so that the arms that were overlaying on top of the torso would show up.
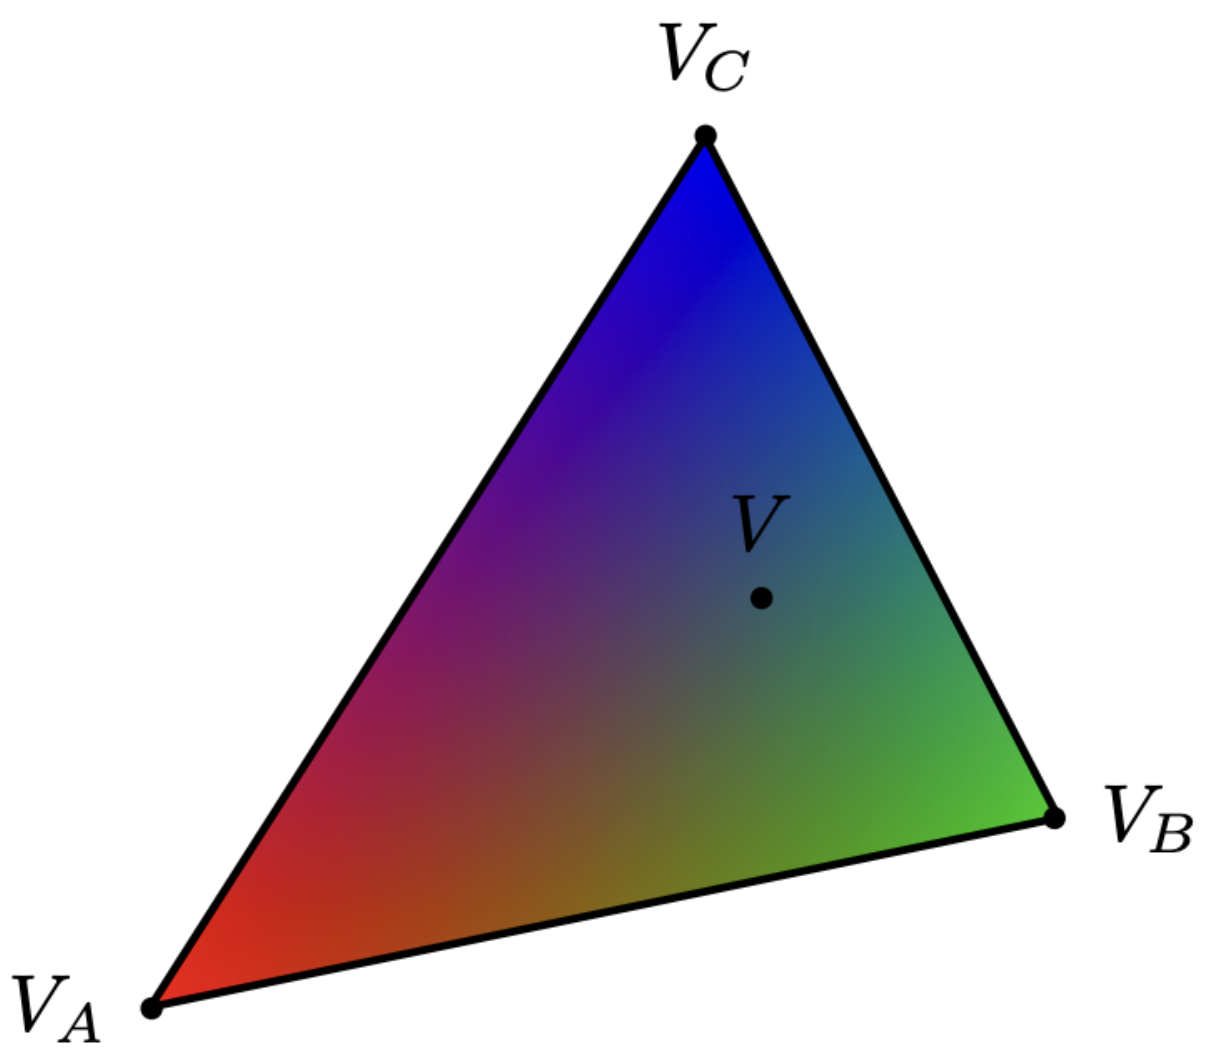
Task 4: Barycentric coordinates
Barycentric coordinates are a way of expressing the position of a point inside a triangle relative to its three verticles. Instead of in a typical Cartesian coordinate representation, where a point is denoted as \( (x, y) \), the Barycentric coordinates of a point inside a triangle is a weighted combination of the triangle's three vertices.
Any point \( P(x, y) \) inside the triangle with vertices \( A(x_A, y_A) \), \( B(x_B, y_B) \), and \( C(x_C, y_C) \) can be expressed as:
\[ P = \alpha A + \beta B + \gamma C \]where \( \alpha \), \( \beta \), and \( \gamma \) are the barycentric coordinates. Each represents the relative weight of a respective vertex. \( \alpha \), \( \beta \), and \( \gamma \) should add up to 1.
If all of the coordinates are positive, the point is inside the triangle. If one is 0, the point is on the edge. If at least one of the coordinates is negative, the point is outside.

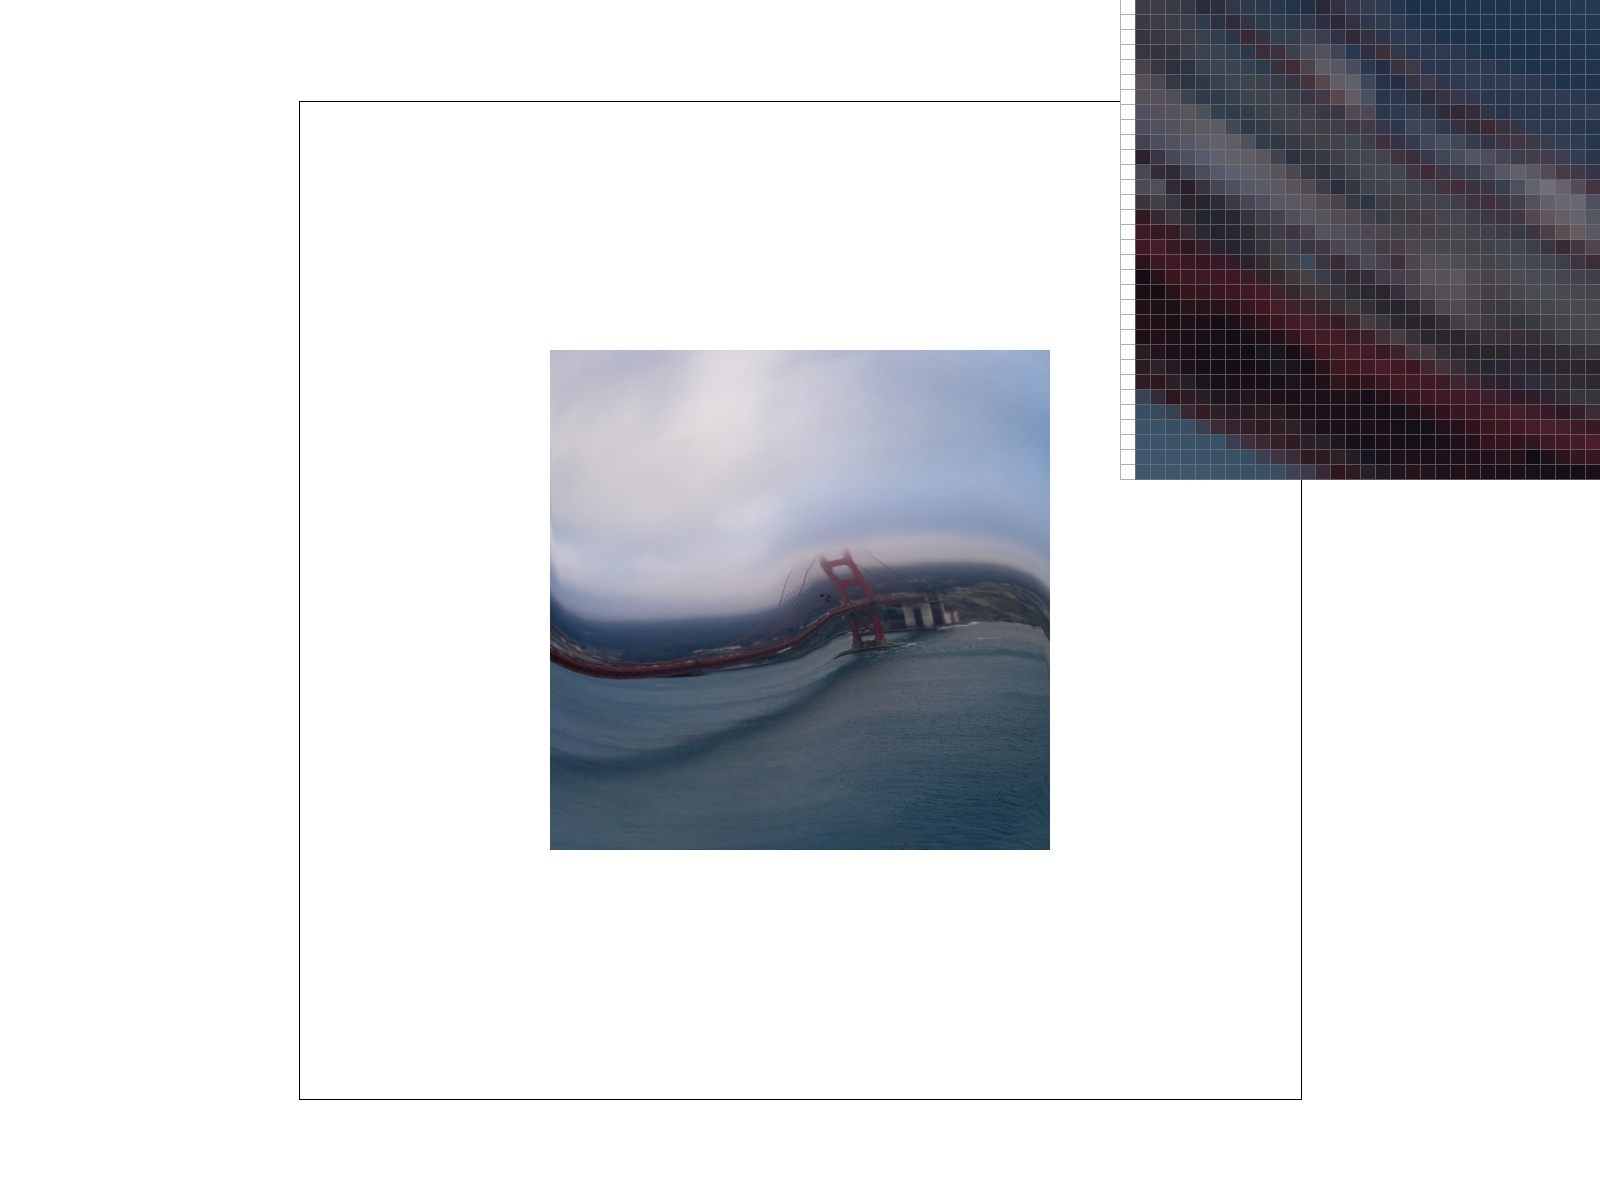
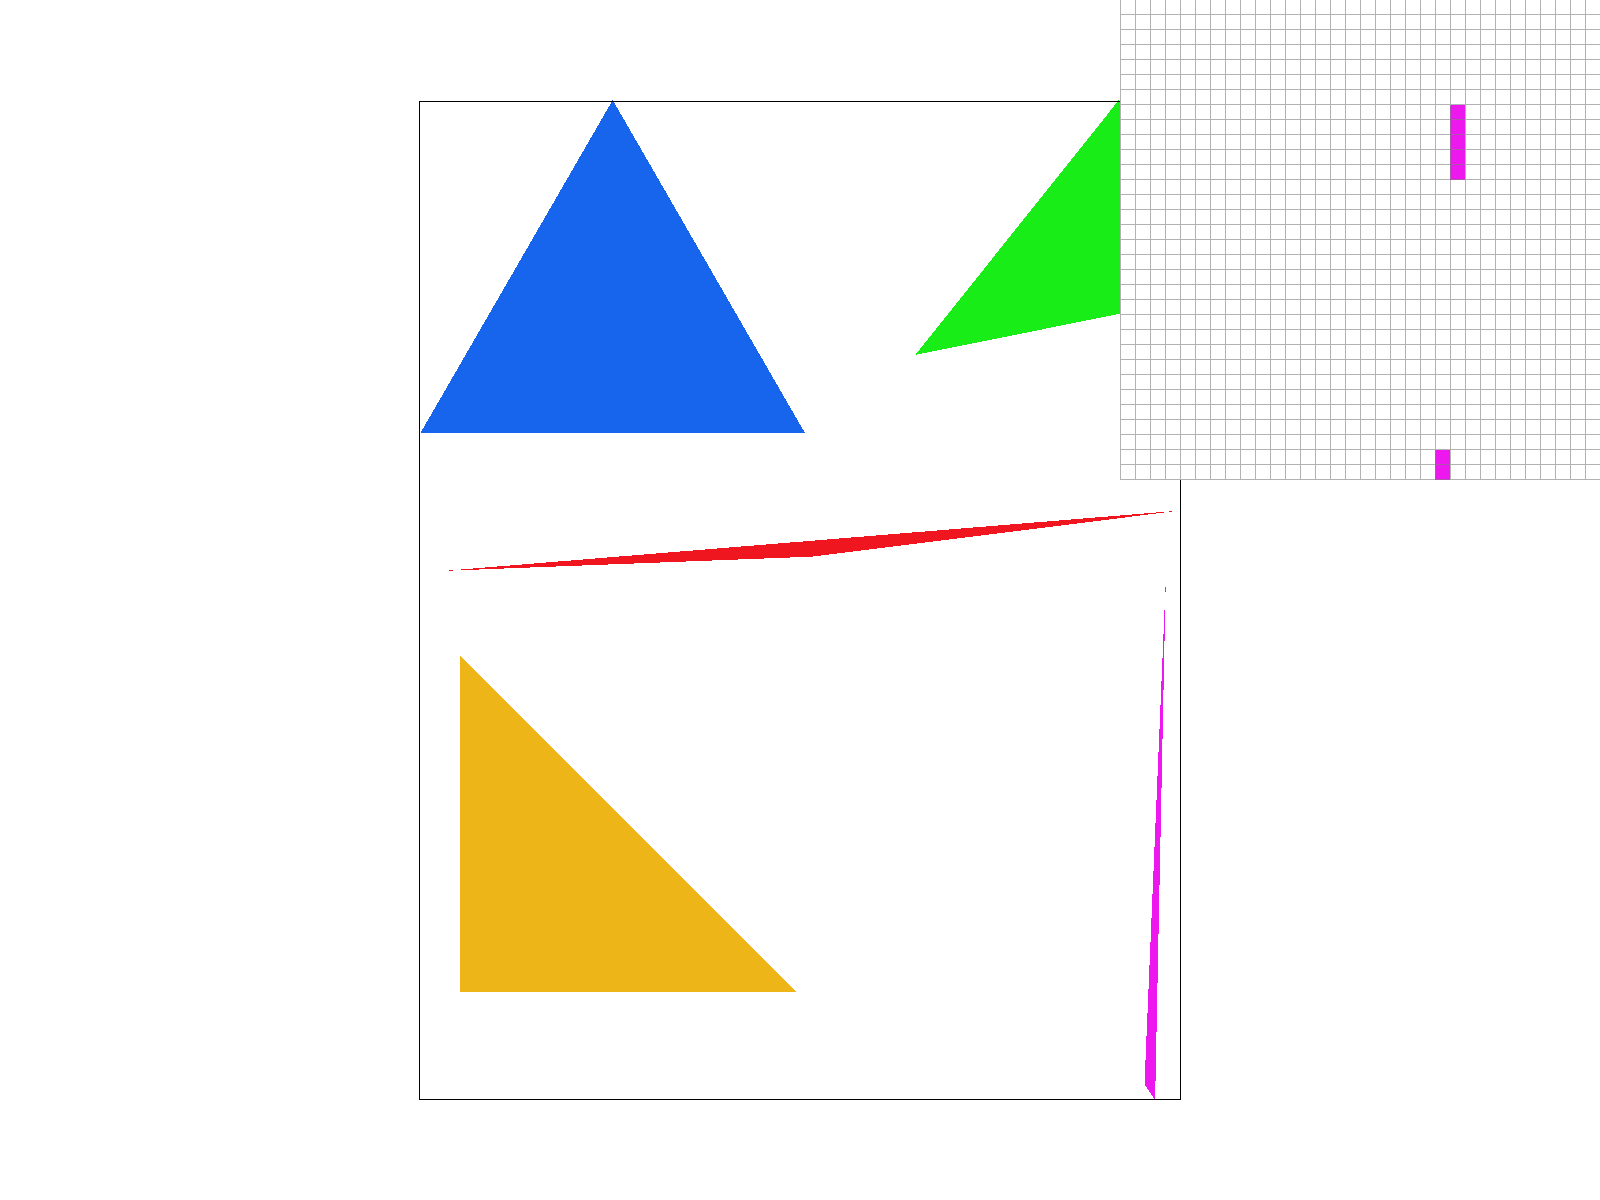
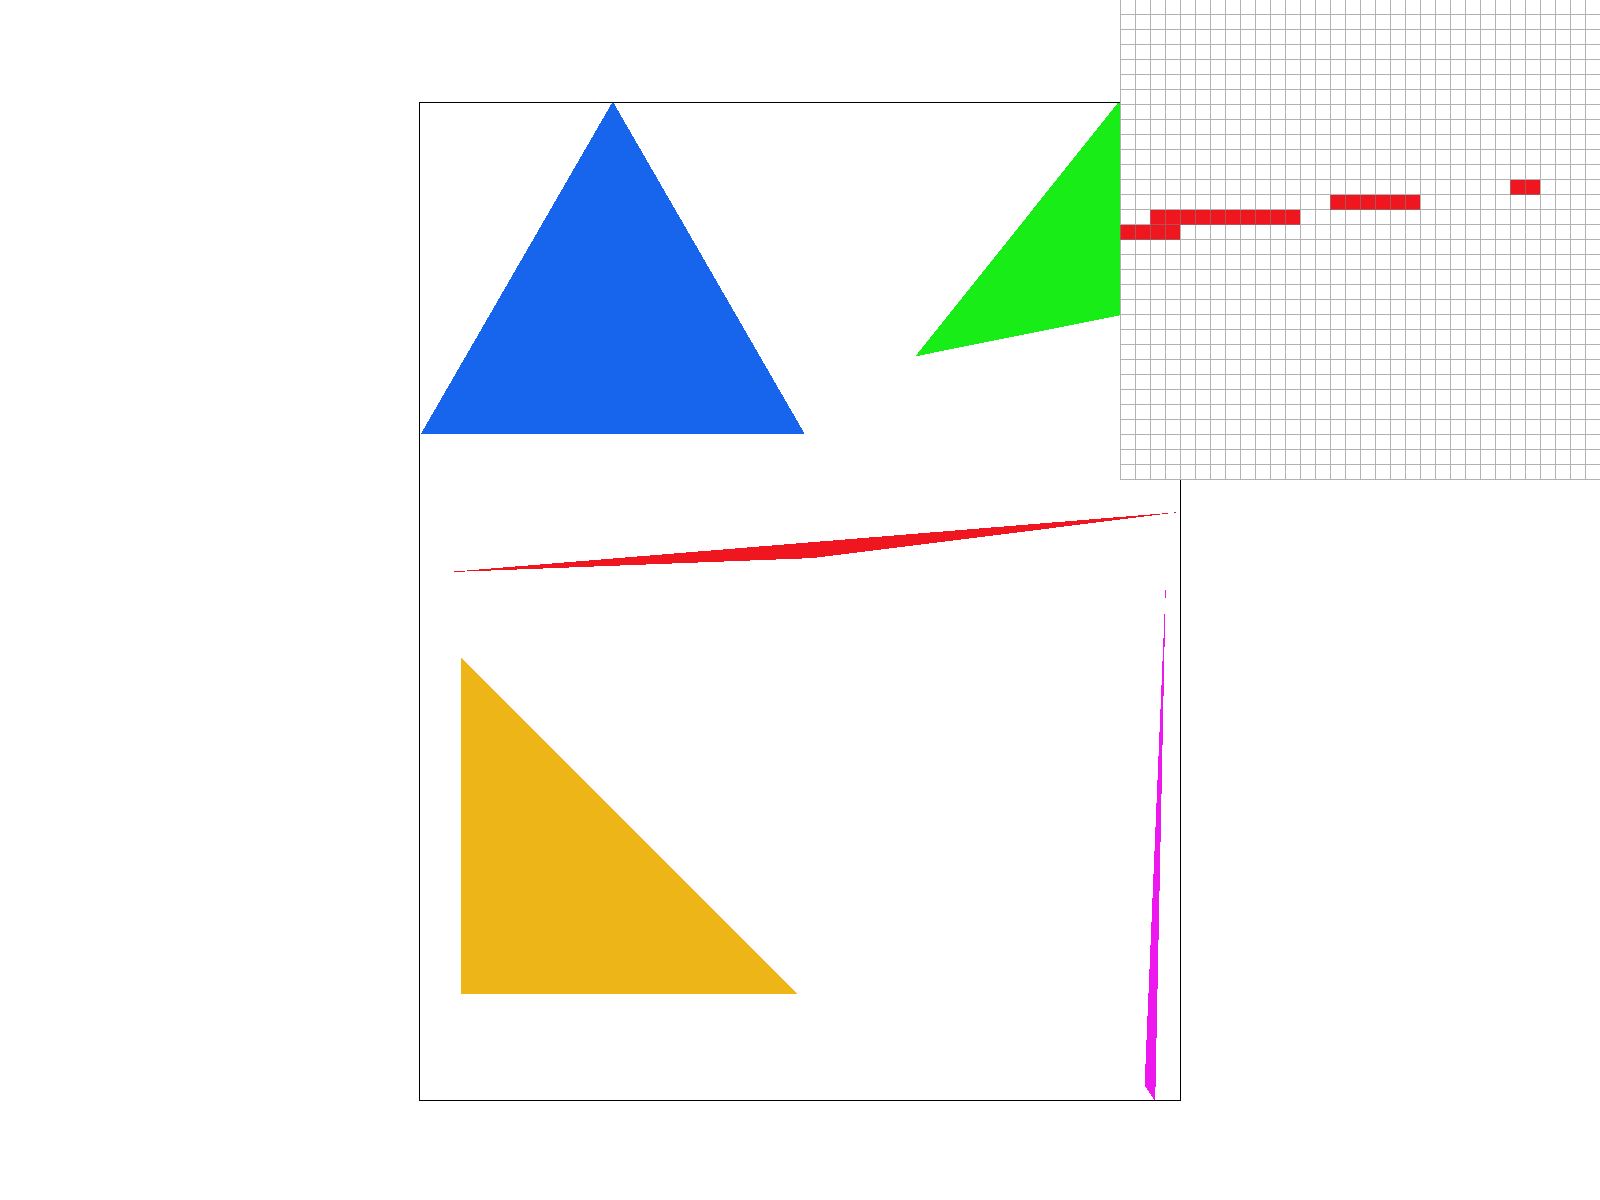
Task 5: "Pixel sampling" for texture mapping
Pixel sampling determines the color of a pixel by evaluating the texture at that pixel's corresponding coordinates. In the context of texture mapping, this means interpolating the uv coordinates across a surface of a triangle then for each sample lifting the normalized UV into texture space and blend into the image. The transition between screen/world/texture space is shown below:

Here we implement two common pixel sampling methods.
- Nearest Sampling: Selects the texel whose center is closest to the sampled texture coordinate. It is computationally inexpensive because it involves a single texel lookup and no additional interpolation steps.
- Bilinear Sampling: Interpolates a weighted average of the four nearest texels around the sample point. By calculating how close the sampling coordinate is to each of these four texels, the final color smoothly blends their values, resulting in less pixelation and softer transitions.


When the texture contains fine details (is higher frequency), nearest sampling creates more blocky/pixelated artificats while bilinear sampling is able to average out the colors resulting in a smoother output. The edge quality also improves with sampling rate, as seen in the differences between supersampling rate of 1 vs 16 above. However, bilinear sampling is also more computationally expesnive due to the additional need to calculate and interpolate from the four closest pixels.
Task 6: "Level Sampling" with mipmaps for texture mapping
Level sampling keeps multiple reslutions of the same texture so that based on how large or small the texture appears on the screen a different resolution of the texture is chosen. This helps reduce aliasing as when texture is viewed at a distance, high frequency details can lead to aliasing so sampling from a lower resolution version can help avoid these artifcats as seen below:

The original full resolution texture is defined as level 0, and for each additional level, a series of smaller textures with half of the width and height of the previous level is generated down to 1x1 image. To determine the correct level/mipmap level at each screen coordinate (x, y), we first compute the (u, v) barycentric coordinates corresponding to the points (x, y), (x+1, y), and (x, y+1). From these, we calculate the difference vectors in (u, v) space—essentially du/dx, dv/dx, du/dy, and dv/dy— by observing how the (u, v) coordinates change when x or y increases by one pixel. We then scale these difference vectors by the full-resolution texture's width and height to determine how many texels correspond to one screen pixel. This provides the necessary information for selecting the appropriate mipmap level to minimize aliasing and maintain performance.
Pixel Sampling Tradeoffs: Nearest sampling is faster than bilinear as it involves just rounding and a single texel fetch, however it is also lower in quality leading to aliased edges. Bilinear sampling on the other hand is slower as it blends four texels but results in smoother transitions
Level Sampling Tradeoffs: L_ZERO (no level sampling) is the fastest as it always uses the full resolution texture but results in poor antialiasing due to aliasing i in high frequency details.L_NEAREST is moderately fast as it chooses the nearest mipmap level by rounding the level of detail, leading to a better antialiasing power than L_ZERO but can still lead to abrupt transitions between mip levels. L_BILINEAR is the most computationally expensive as it blends between two adjacent mipmap levels doubling the texture fetches but also results in the best quality as it smooths transitions between mipmap levels
I used my own texture below:
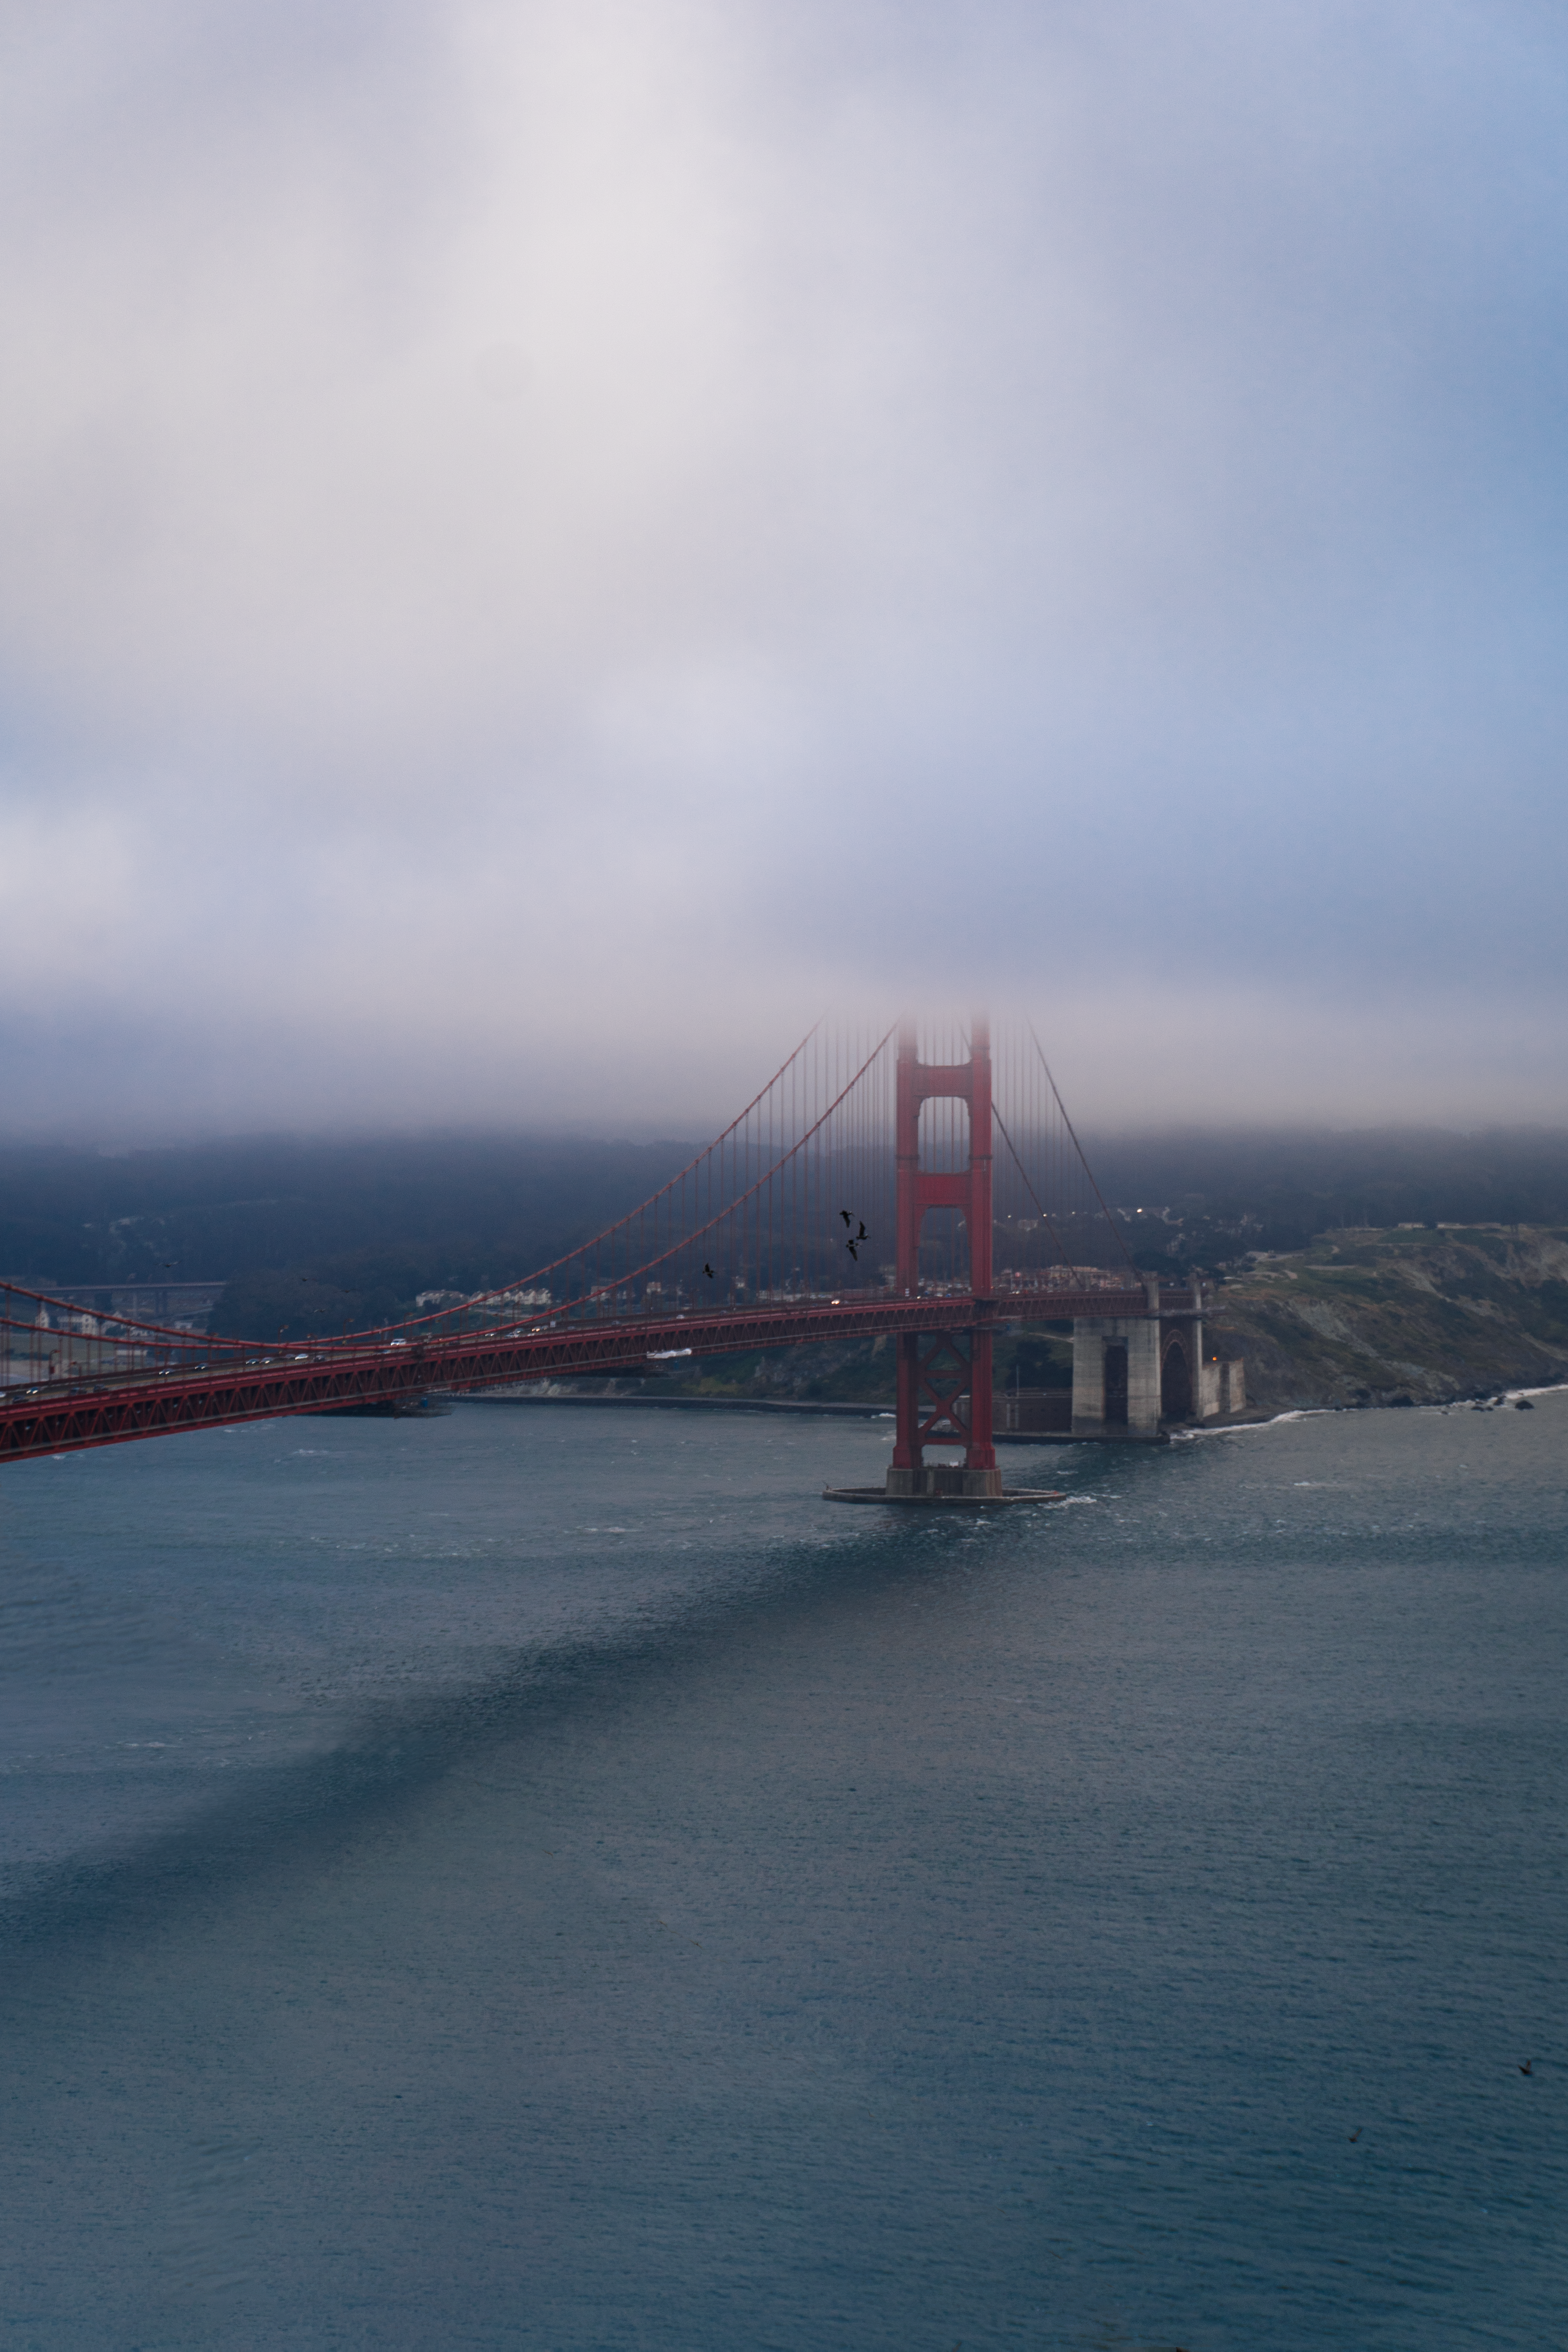
Playing around with different combinations of level sampling and pixel sampling resulted in the images below. All of these were sampled at 1 sample per pixel: