CS184/284A Spring 2025 Homework 4 Write-Up
Link to webpage: https://mich889.github.io/CS184/index4.html
Link to GitHub repository: https://github.com/orgs/cal-cs184-student/teams/waffle4
Overview
In this project we implement a cloth simulator with various shadres to stylize the simulation. This is driven by equations of motion from mechanics and cloth data structure, modelled as a 2D grid of point masses. . The movement of each point mass is determined by the combined effects of spring forces and external influences. Included in this simulation is collision detection with scene objects and self collision, as well as various textured and colored variations for the cloth. I was amazed by how convincingly the simulator mimicked realistic cloth behaviour while avoiding heavy computational load of ray tracing!
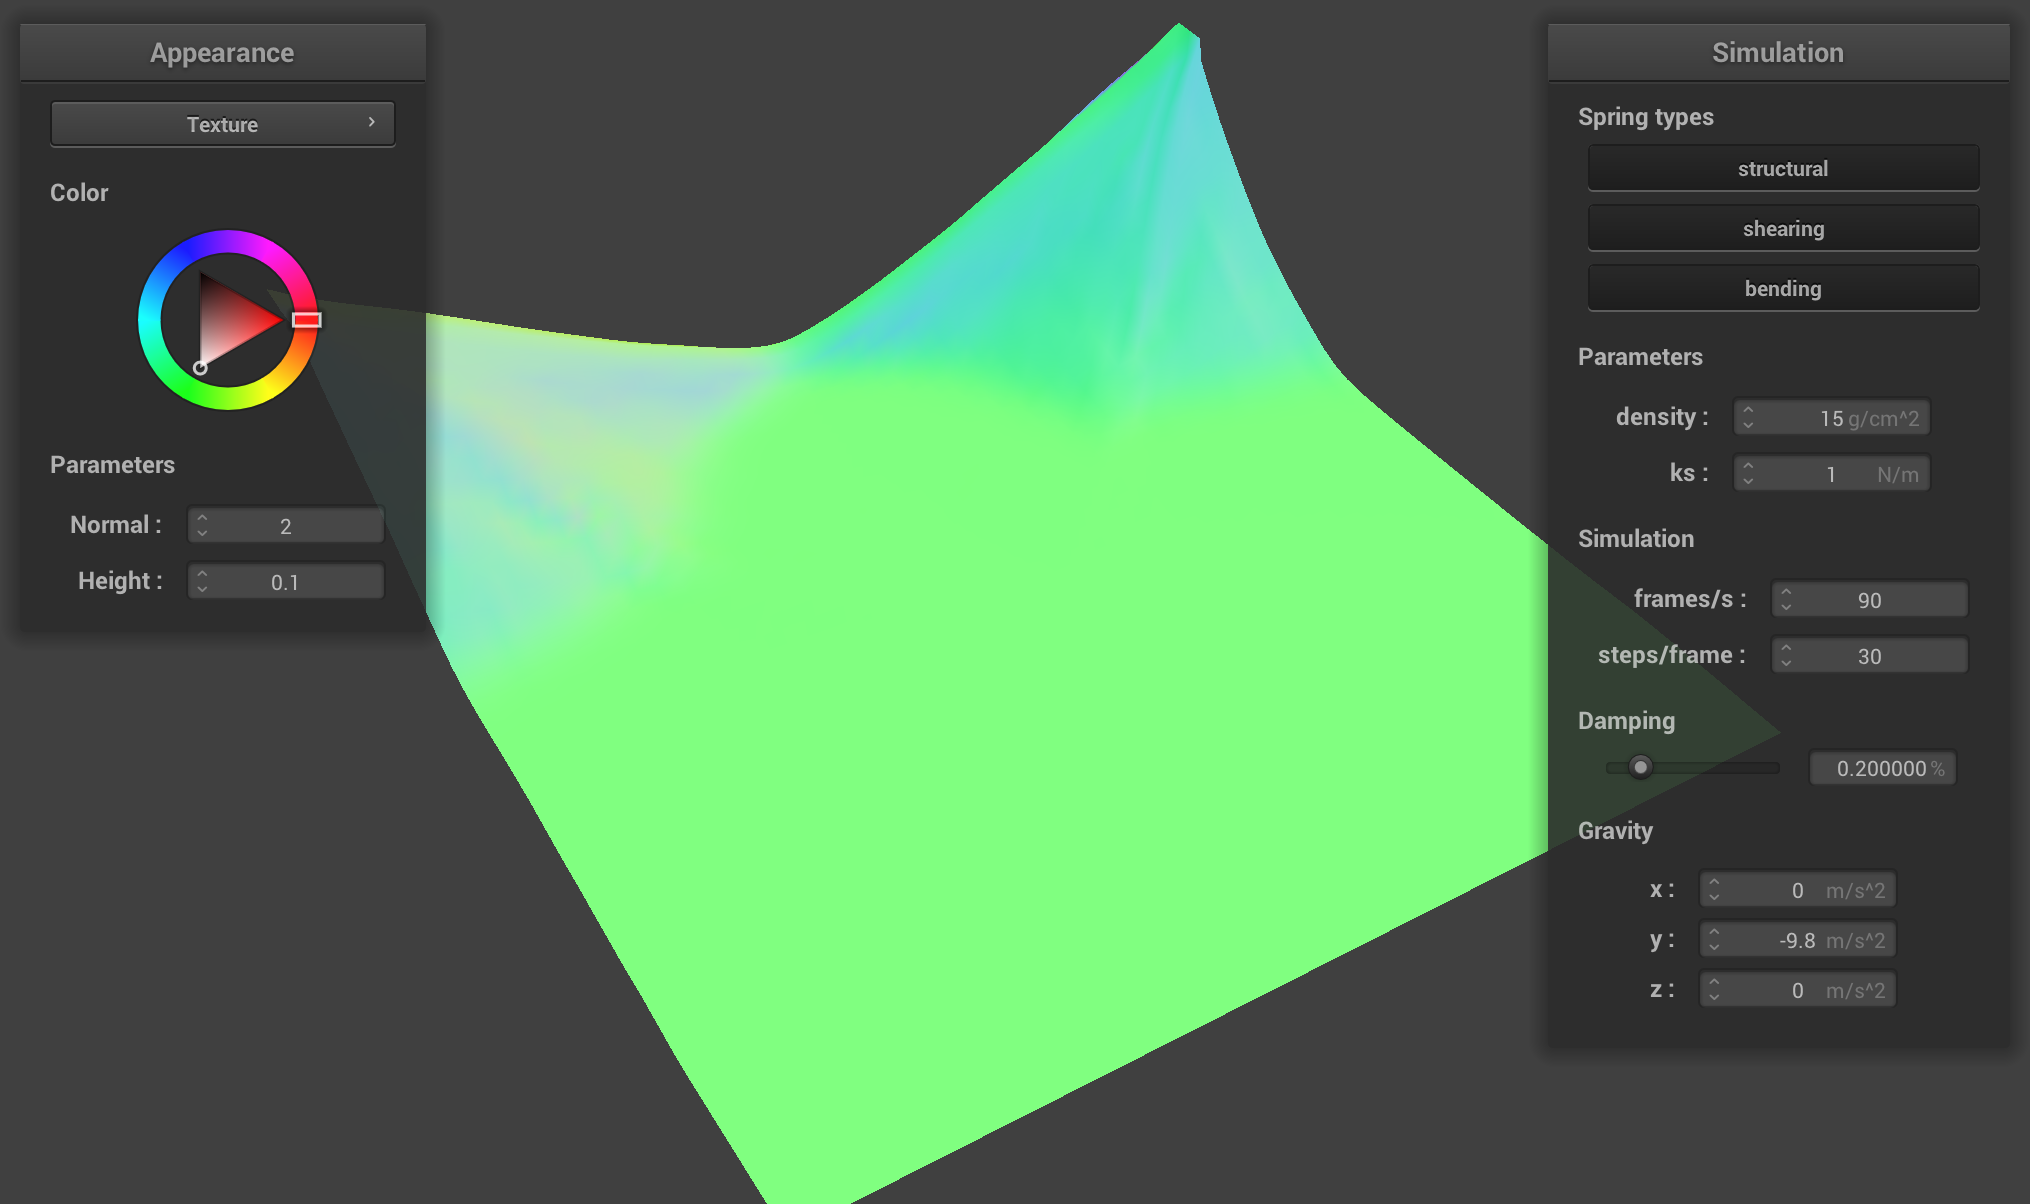
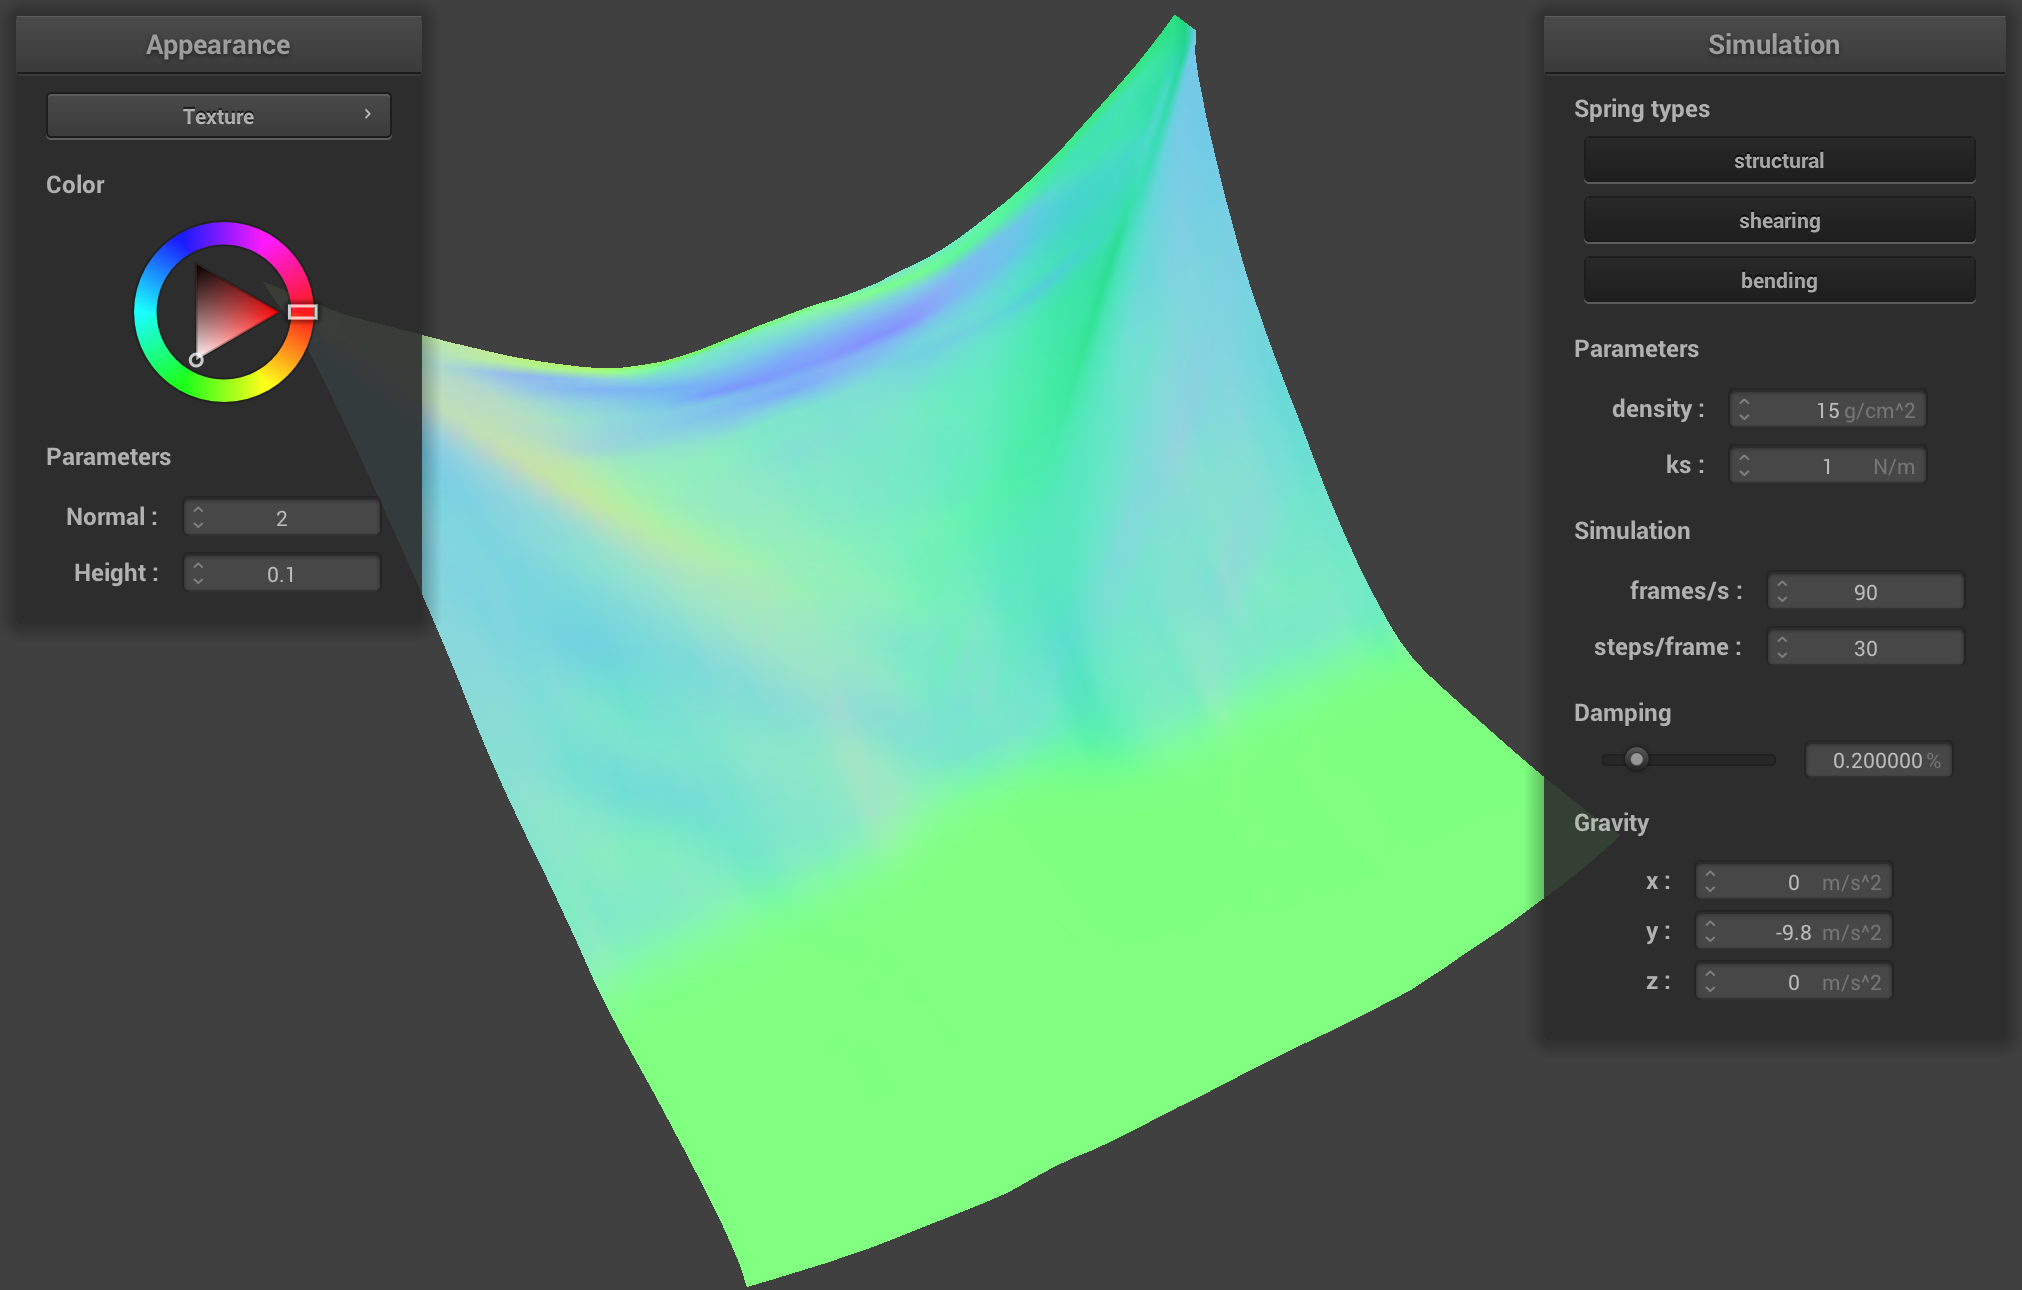
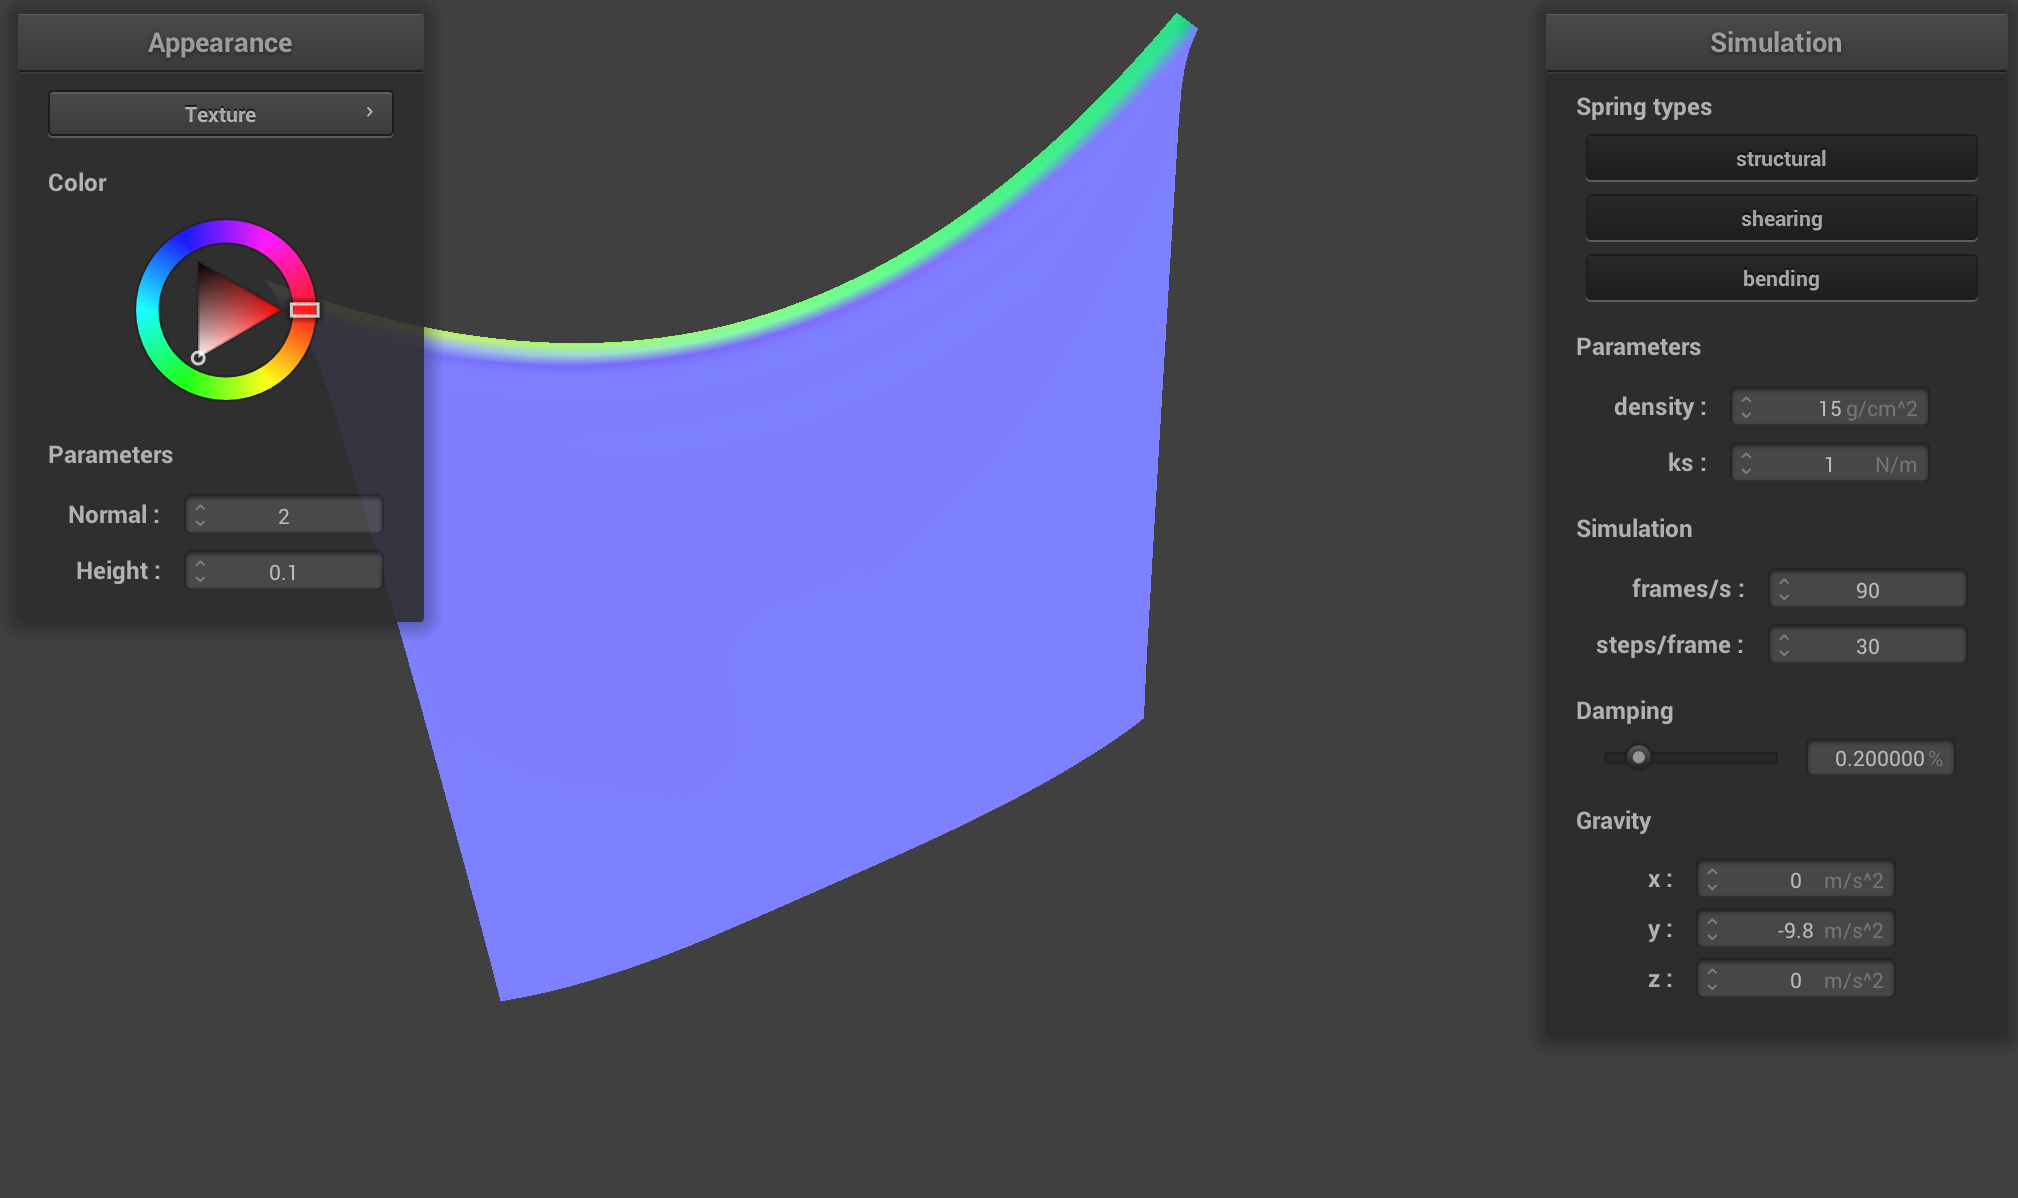
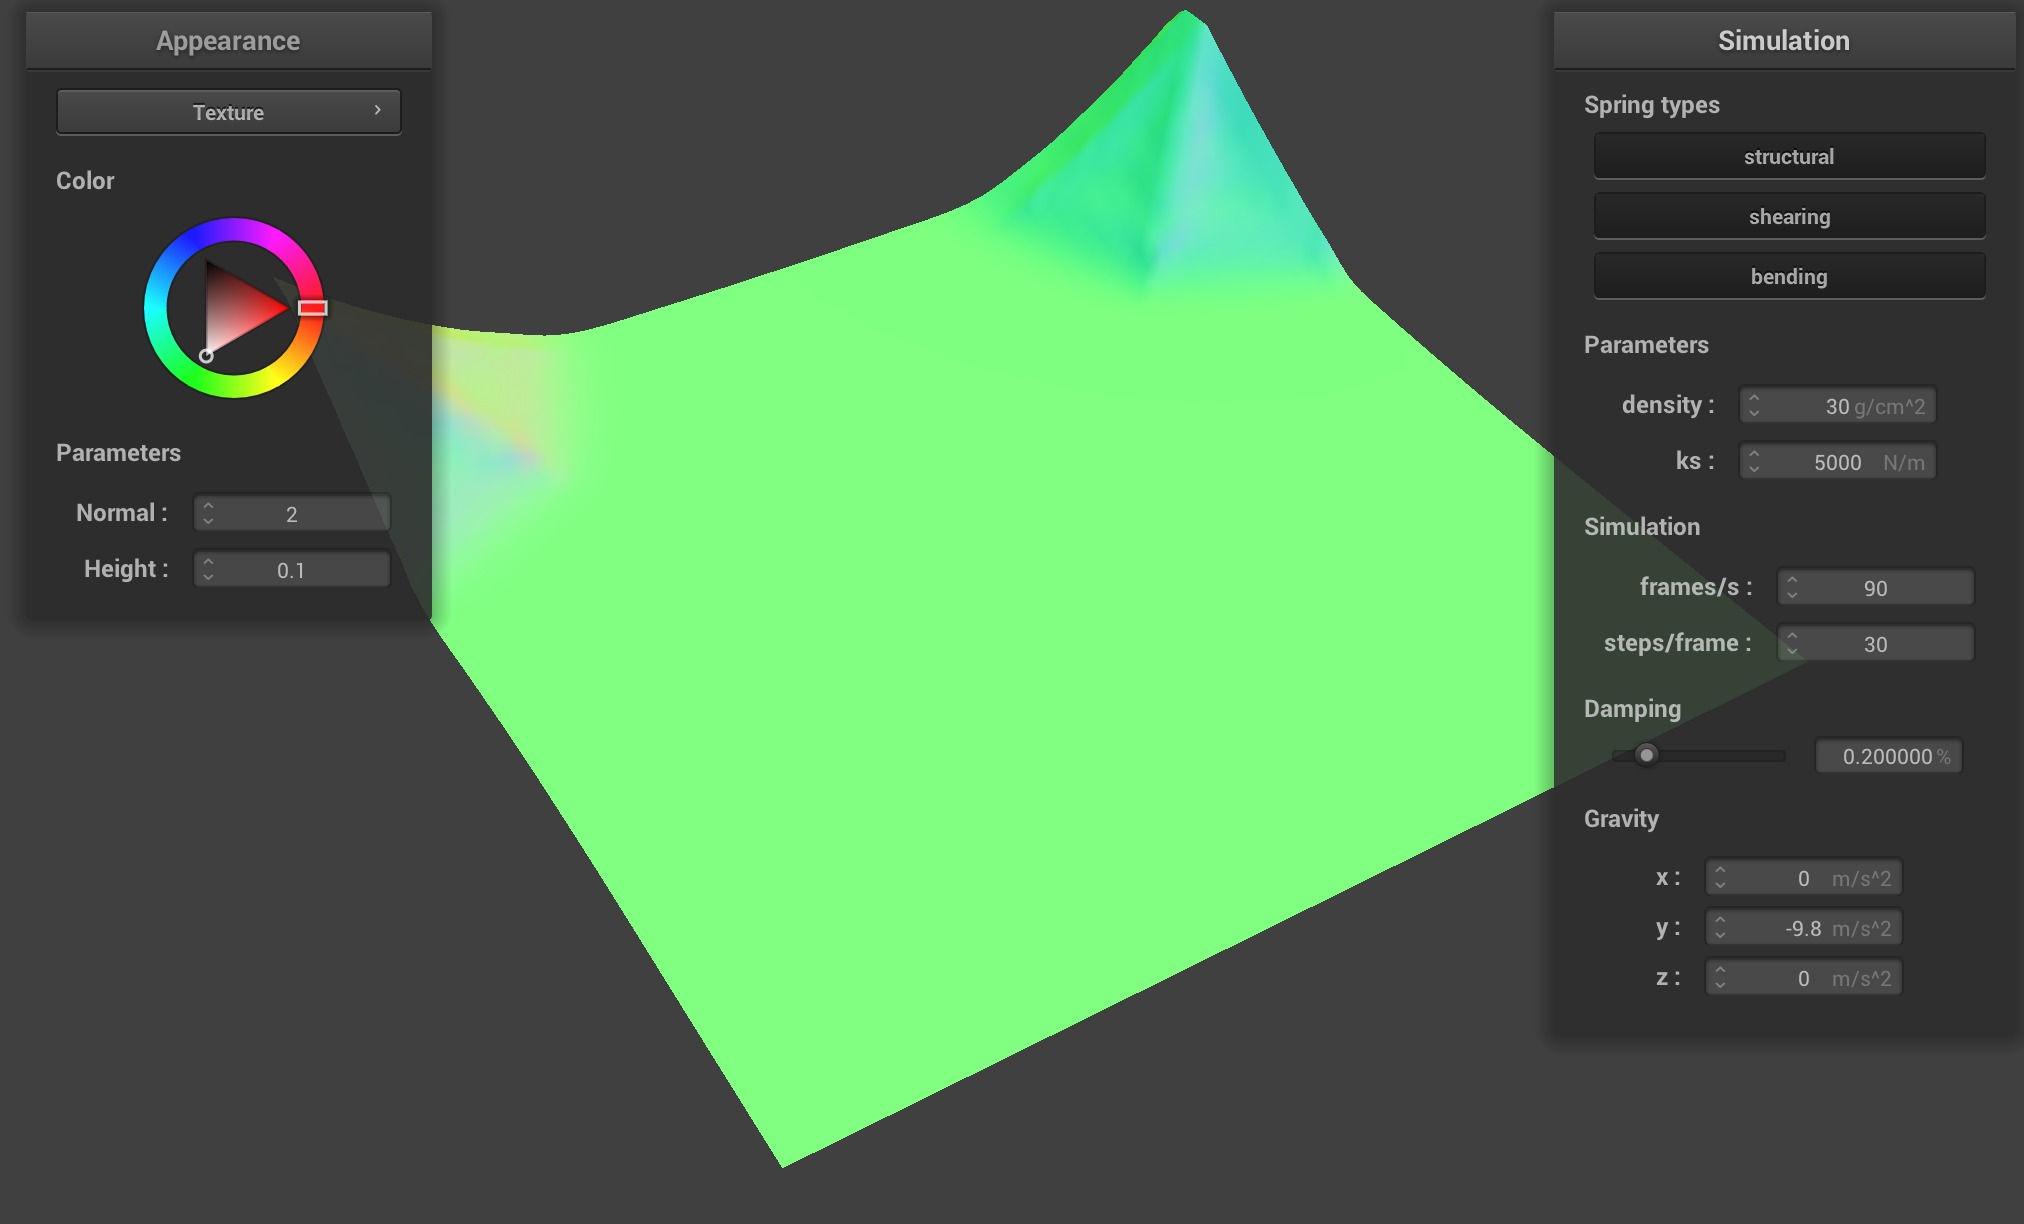
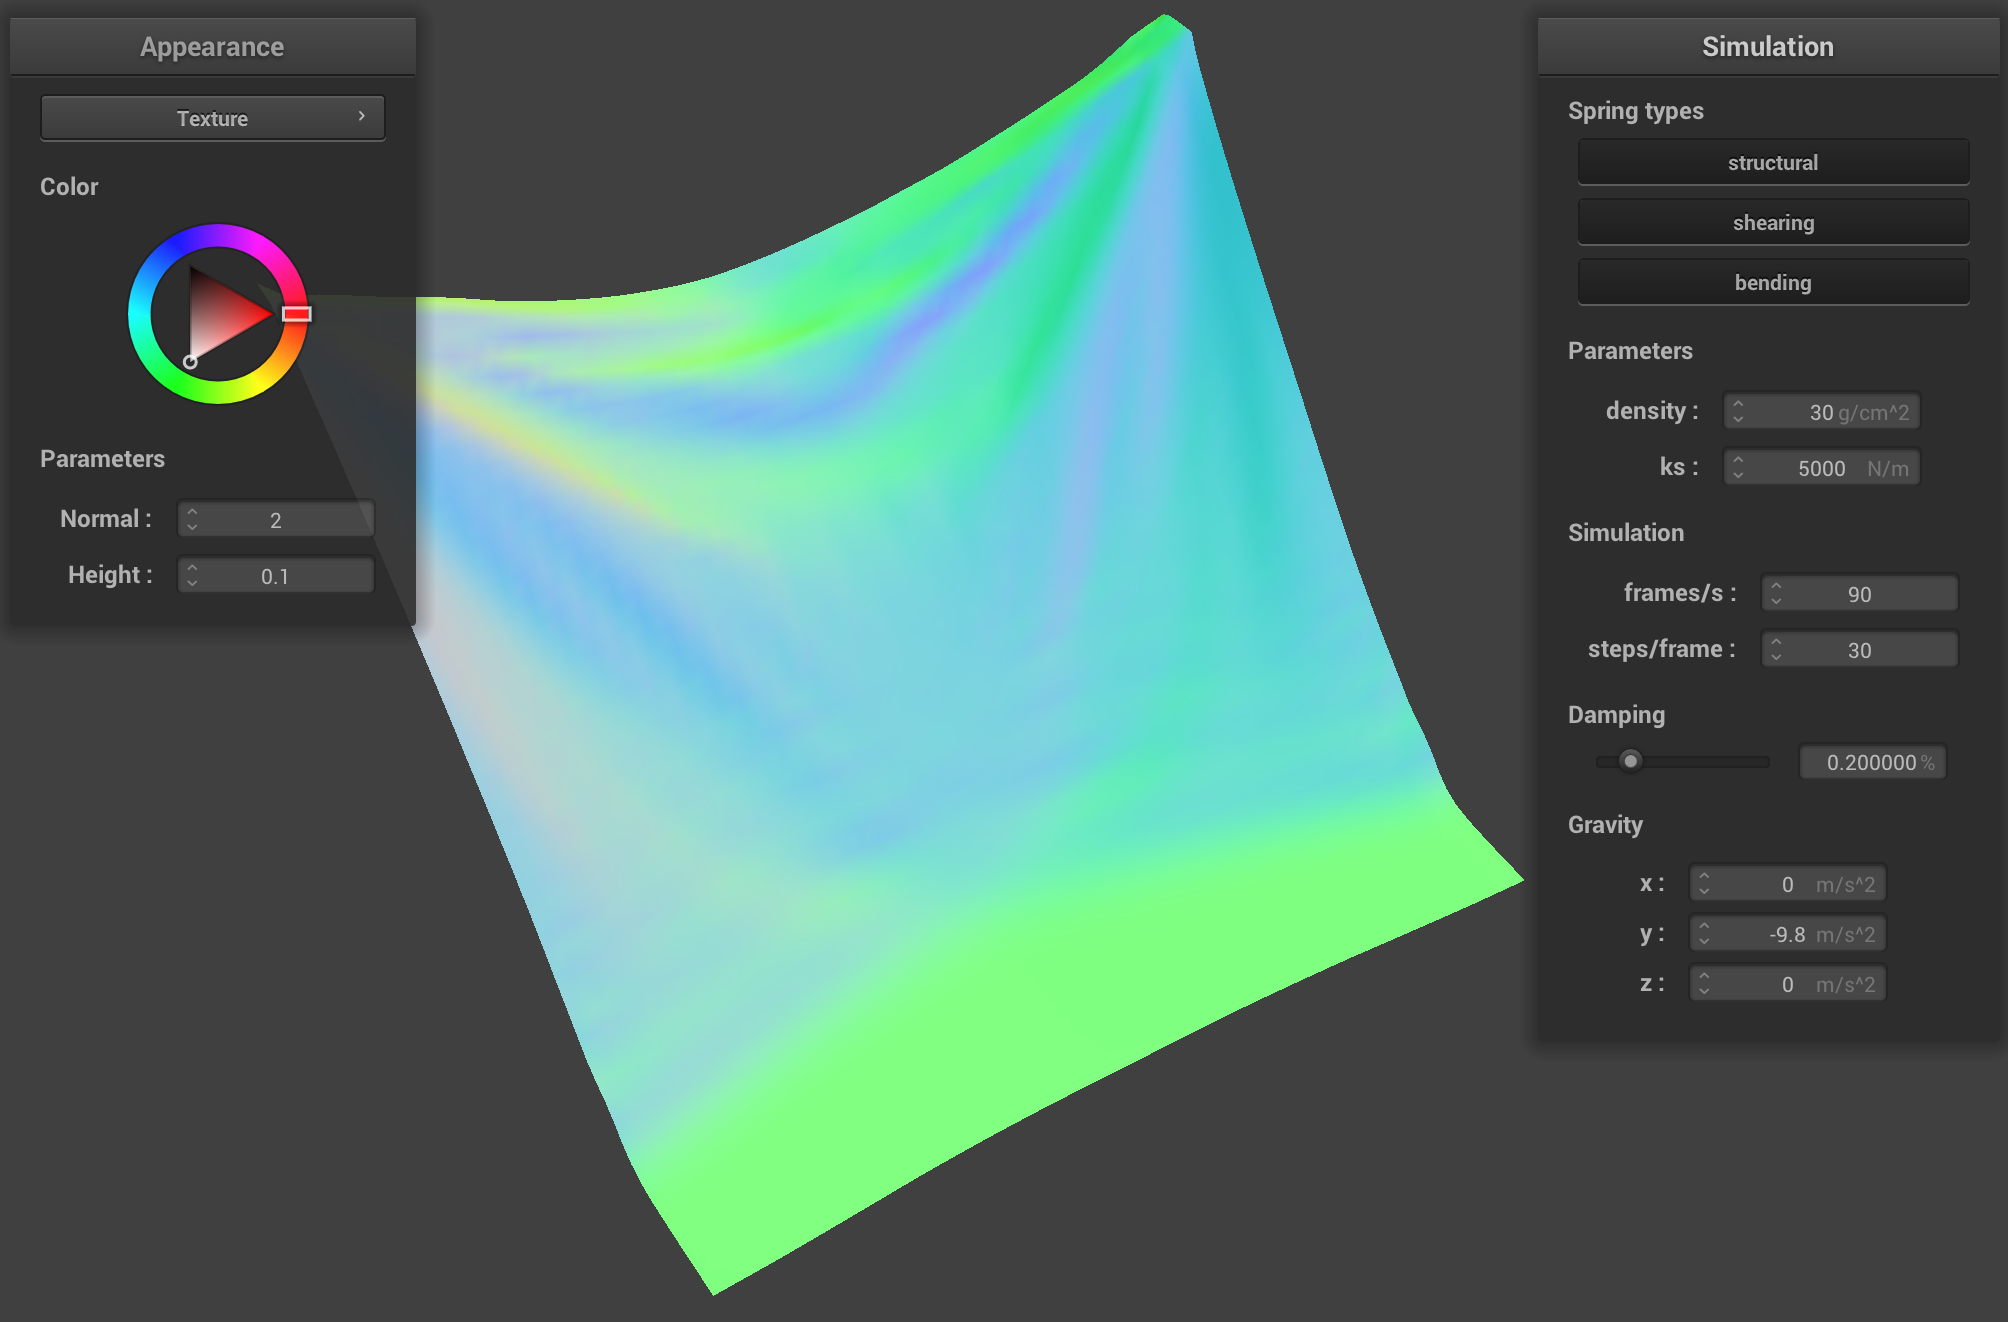
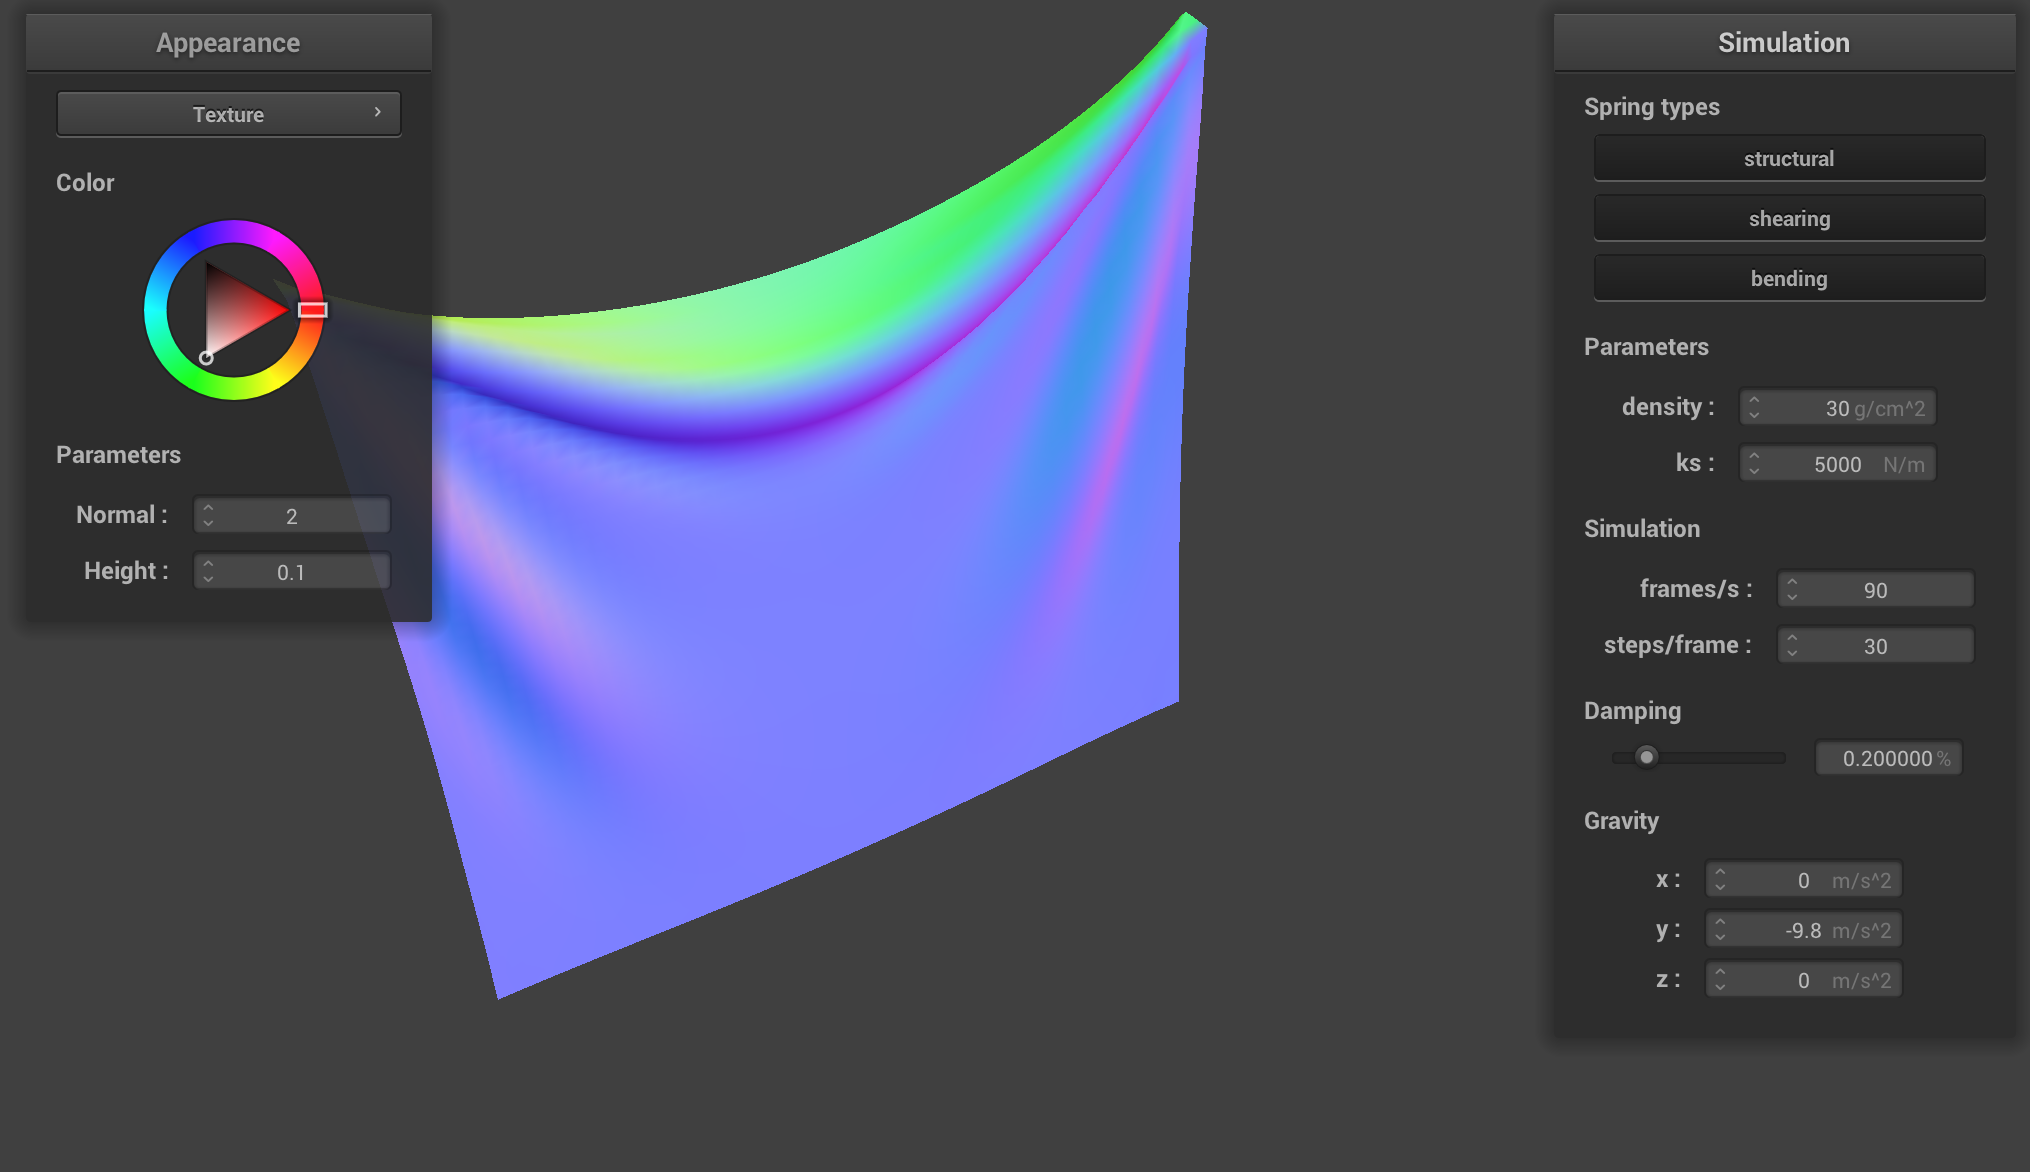
Part 1: Masses and springs
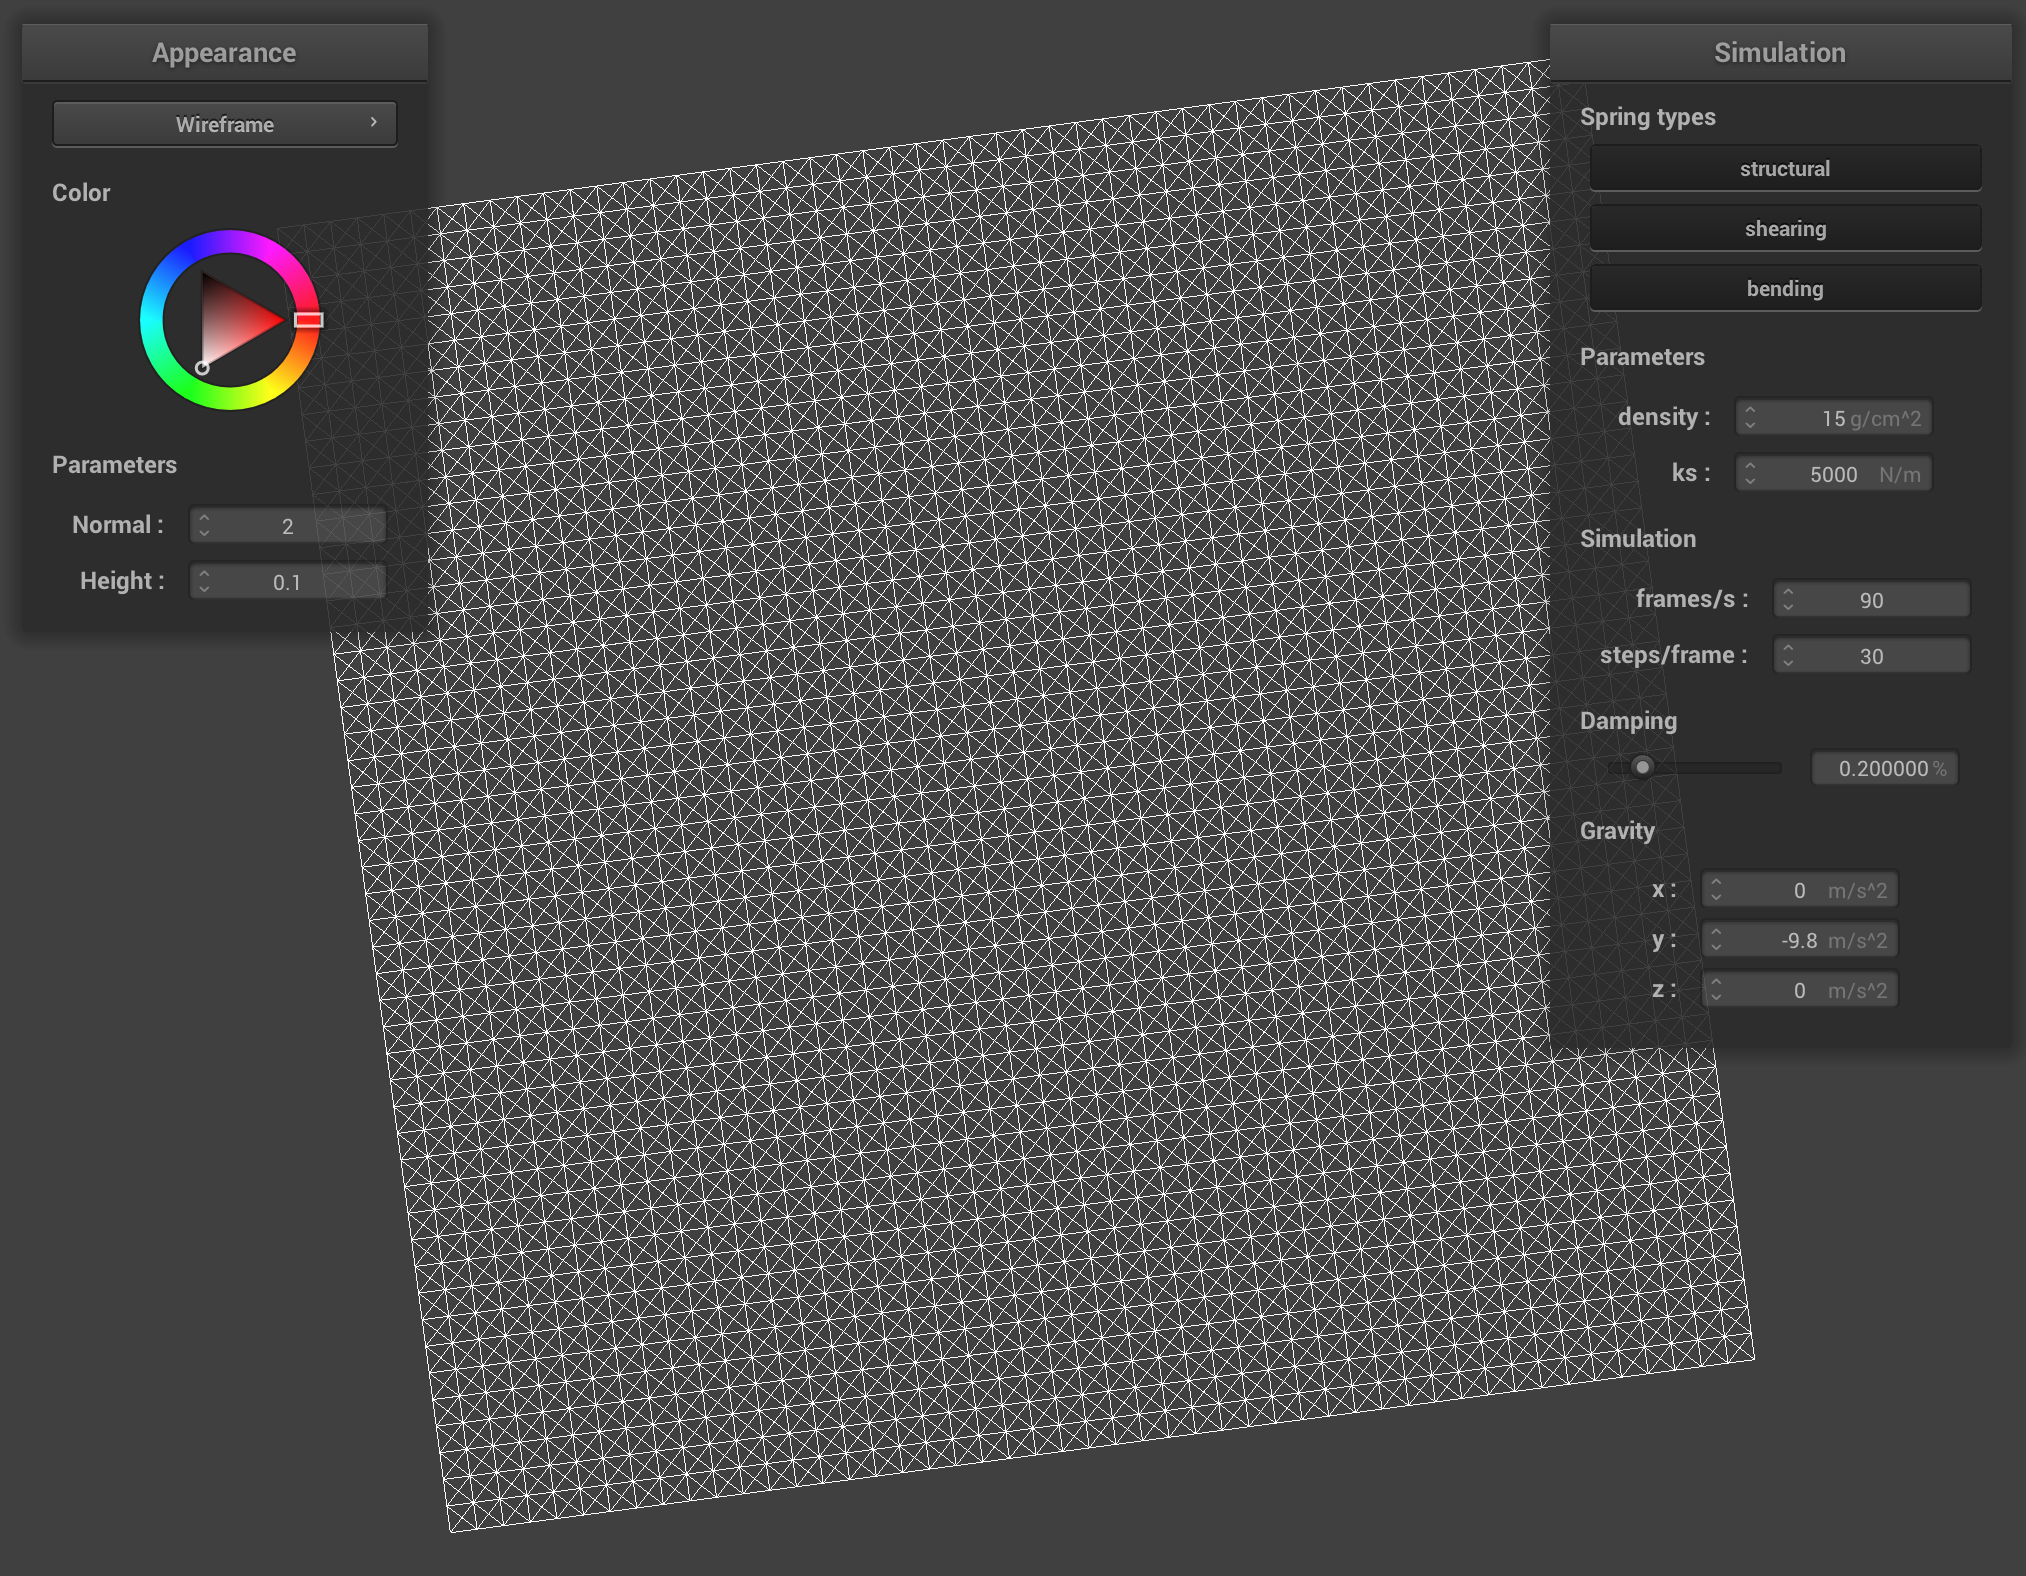
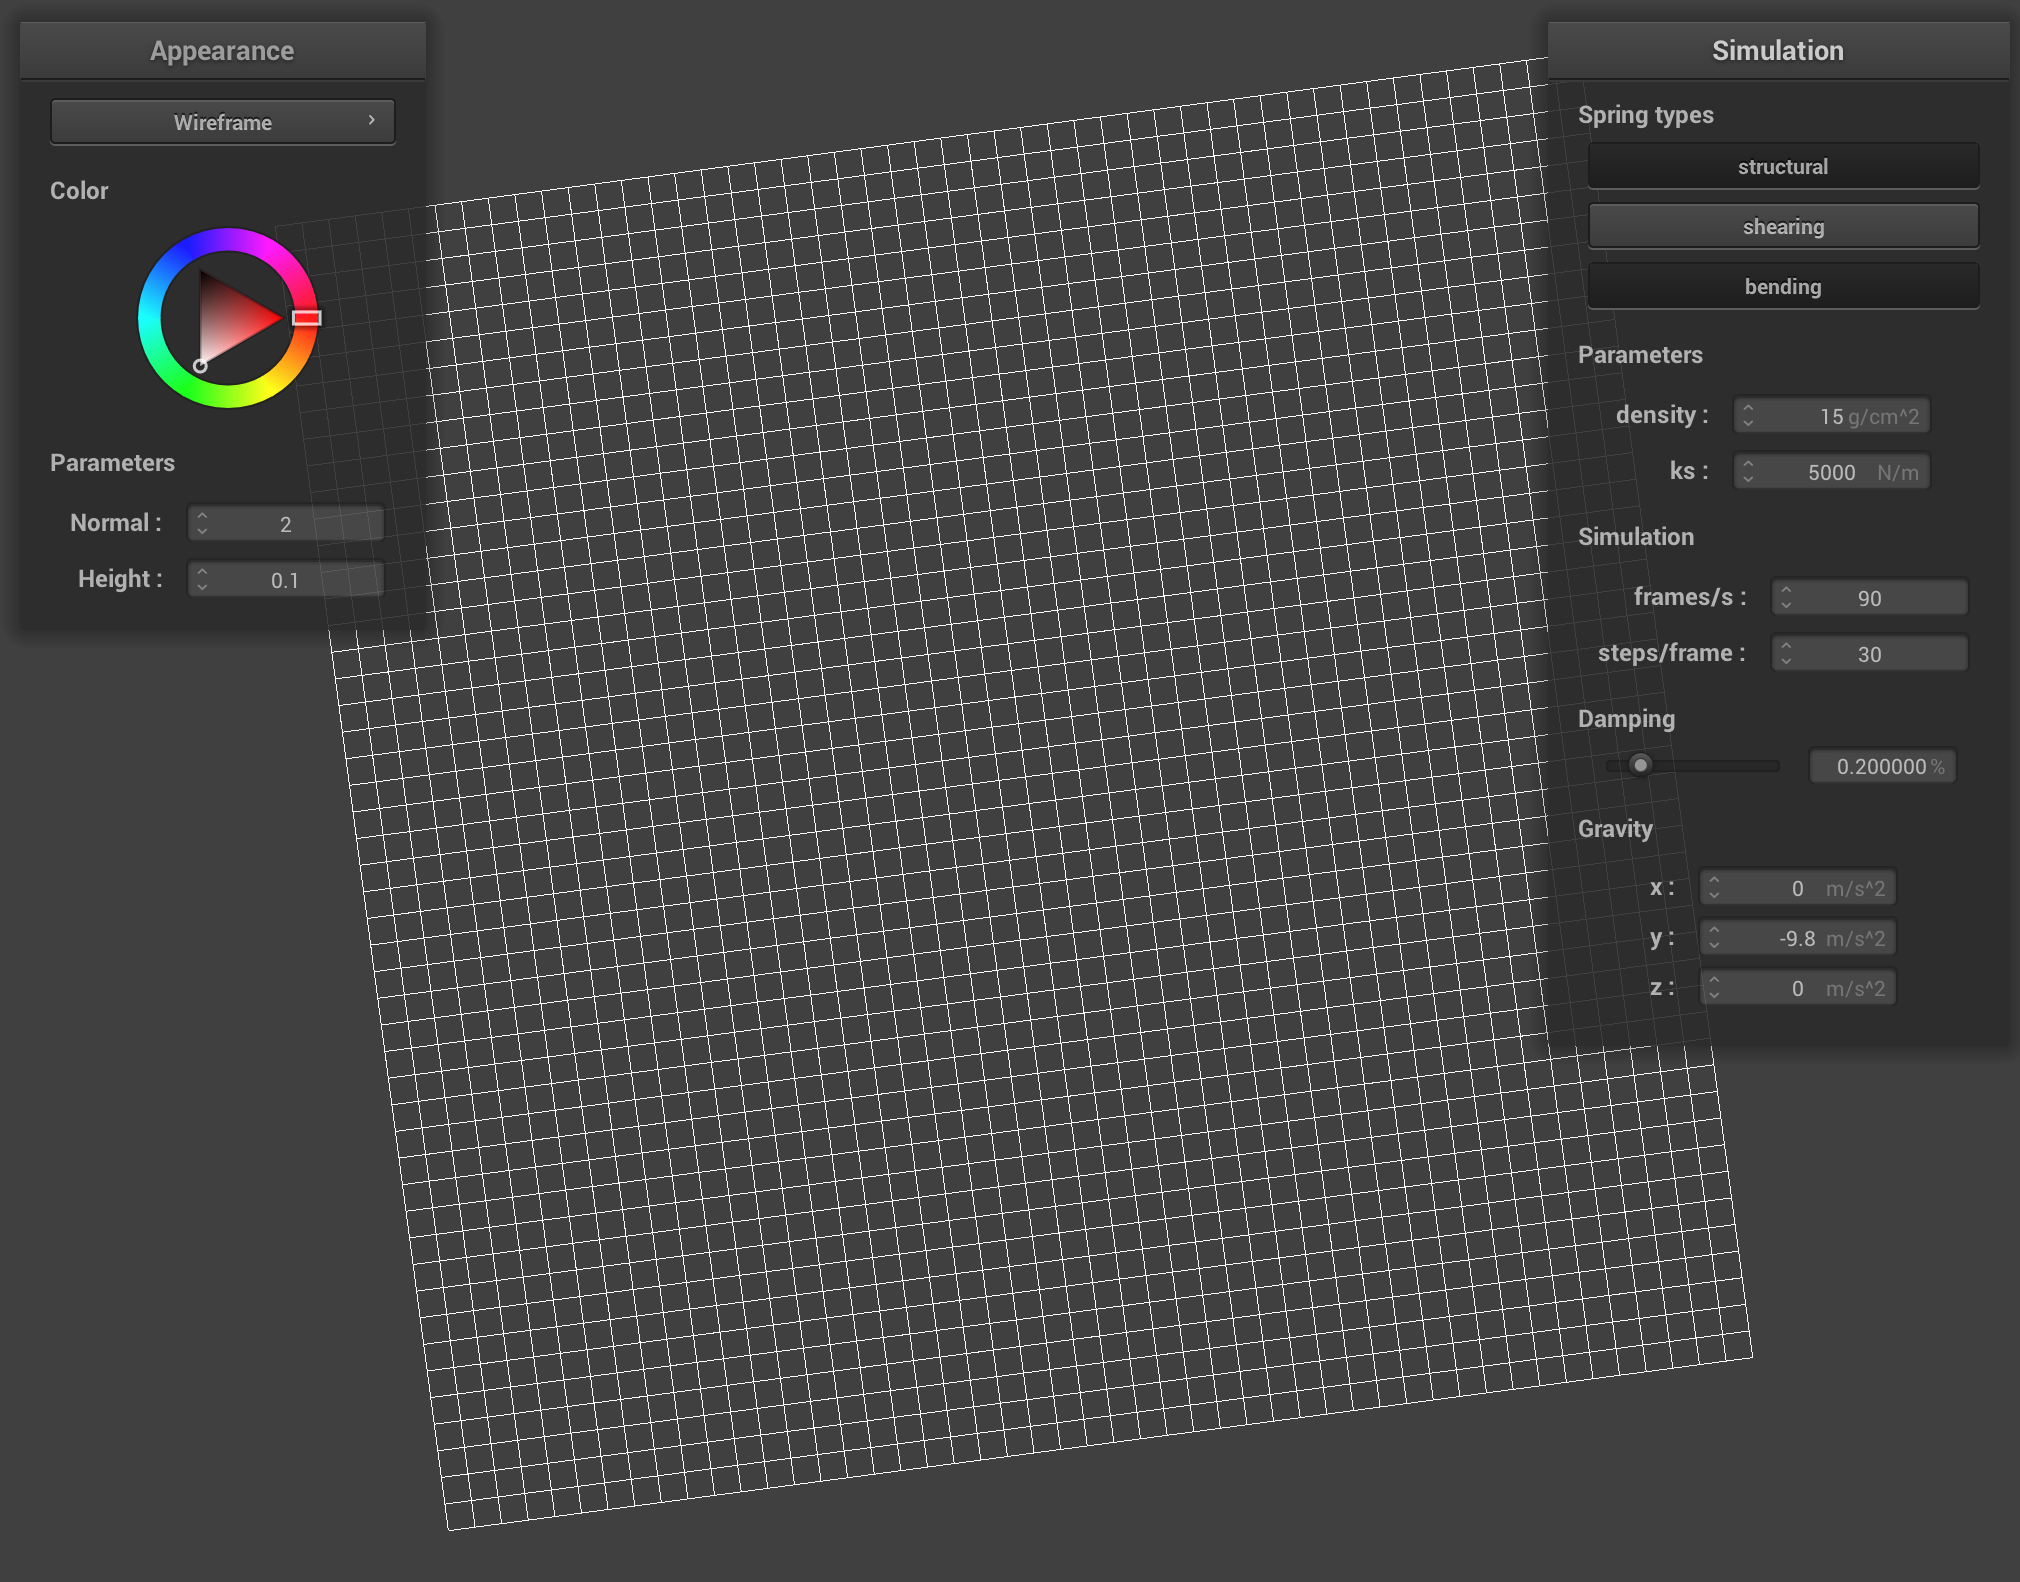
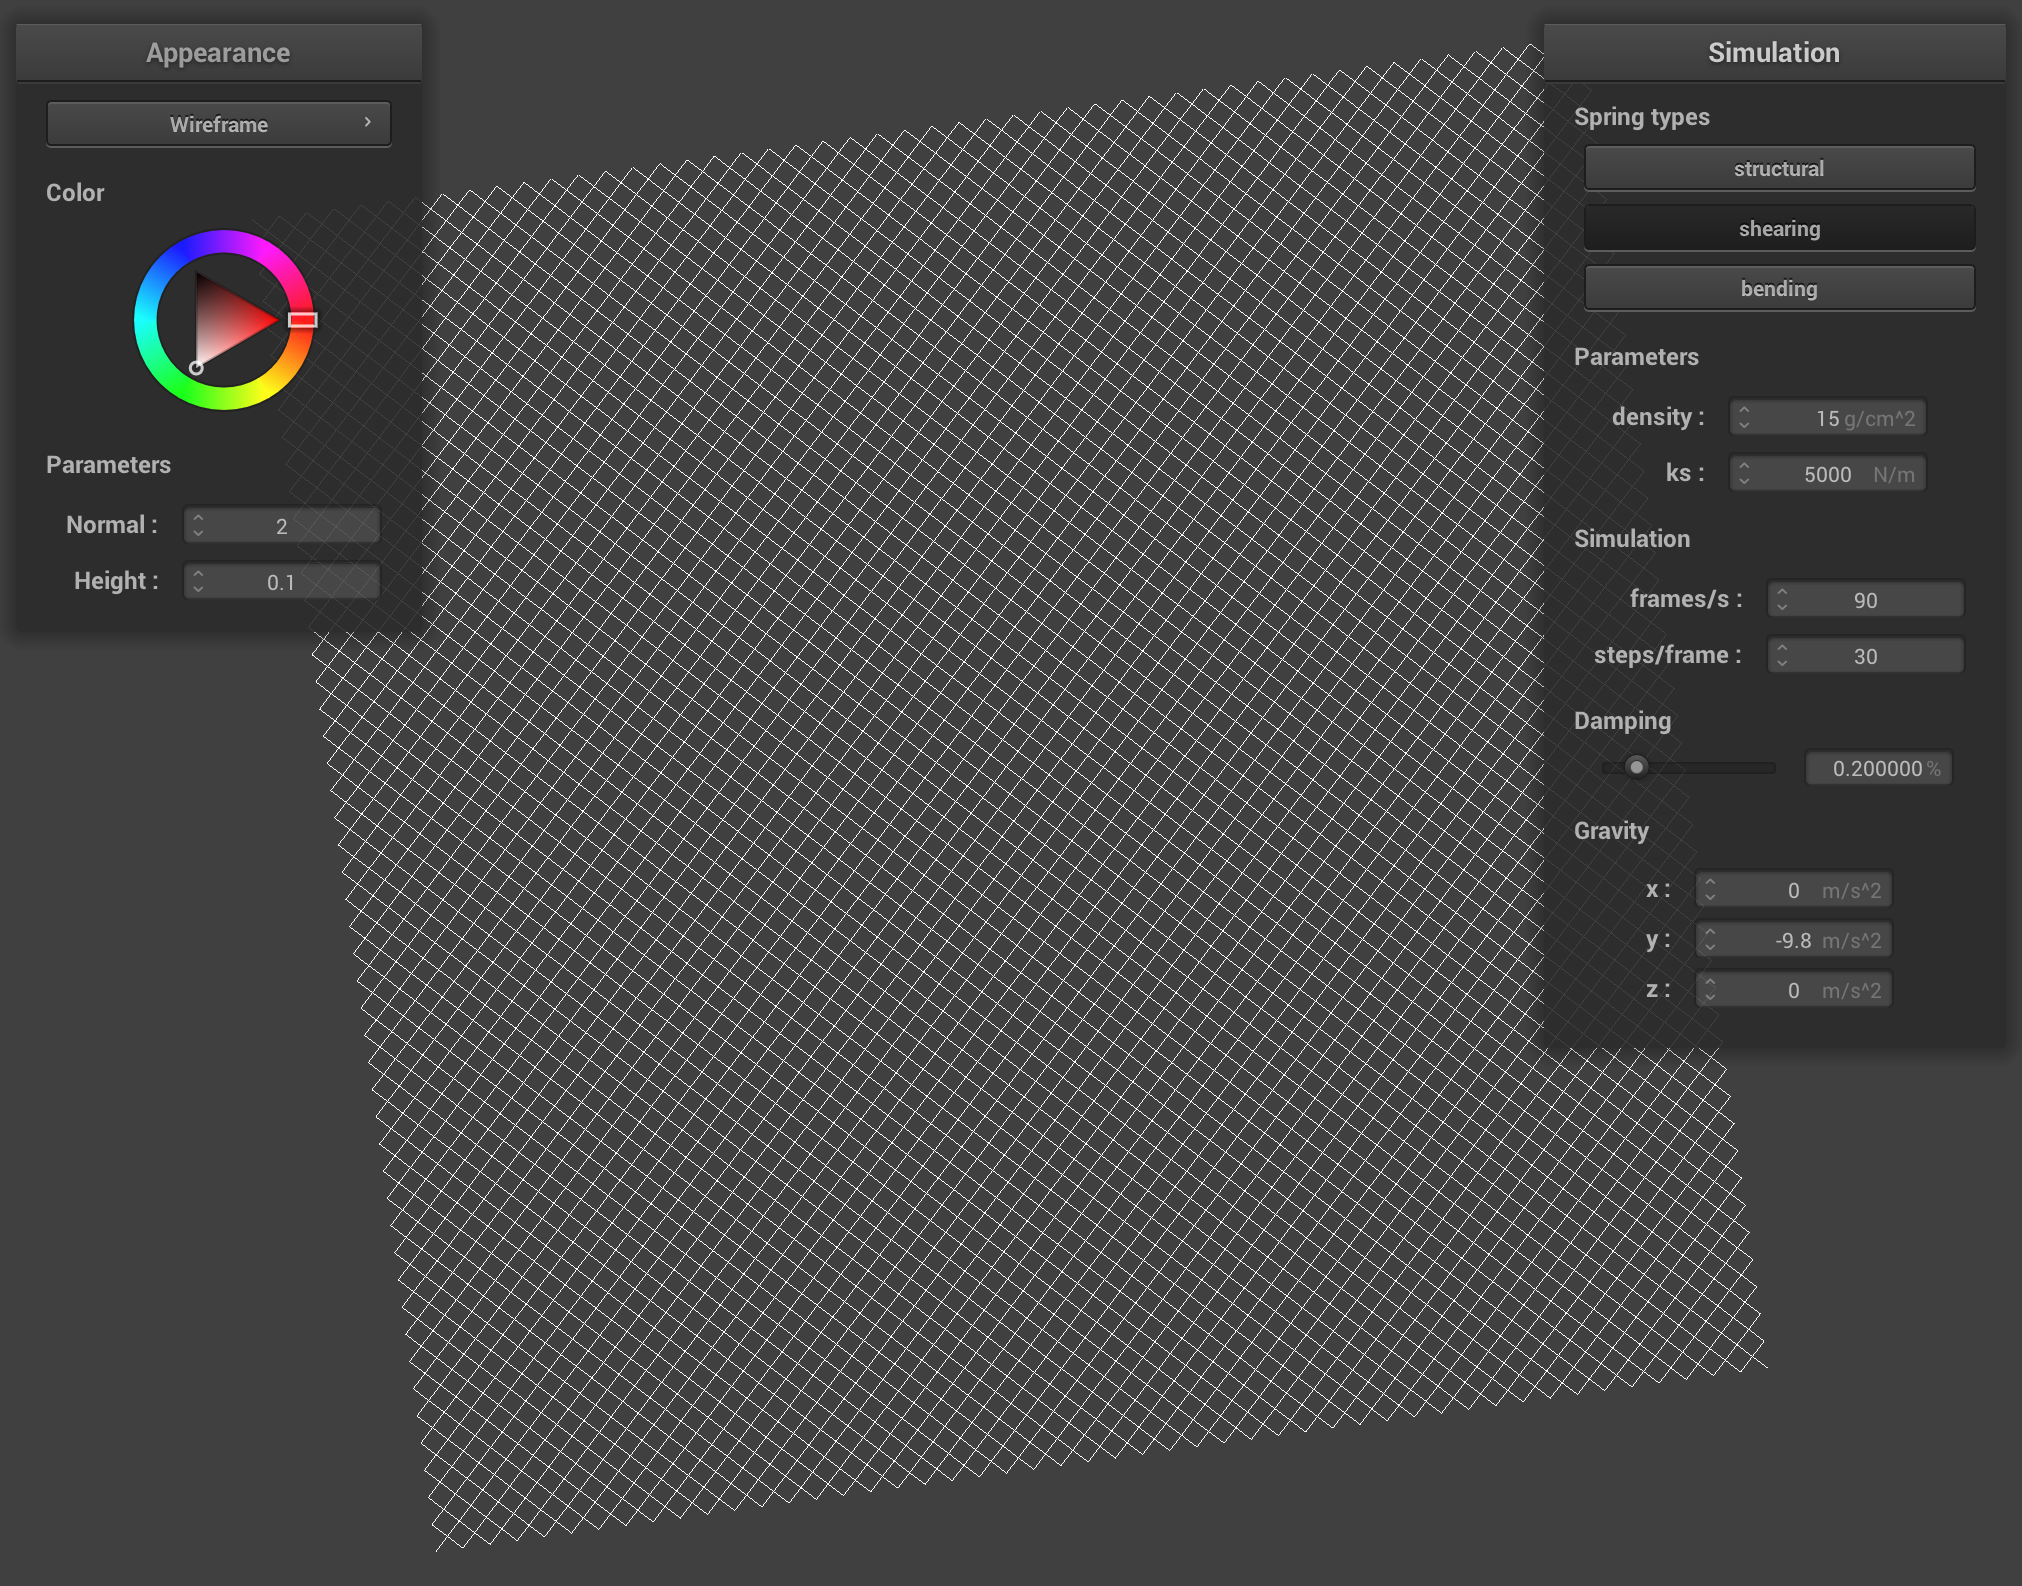
We built a cloth simulation grid by creating a matrix of point masses and then connecting them with structural, shearing, and bending springs.
|
|
|

|
With all constraints, the cloth has lines going diagonally to the left and to the right, as well as horizontally and vertically. With the structural and bending constraints, the cloth retains the horizontal and vertical lines and with only shearing constraints, the cloth retains the diagonal lines. Thus, when all 3 constraints are disabled, no lines remain on the cloth.
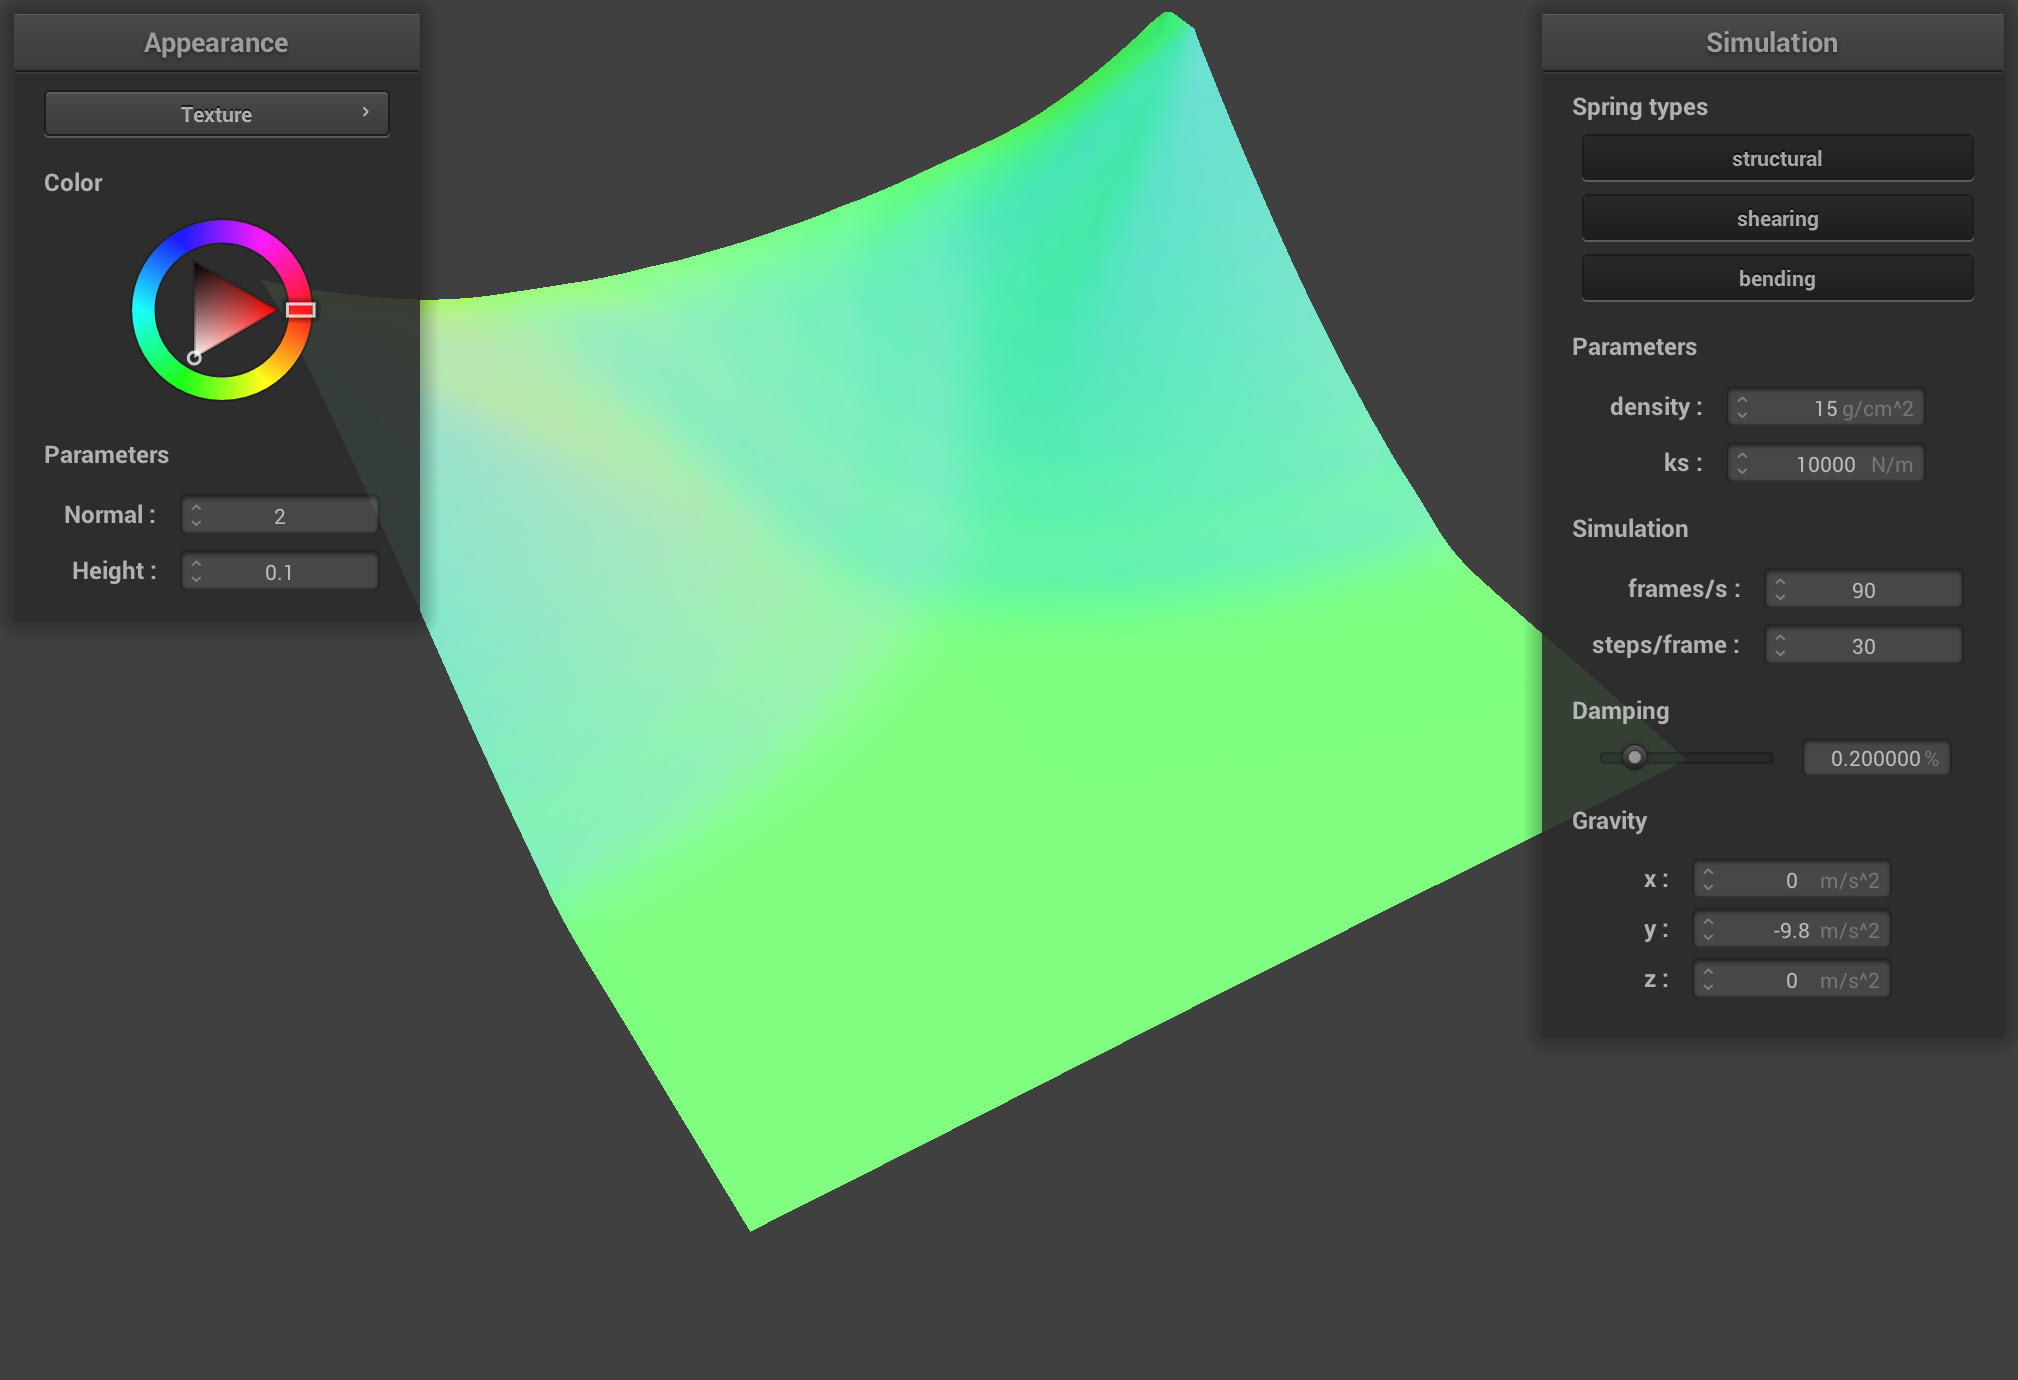
Part 2: Simulation via numerical integration
We integrated the physical equations of motion to apply the forces on the point masses, to figure out how they move from one time stamp to the next!
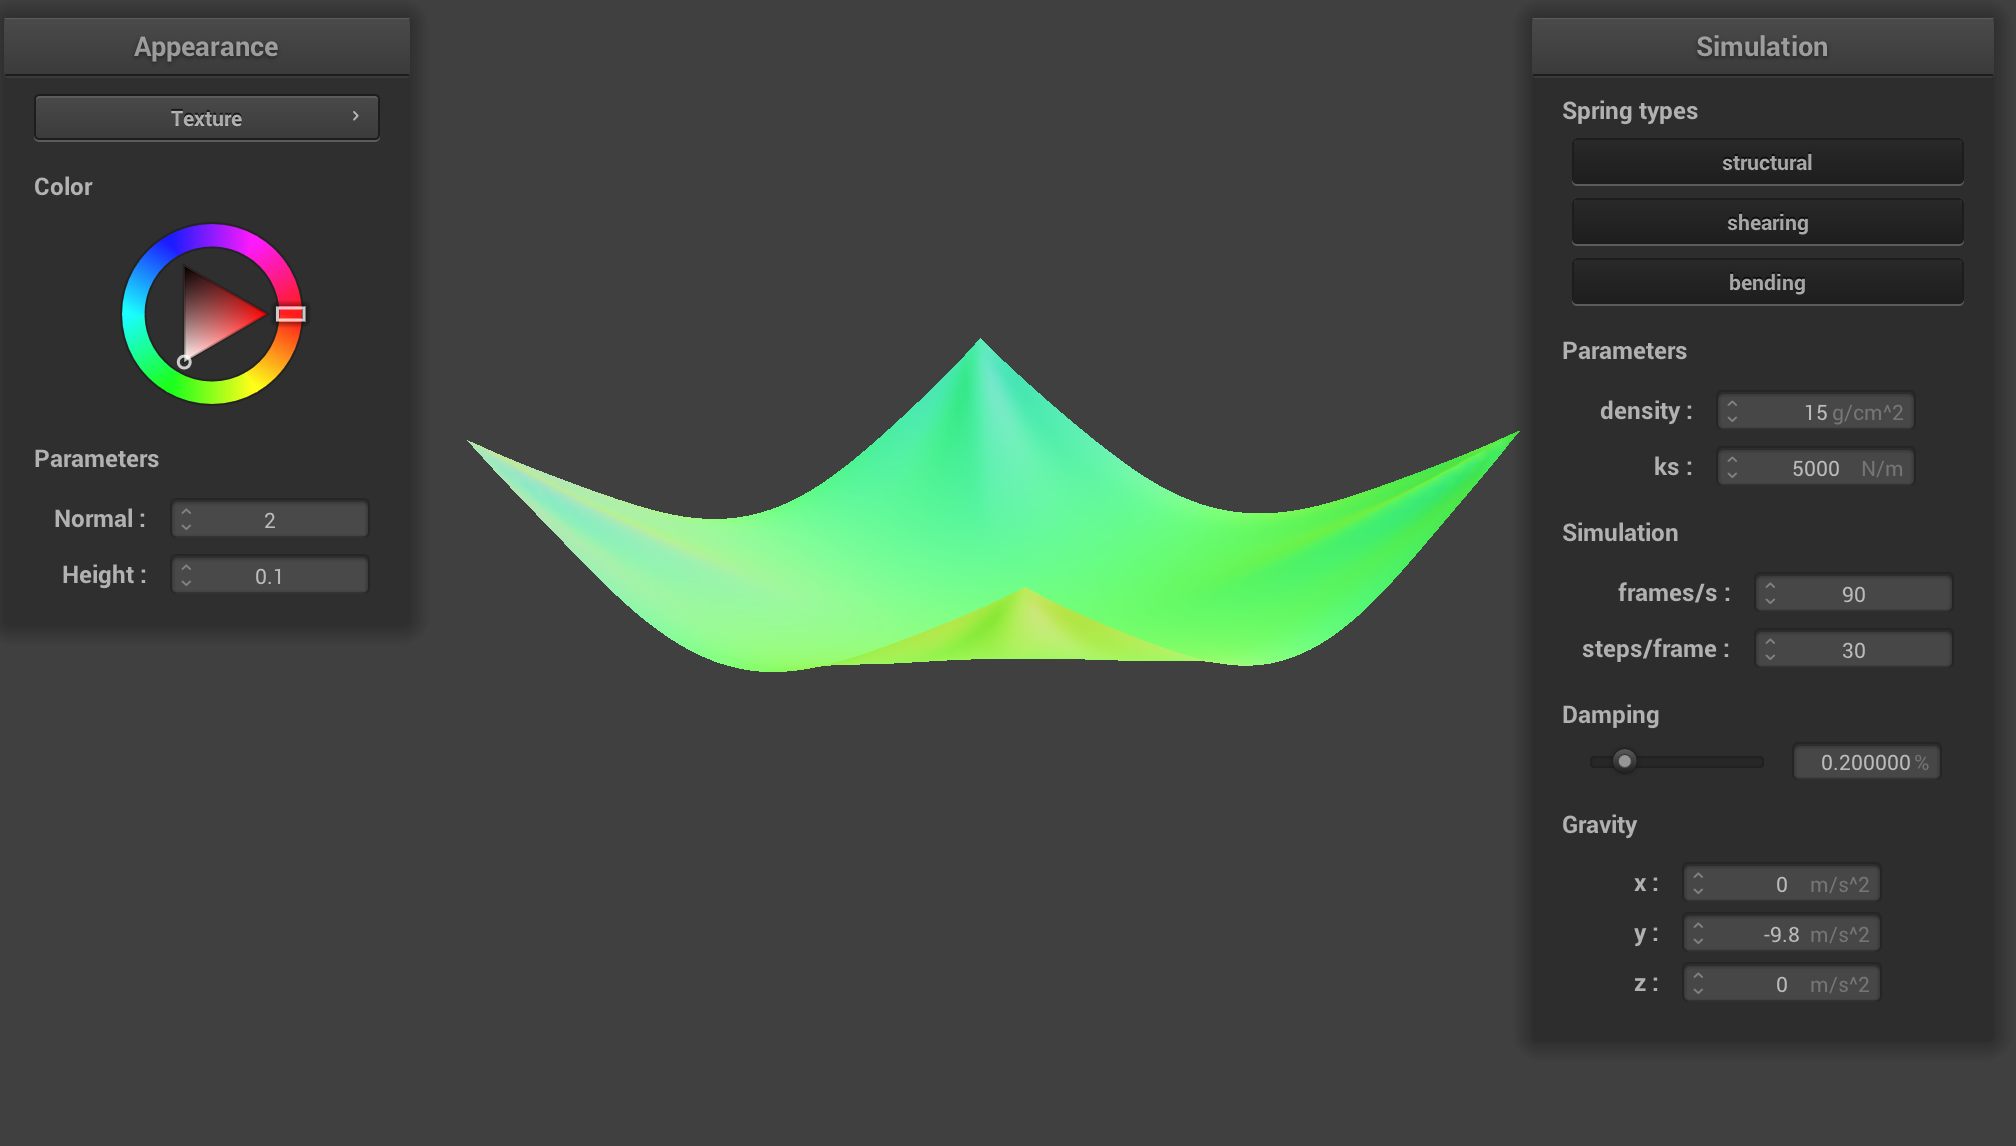
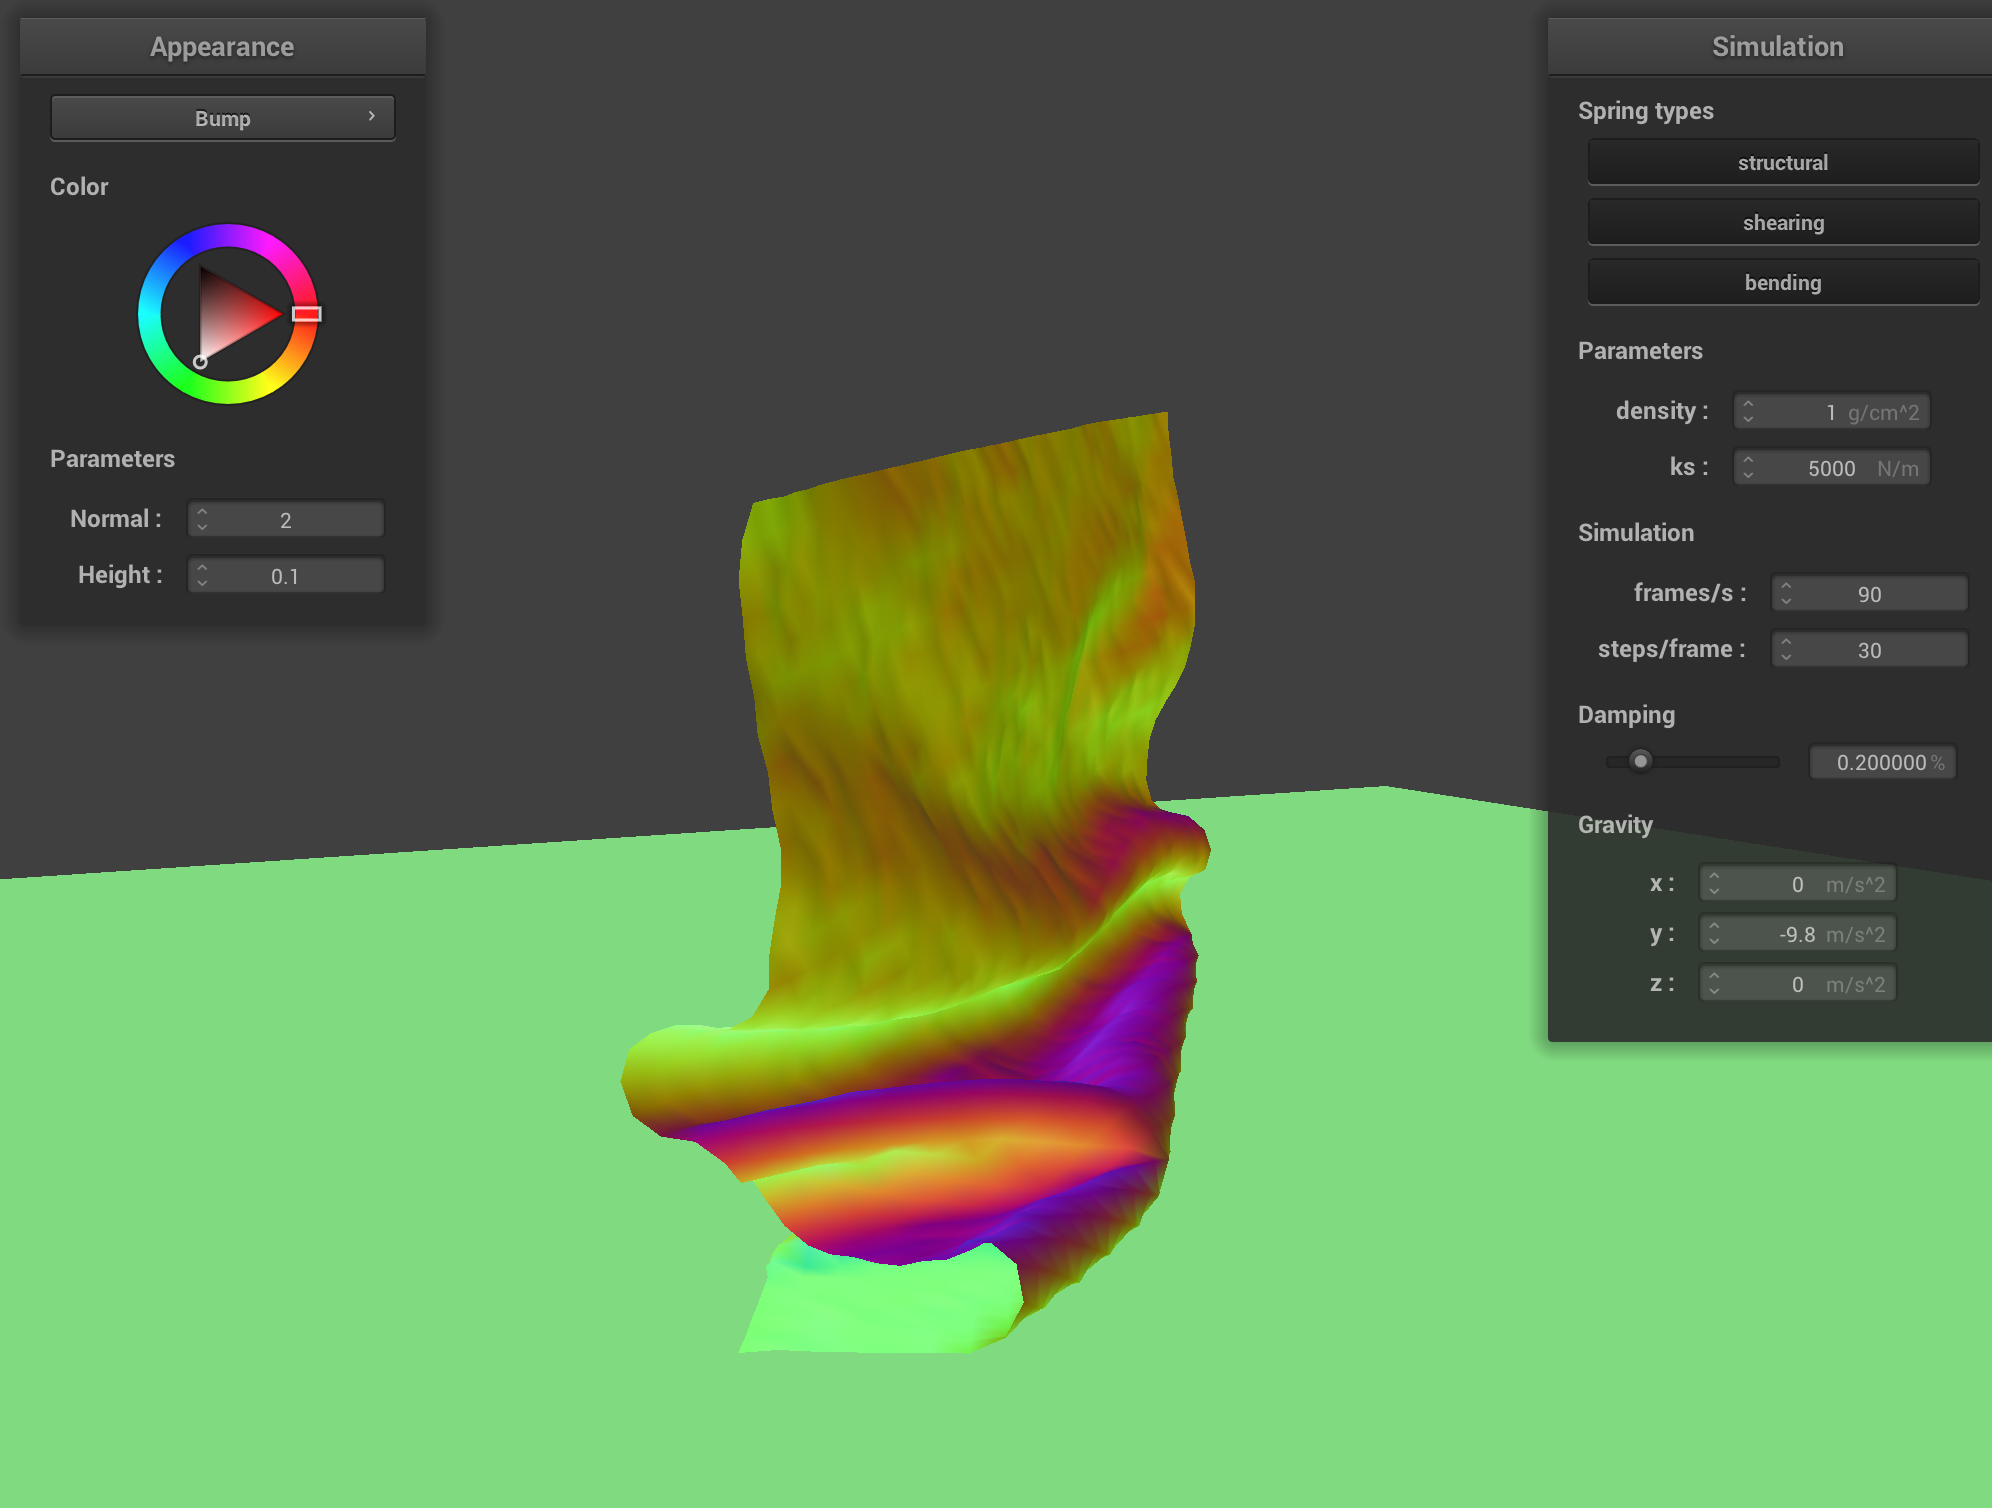
ks, the spring constant, affects the stiffness of the
springs connecting the masses. With a low ks, we noticed a
much looser final resting position, less rigidity, and it took quicker
to arrive at that final resting position compared to a cloth with a
higher ks. It appears to be a softer material, less stiff.
|
|

|
|
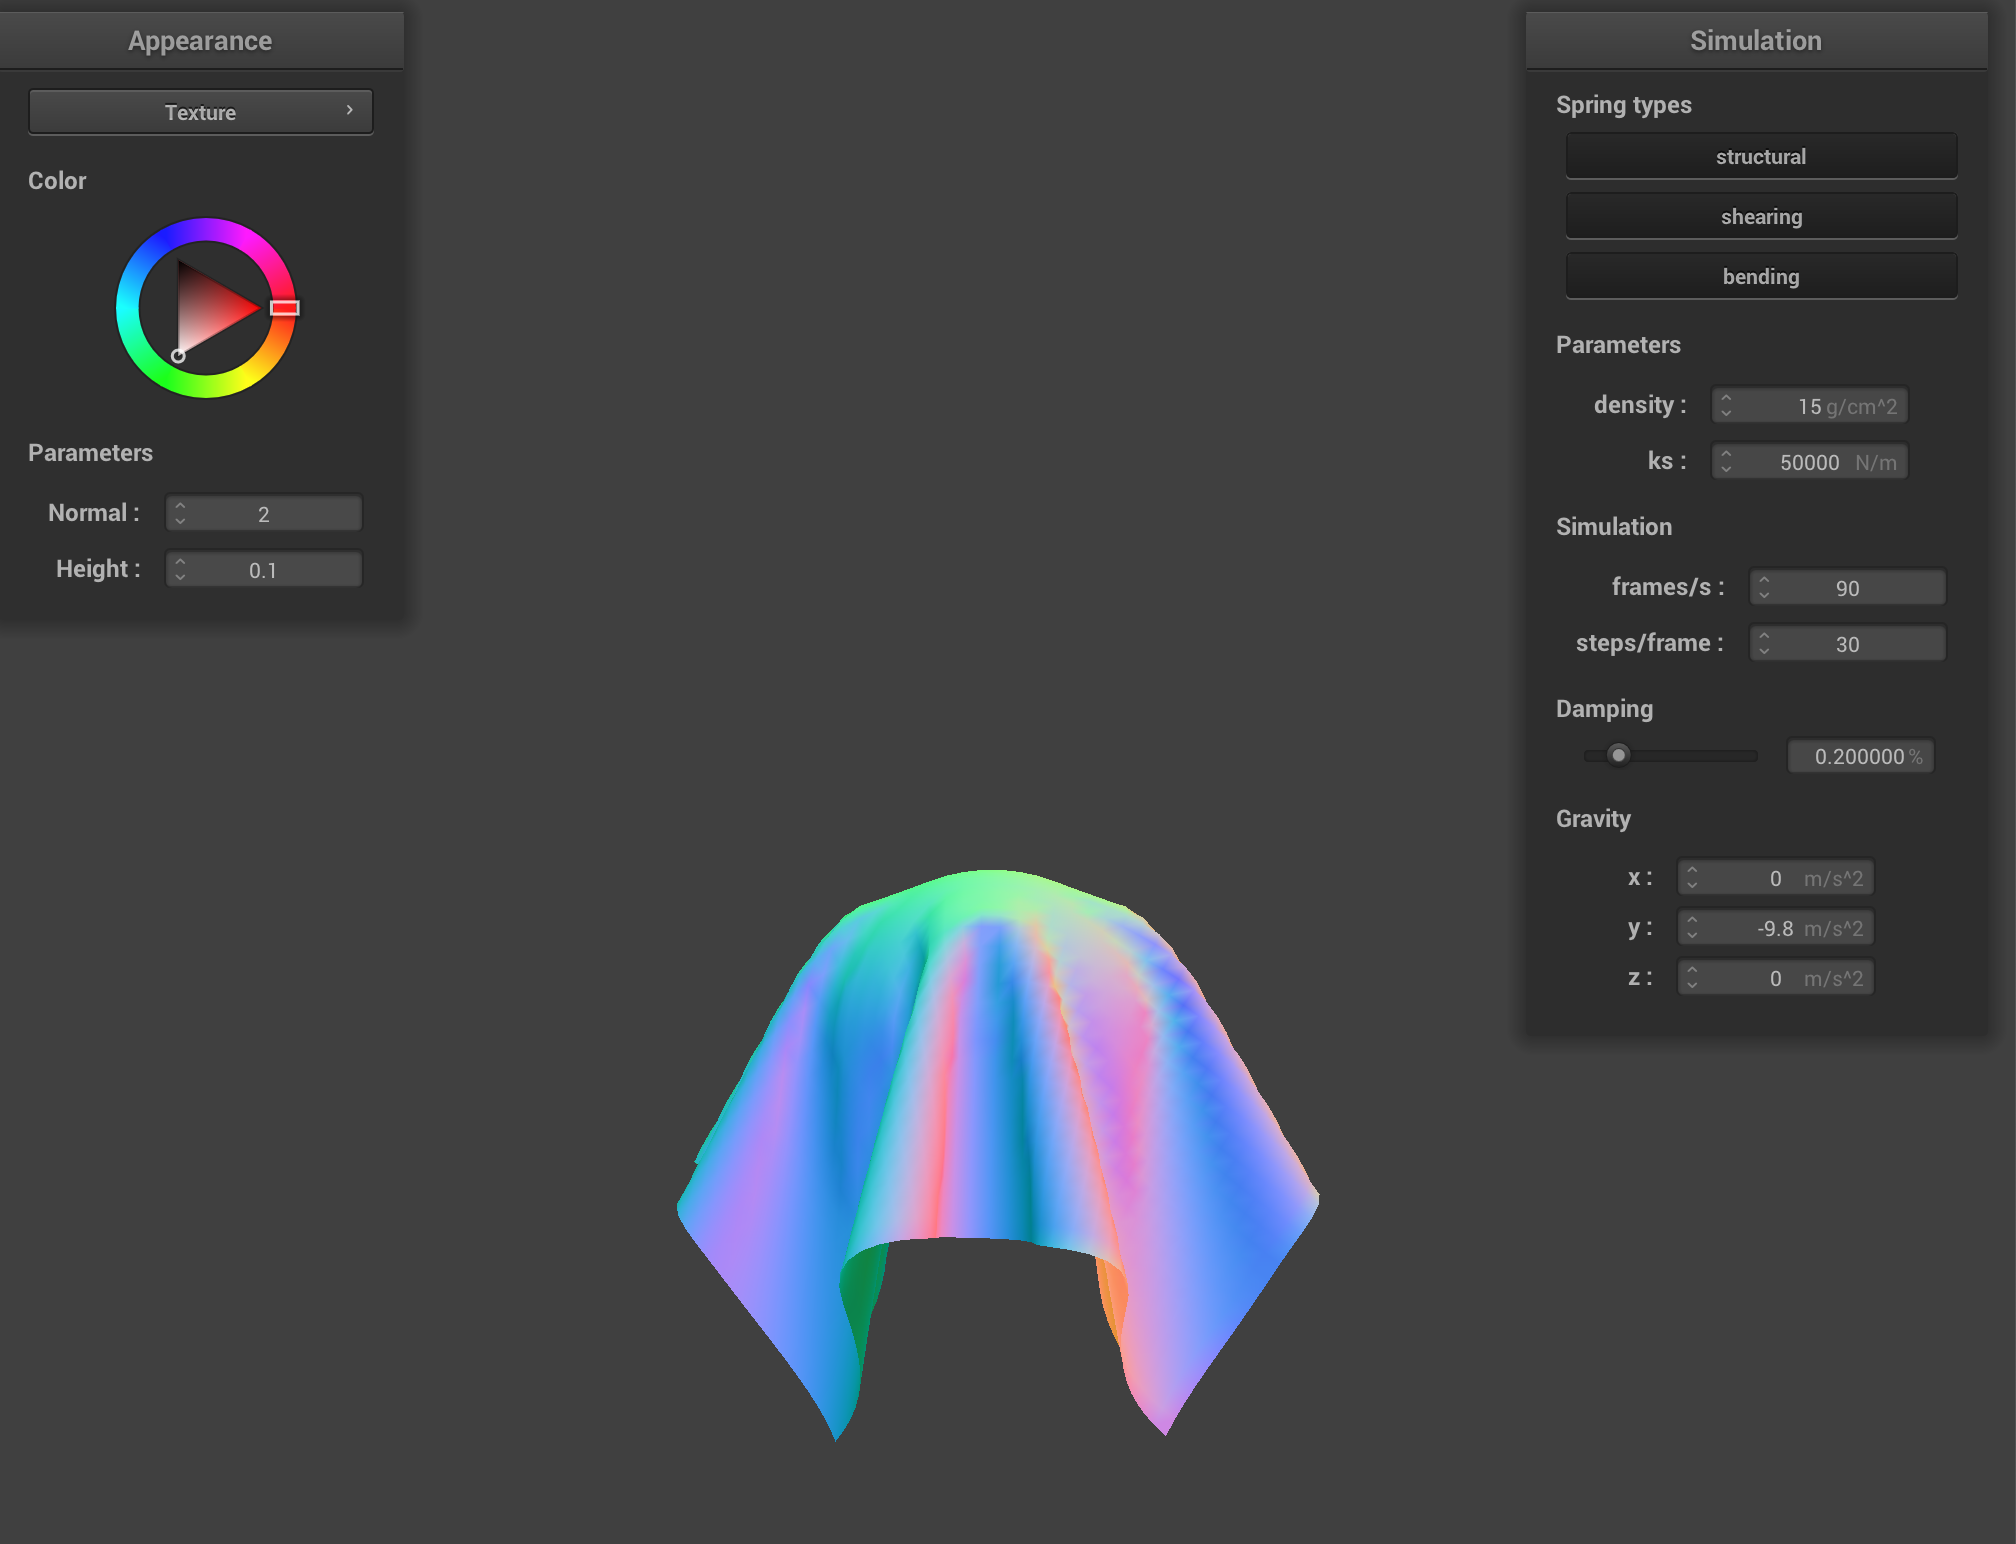
With a high ks, the cloth had more rigidity, and
essentially acted like a piece of paper. It was more likely to retain
its original form, have less folds, and it took longer to get to the
final resting position.

|
|
|
|
Compared to the default movements, the cloth with a smaller
ks has more folds, appears much looser and flowier, and
reaches the final resting position quicker. In contrast, the cloth with
a bigger ks is much more rigid, retains its original shape
more, and has seems stiffer in general.
|

|
|
|
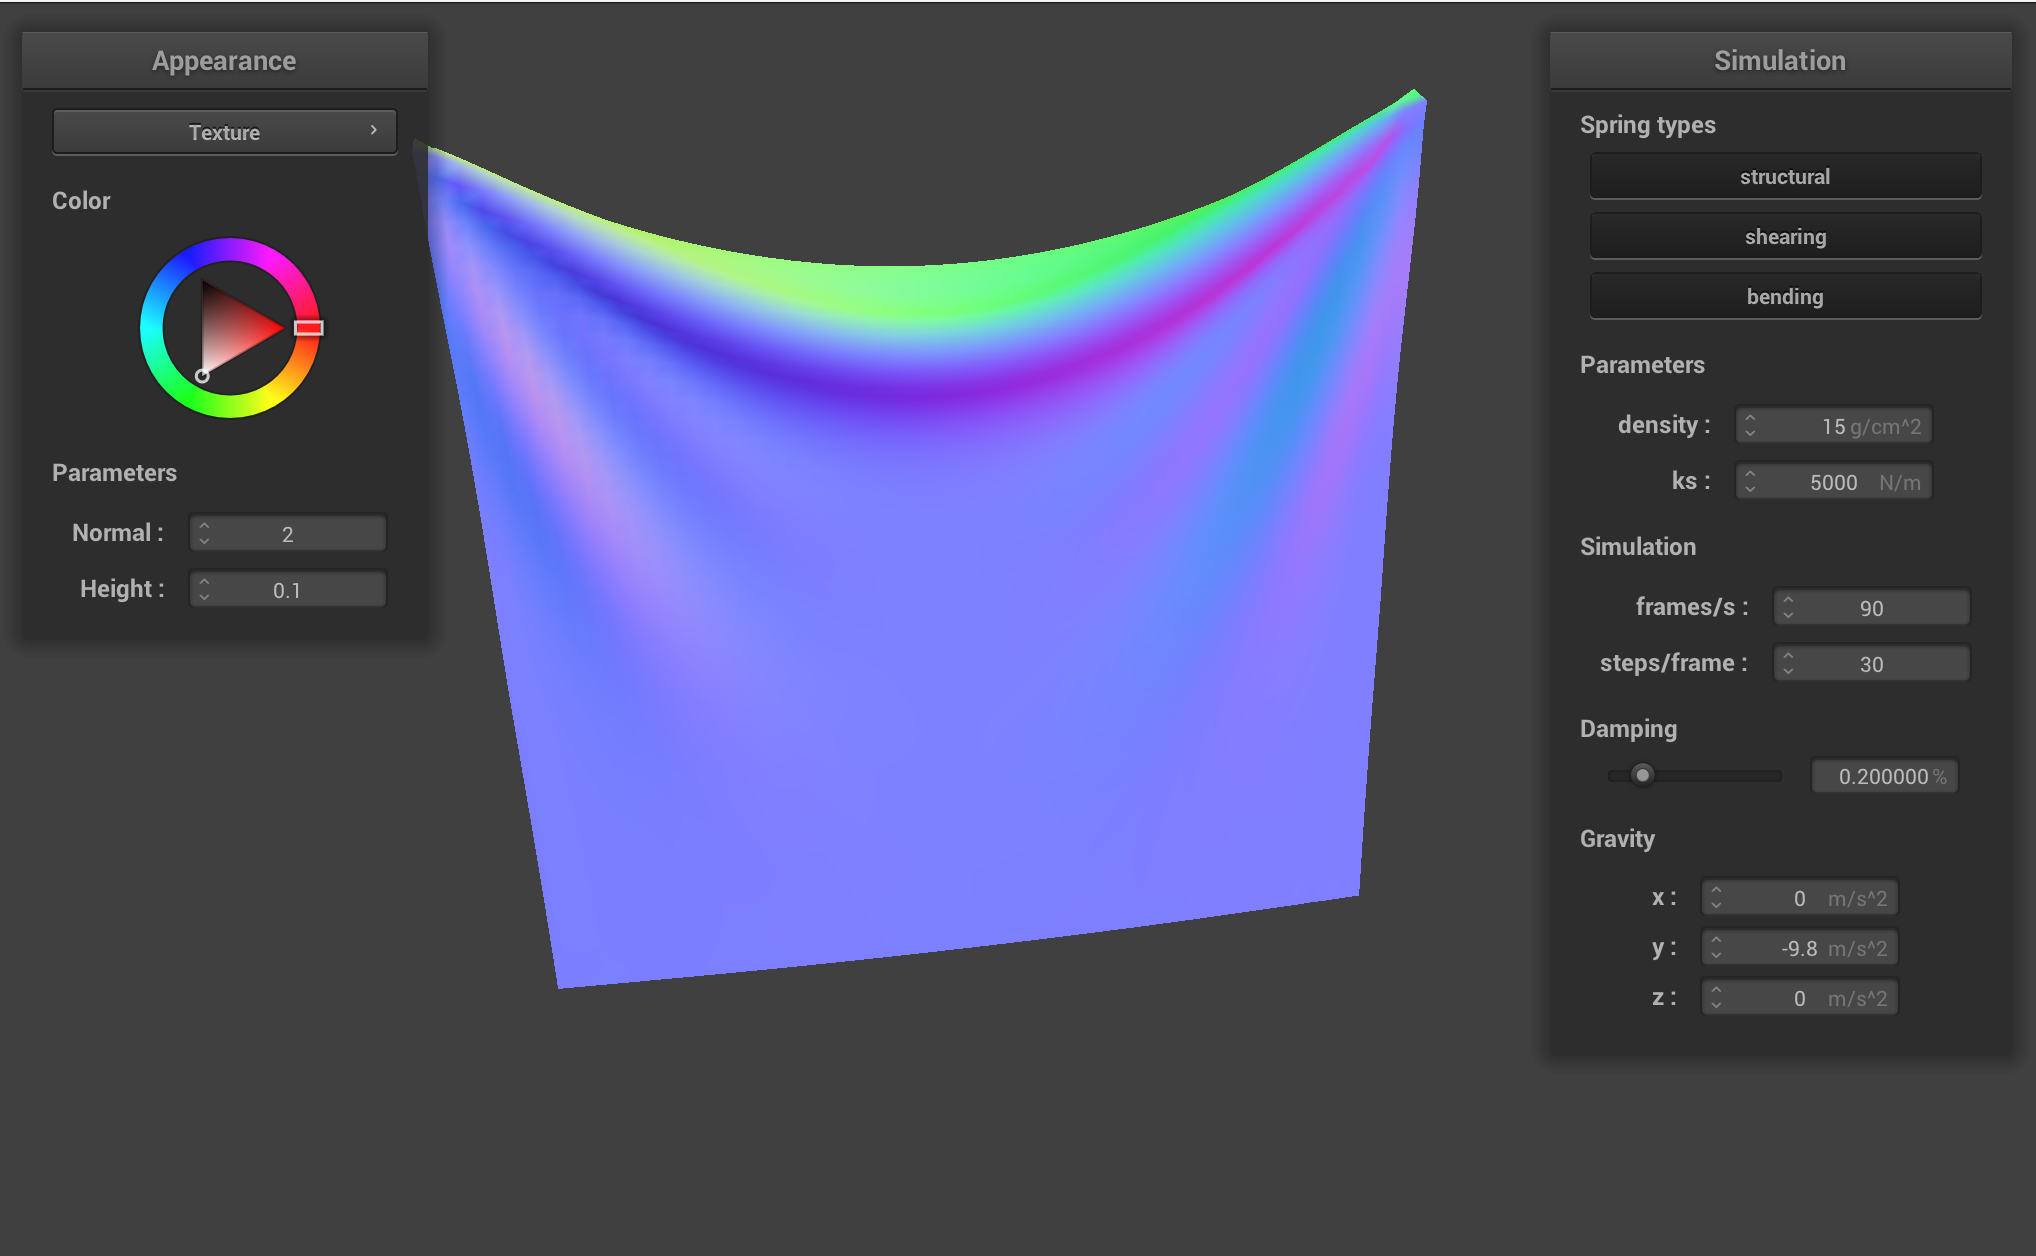
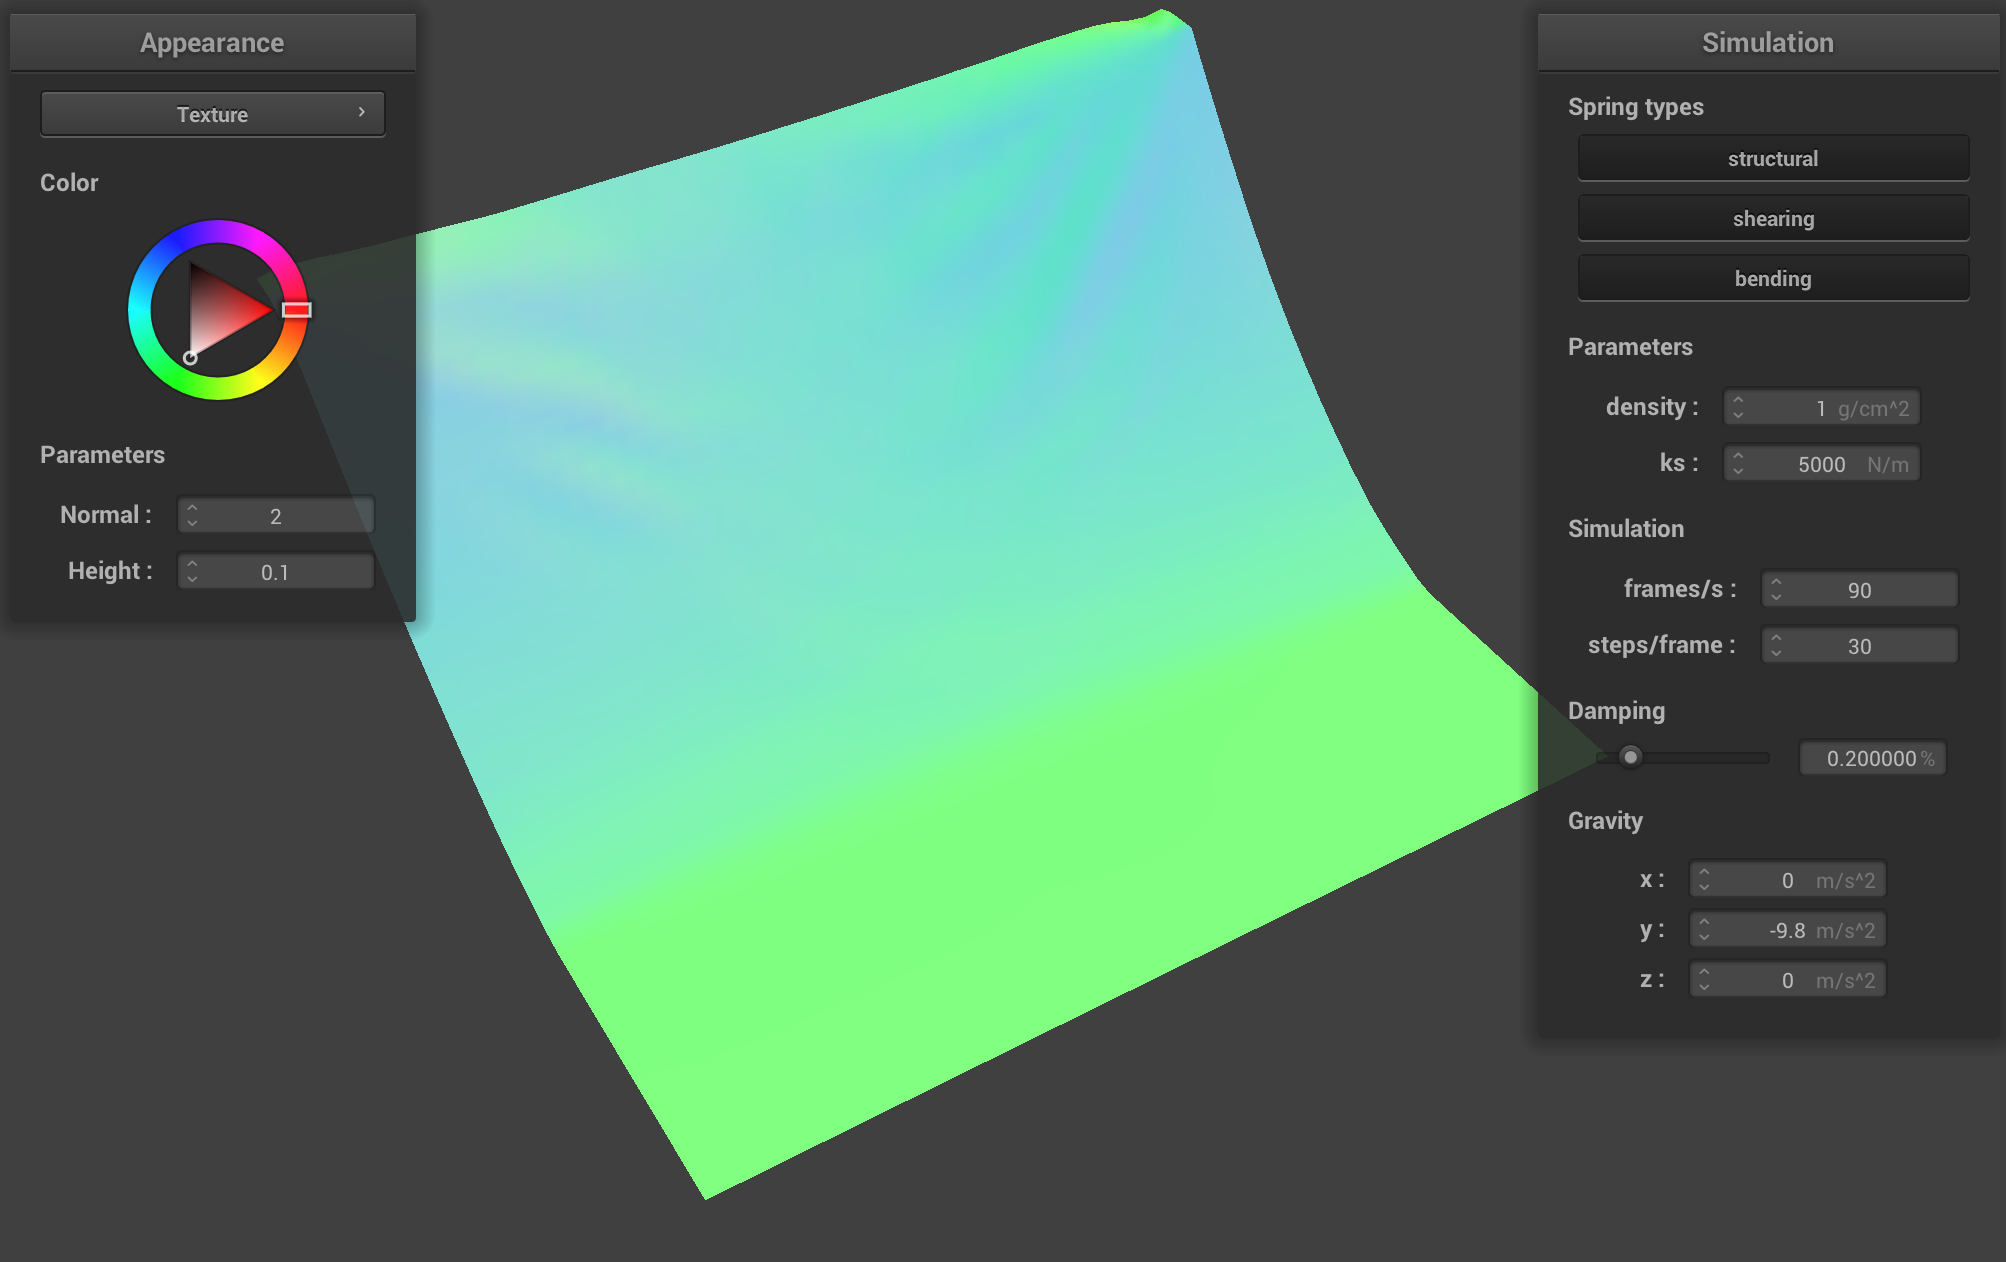
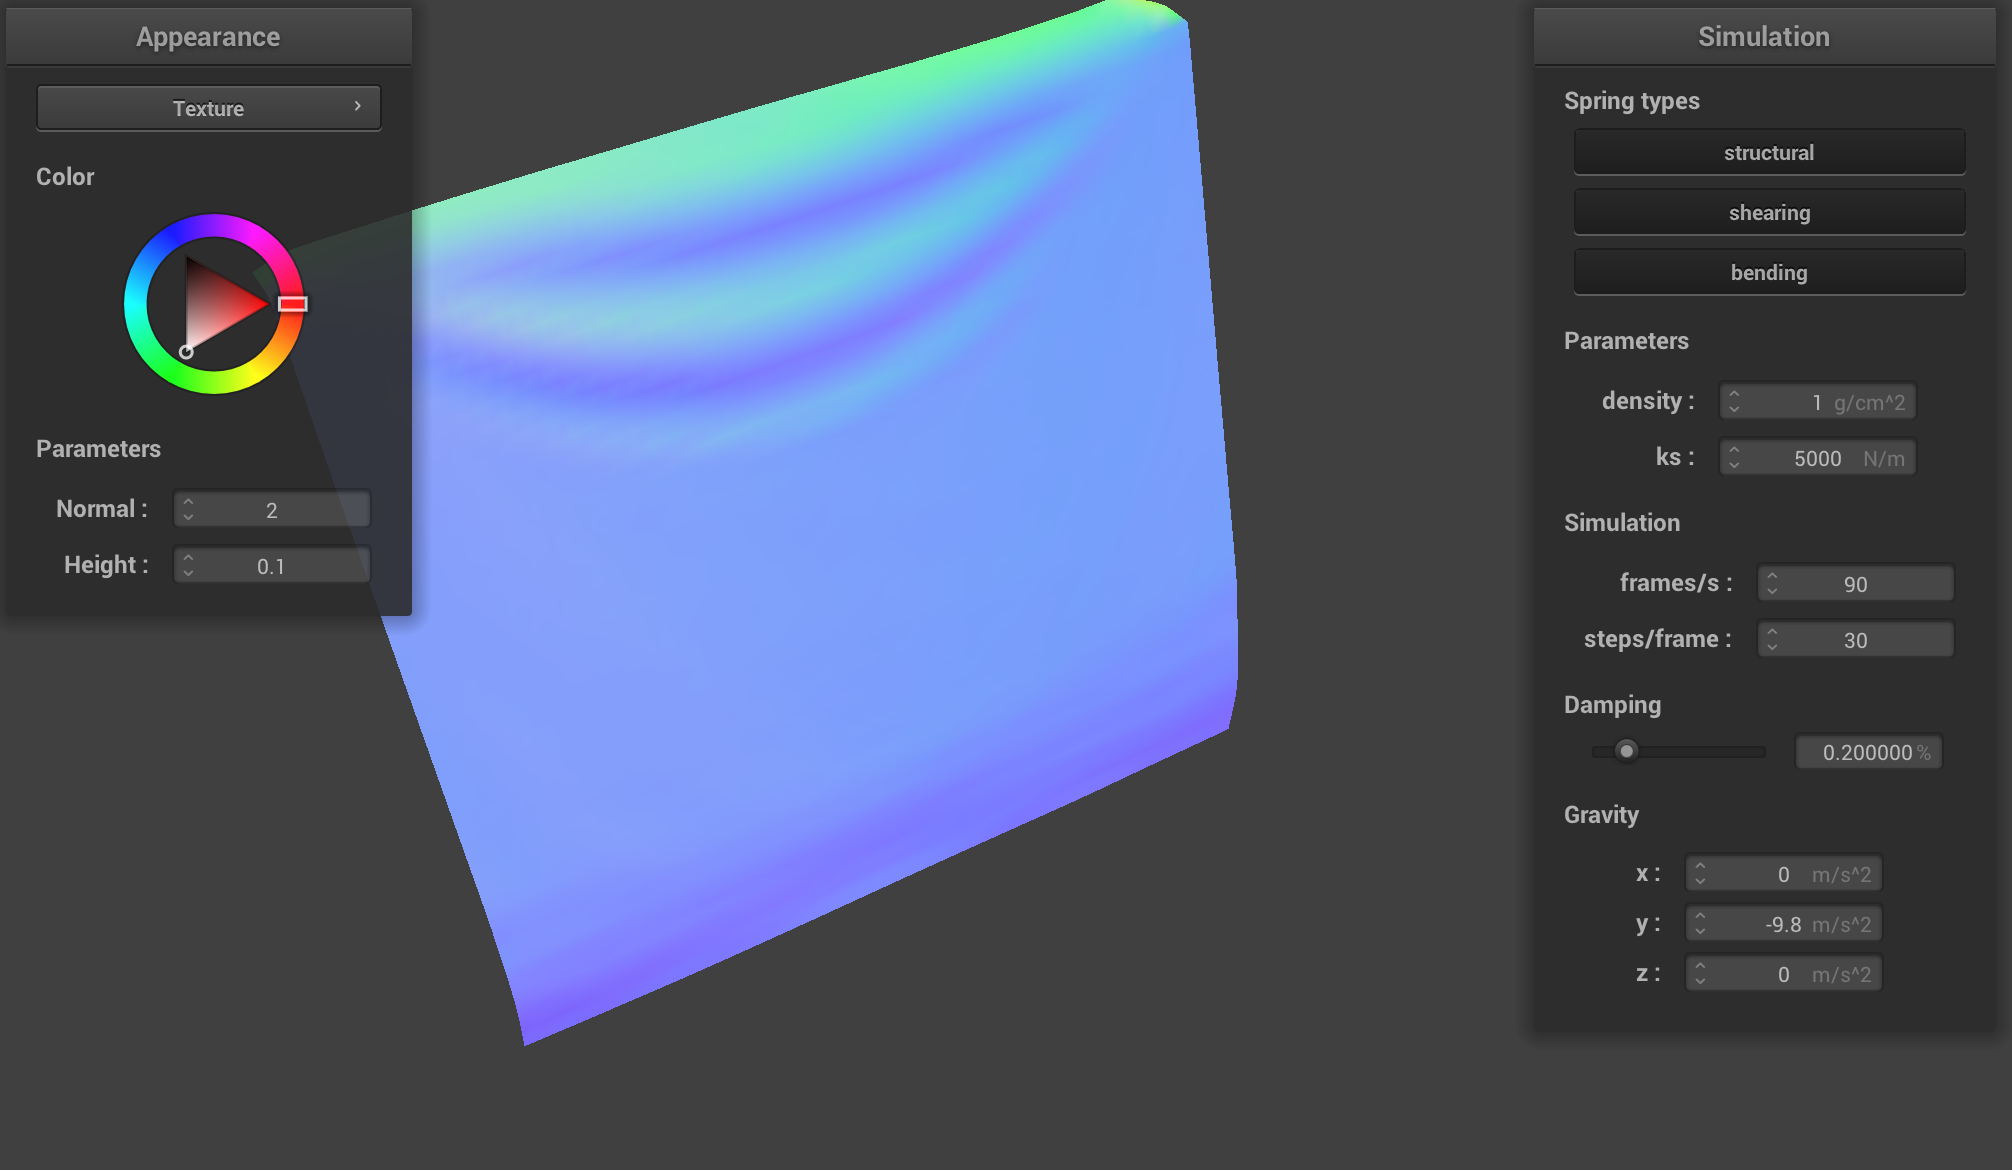
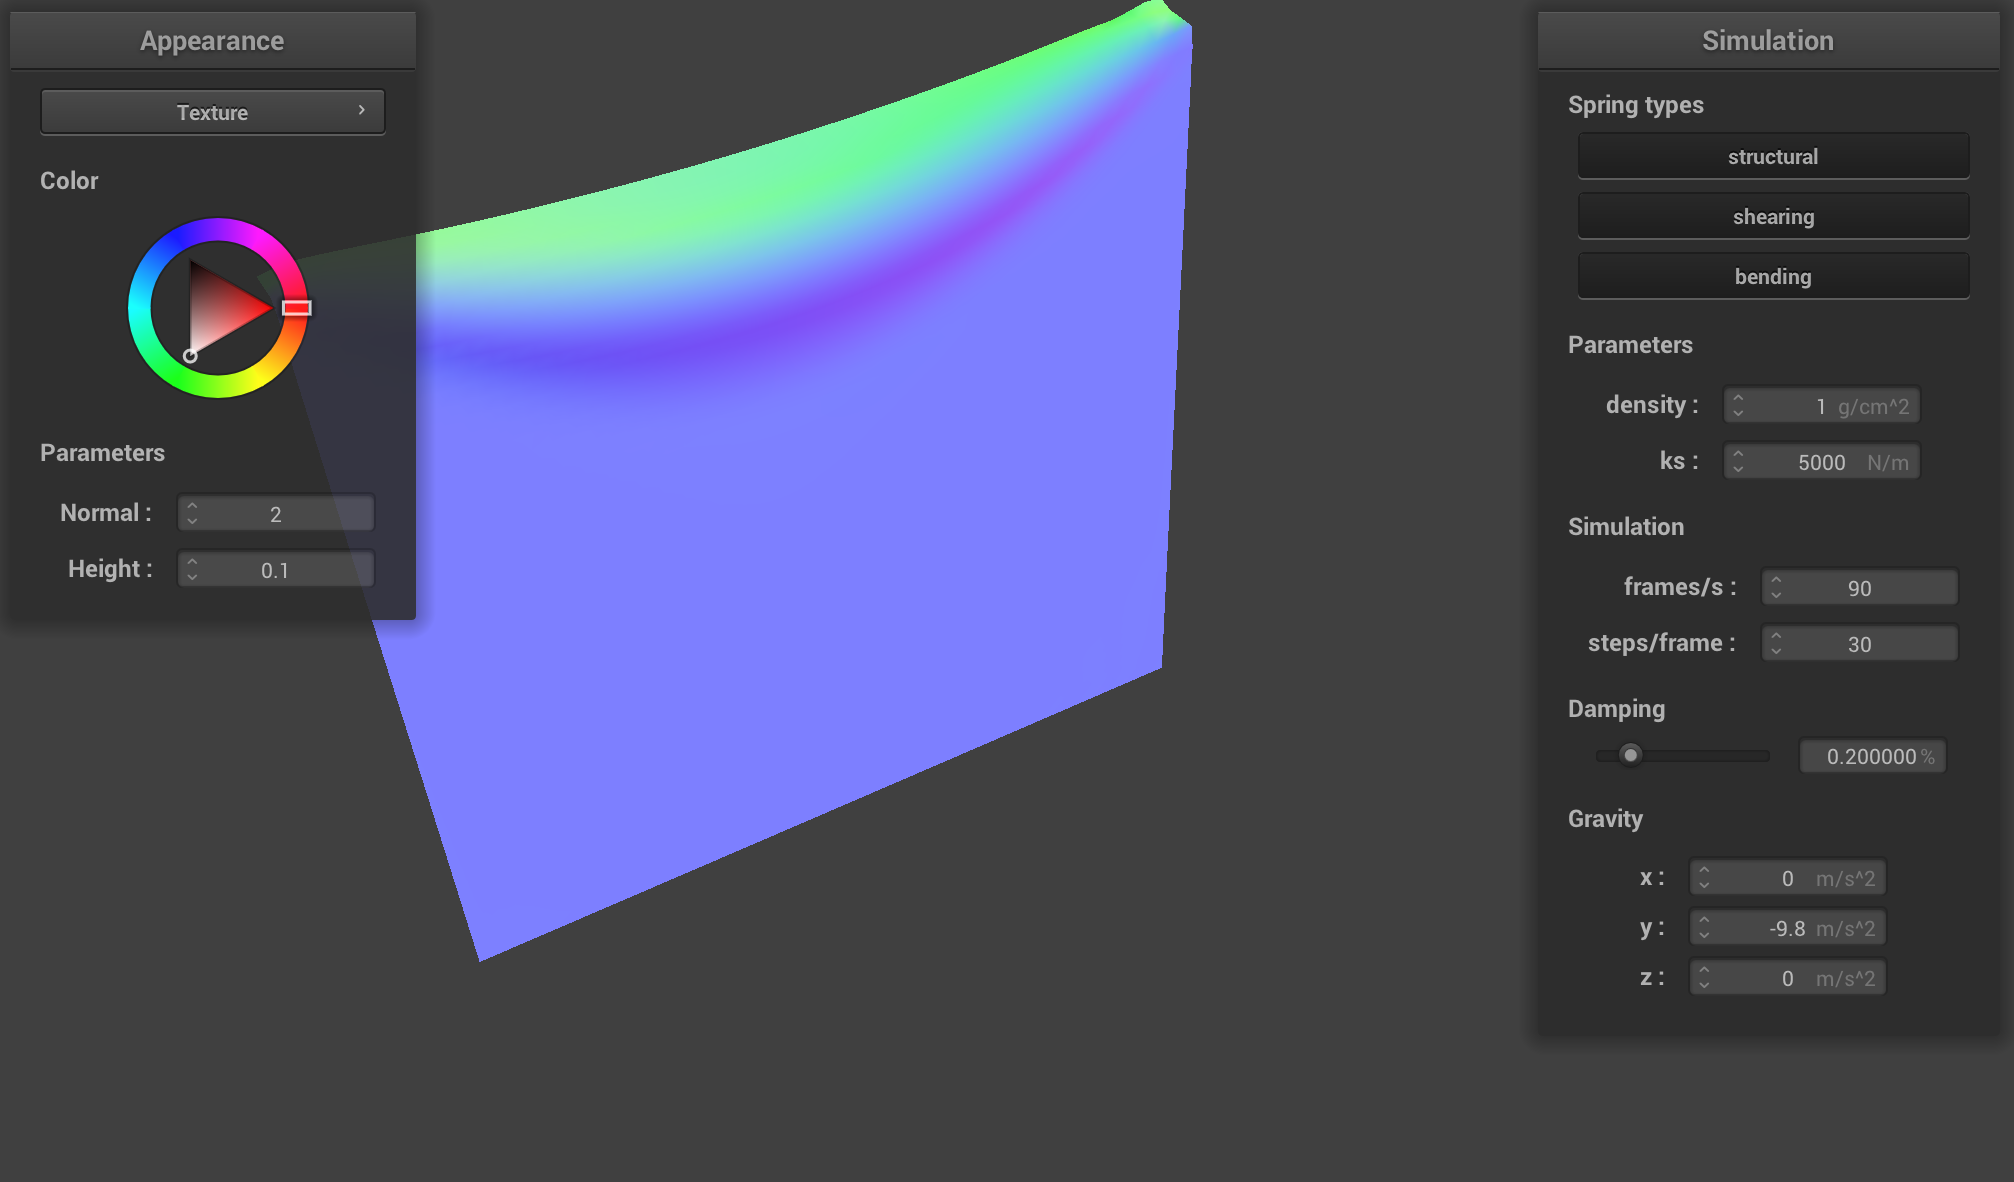
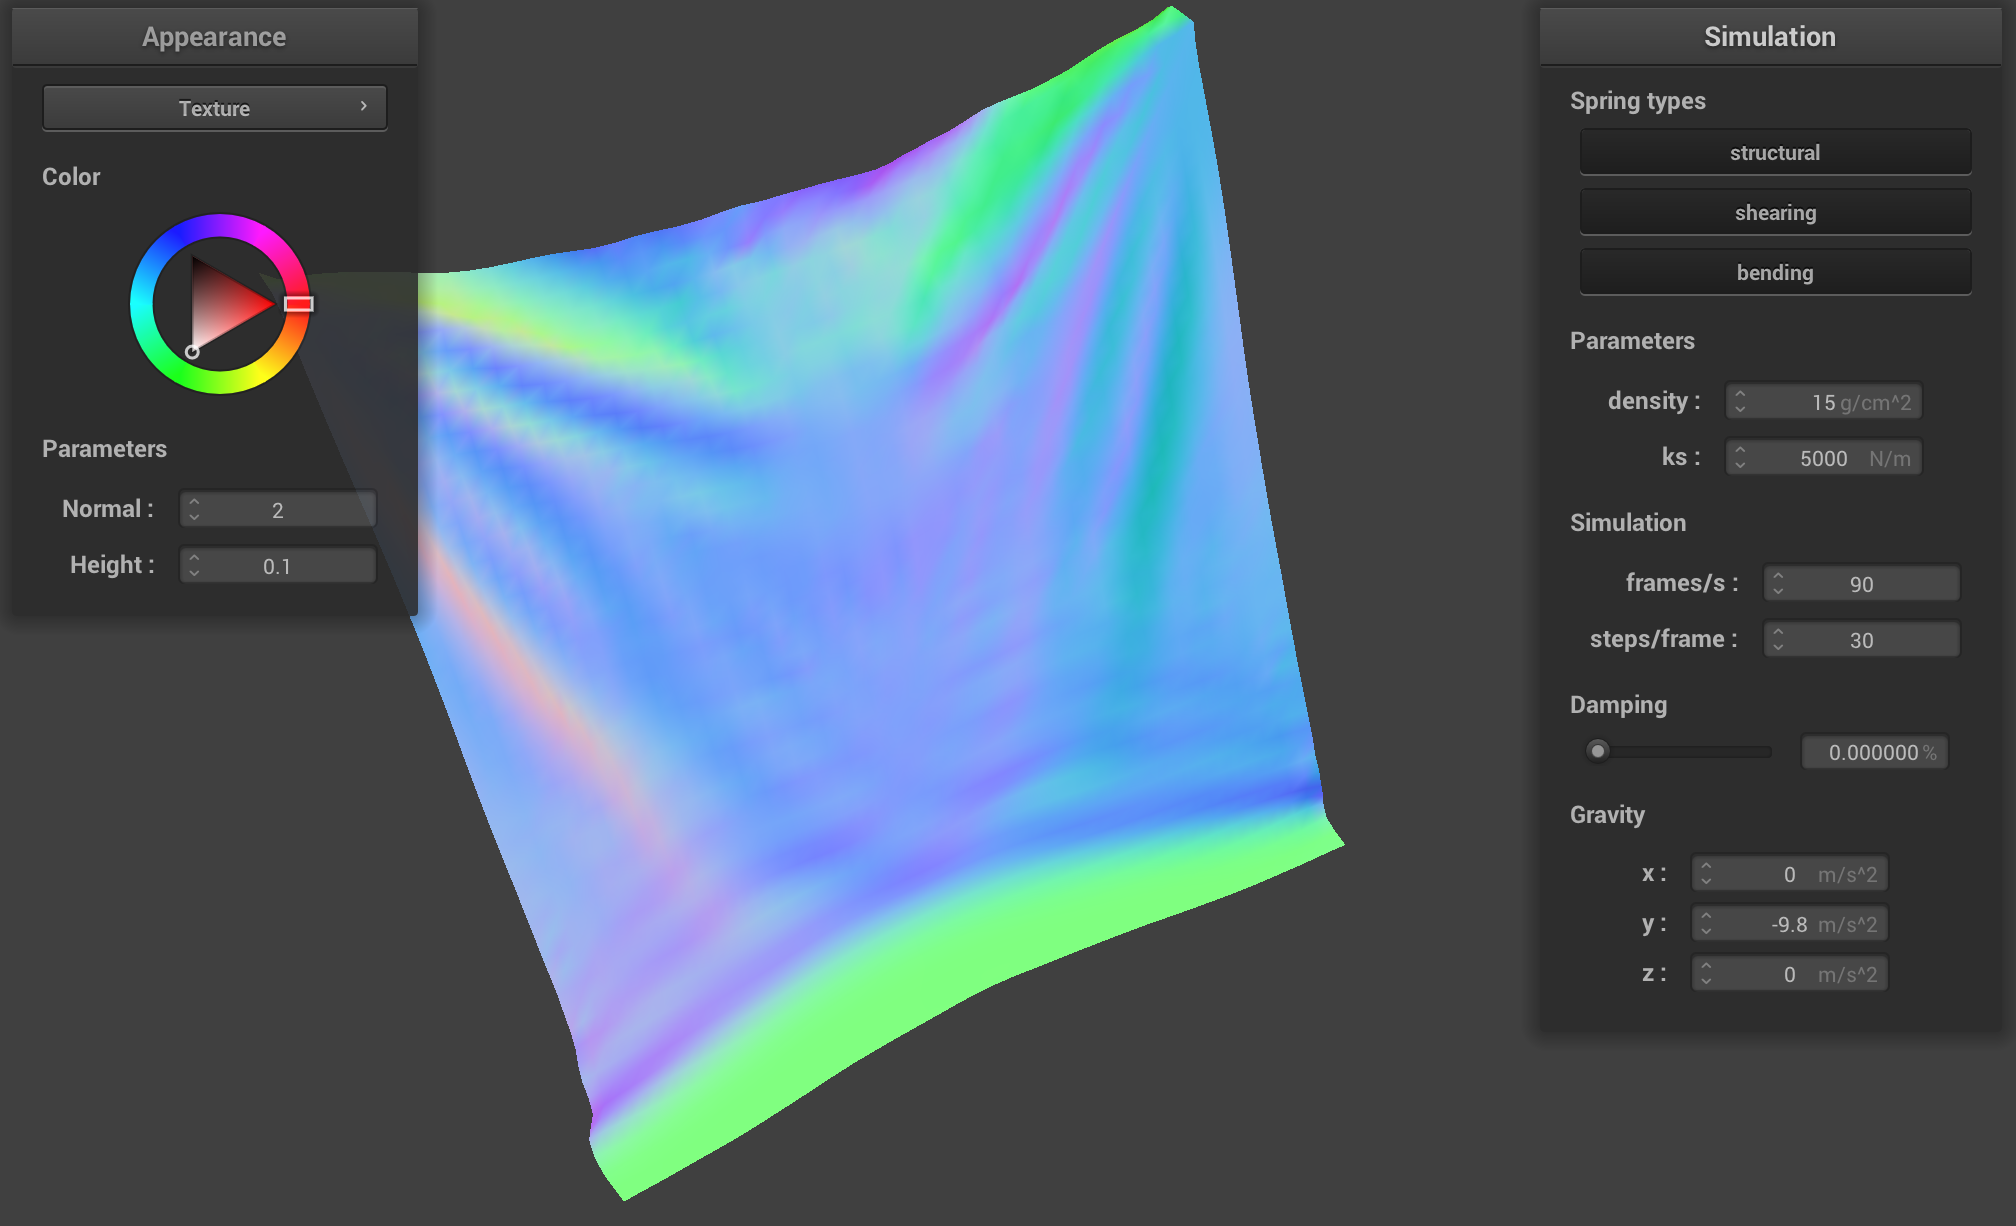
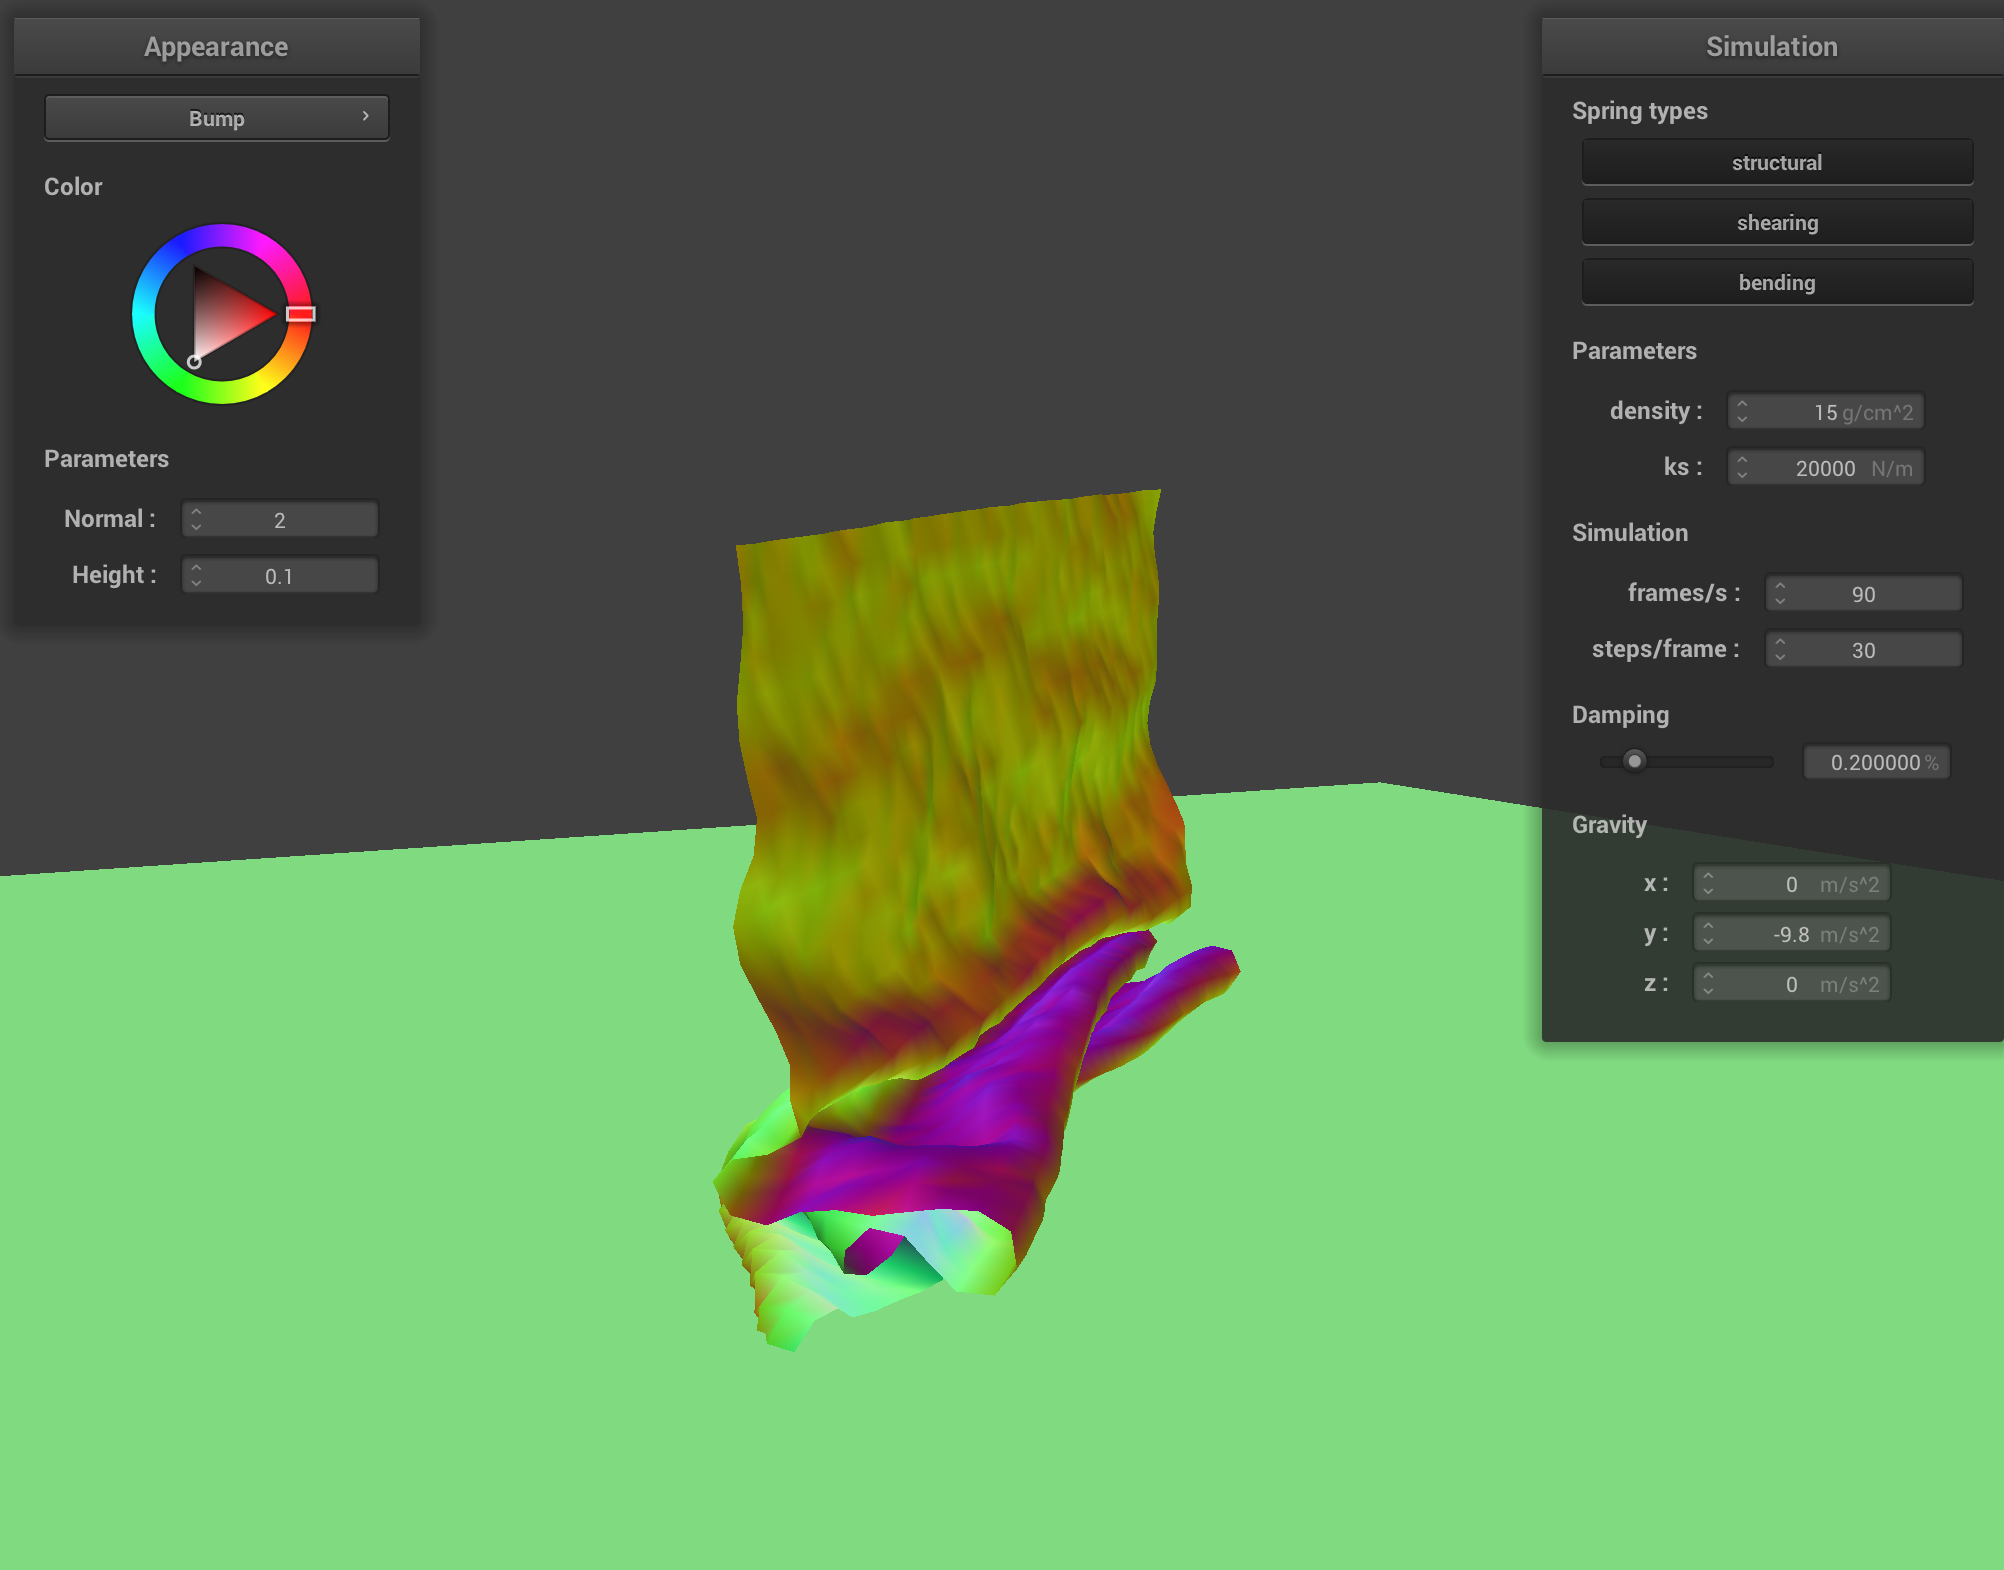
Density determines the mass per unit area, which affects the strength of gravity on the cloth. A low density means that each particle of cloth carries less mass, so gravity's influence is less pronounced. The forces across the cloth are more uniformly distributed, thus allowing the structure to maintain its overall shape, with minimal sagging or bouncing.
|
|
|
On the other hand, a high density means that each particle of the cloth carries more mass, which causes gravity to exert a stronger pull. This results in the pinned corners sagging quicker, since the heavier load stretches the springs significantly before the restoring forces bring the cloth back to its original shape. This leads to more bouncing and oscillations, since the cloth reacts to the sudden and intense gravitational forces.
|
|
|
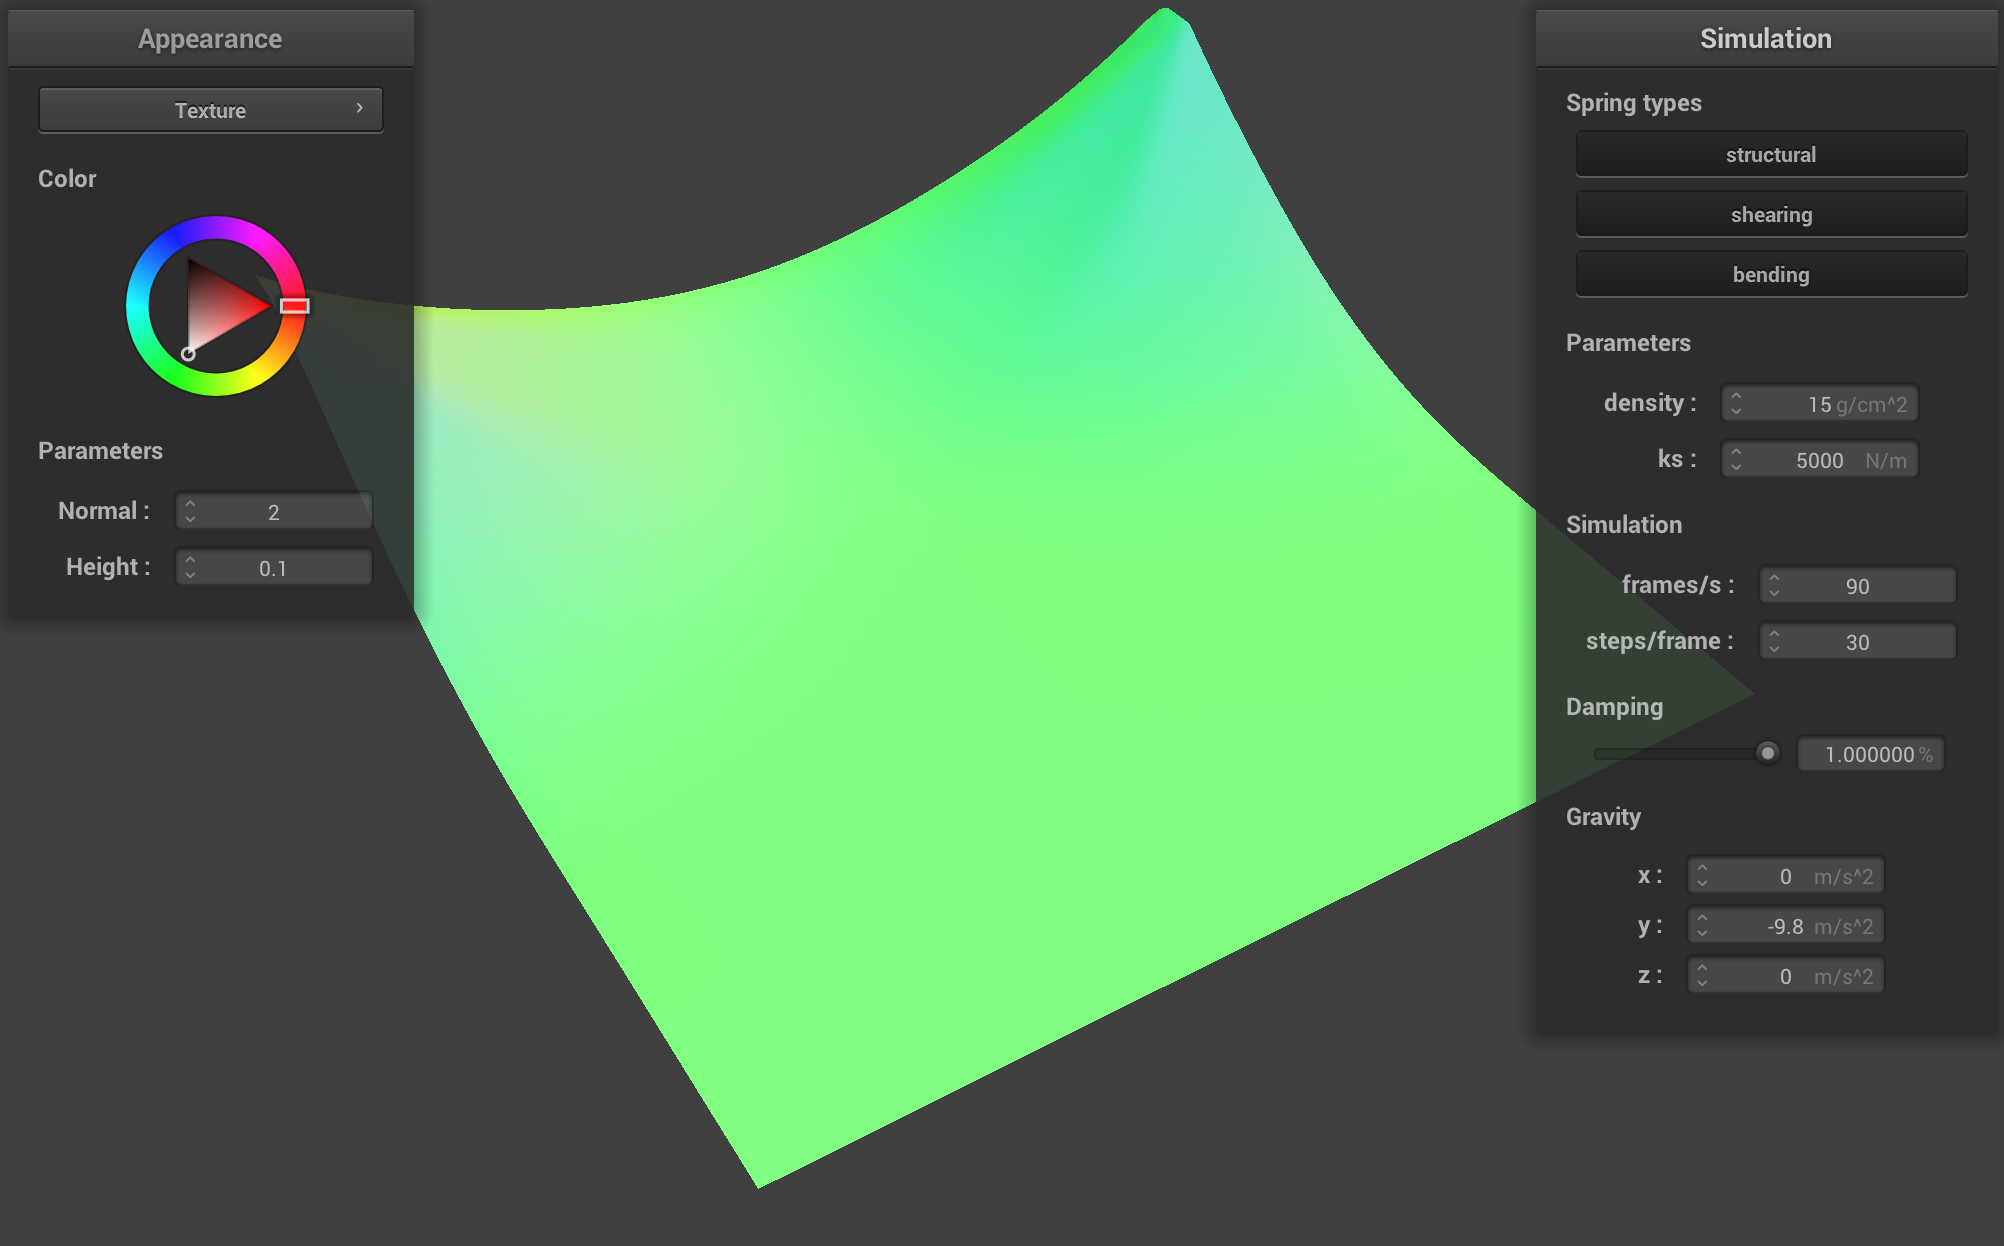
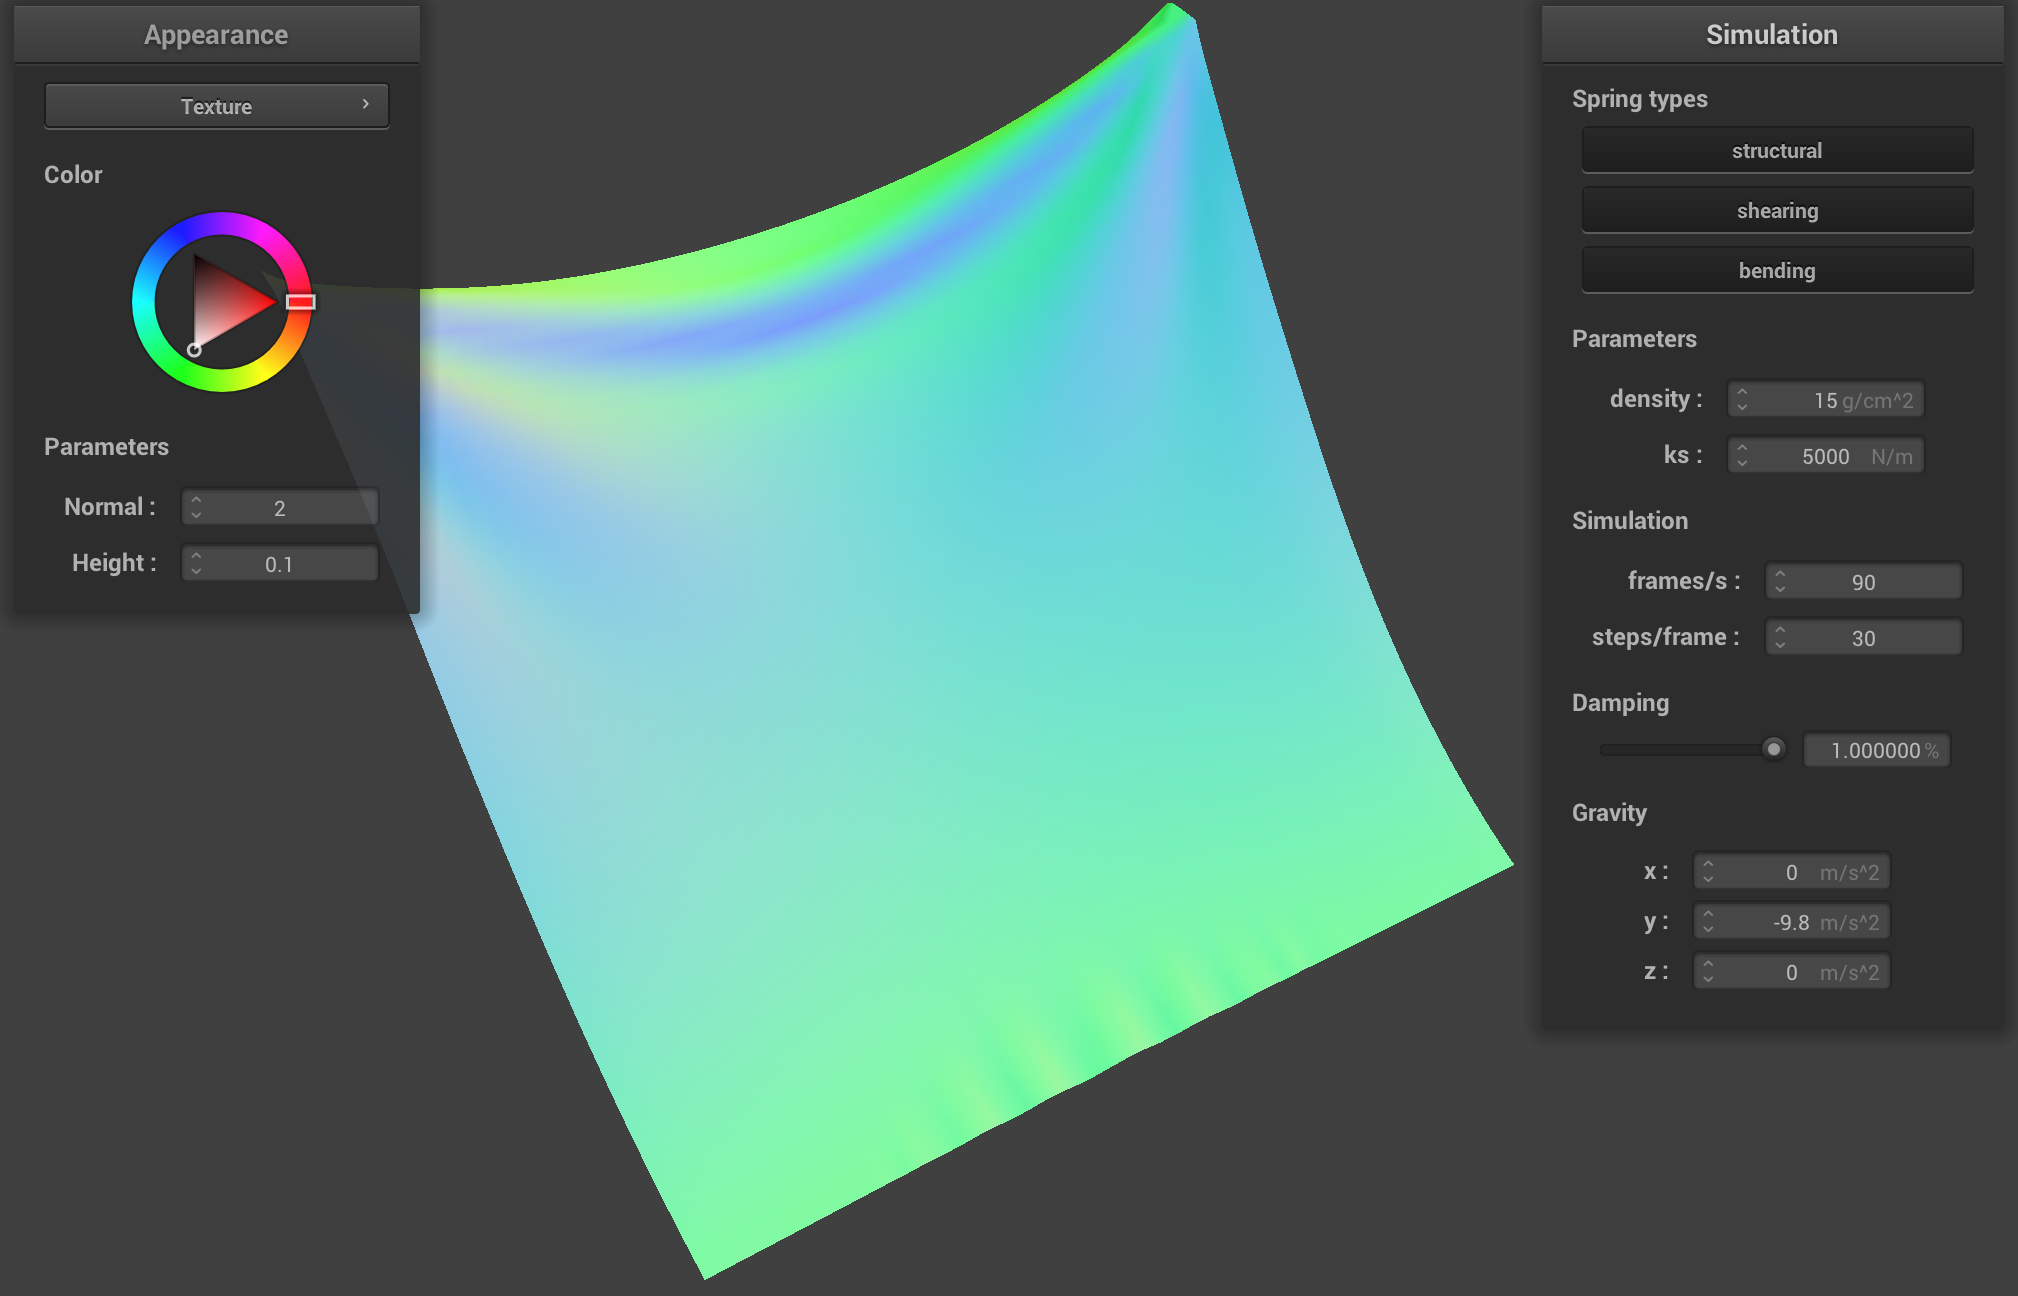
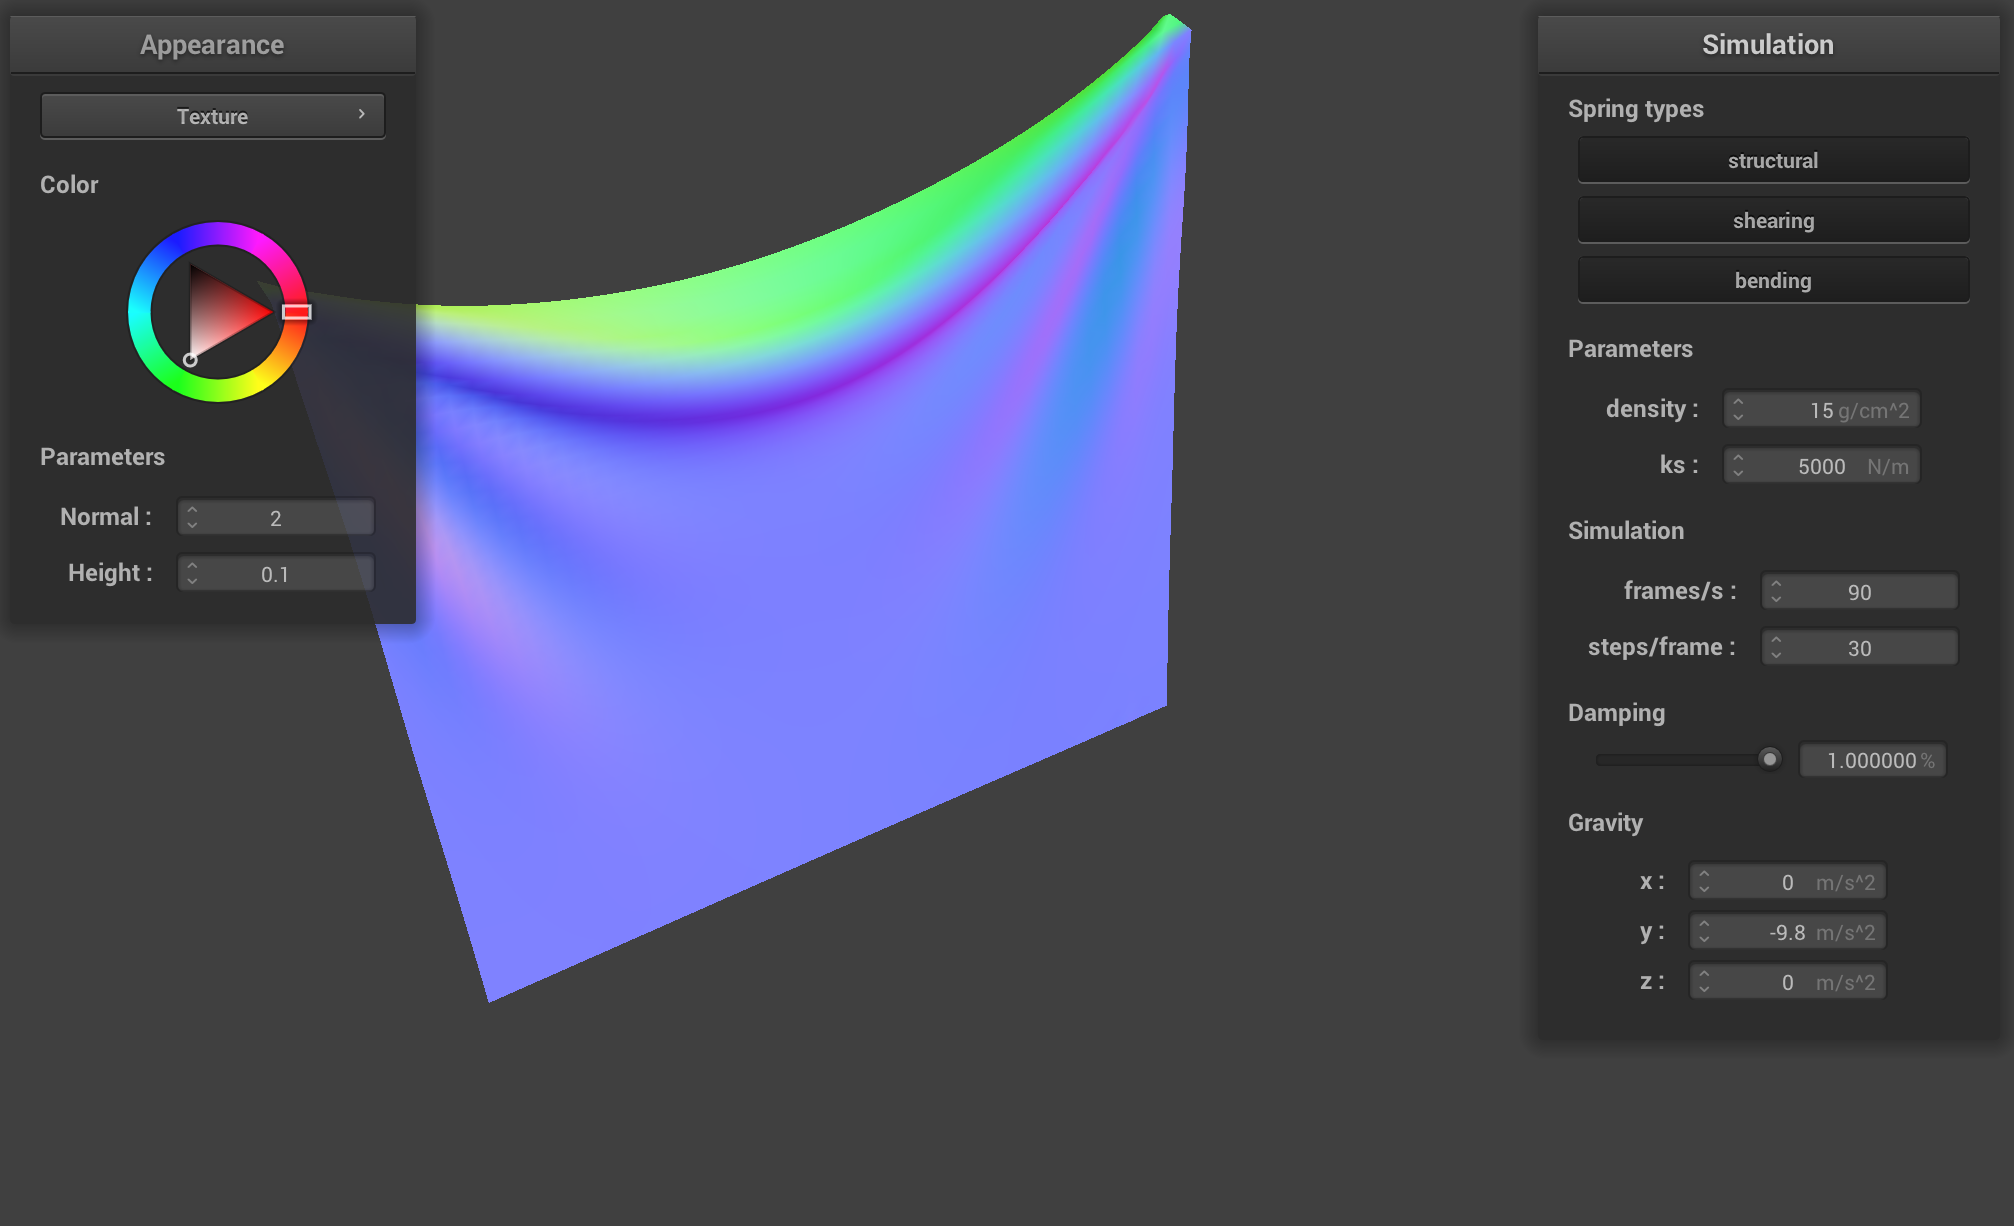
Dampening absorbs energy from the cloth's movement. It slows and stabilizes the cloth's motion so that eventually a steady state is reached. With no dampening, the steady state of the final resting position is never reached. This is due to the fact that there is no mechanism to dissipate excess energy. A small amount of dampening can significantly reduce oscillations and bouncing, allowing the cloth to settle into a steady state. Lower dampening led to more pronounced oscillations and a bouncier motion of the cloth. The cloth creased more as it was settling. If dampening is increased too much, the cloth becomes stiff, since the internal vibrations are heavily suppressed. A higher dampening led to minimized creasing until the cloth had nearly reached its final state as well as a stiffer and less flowy and less bouncy movement. It takes much longer to reach resting state, almost like the cloth is moving in slow motion.

|
|

|
|
The 100% dampening has the cloth almost falling in slow motion, essentially retaining its shape until it fully hangs down. There is no bounce or oscillation, just straight falling of the cloth.
|
|
|
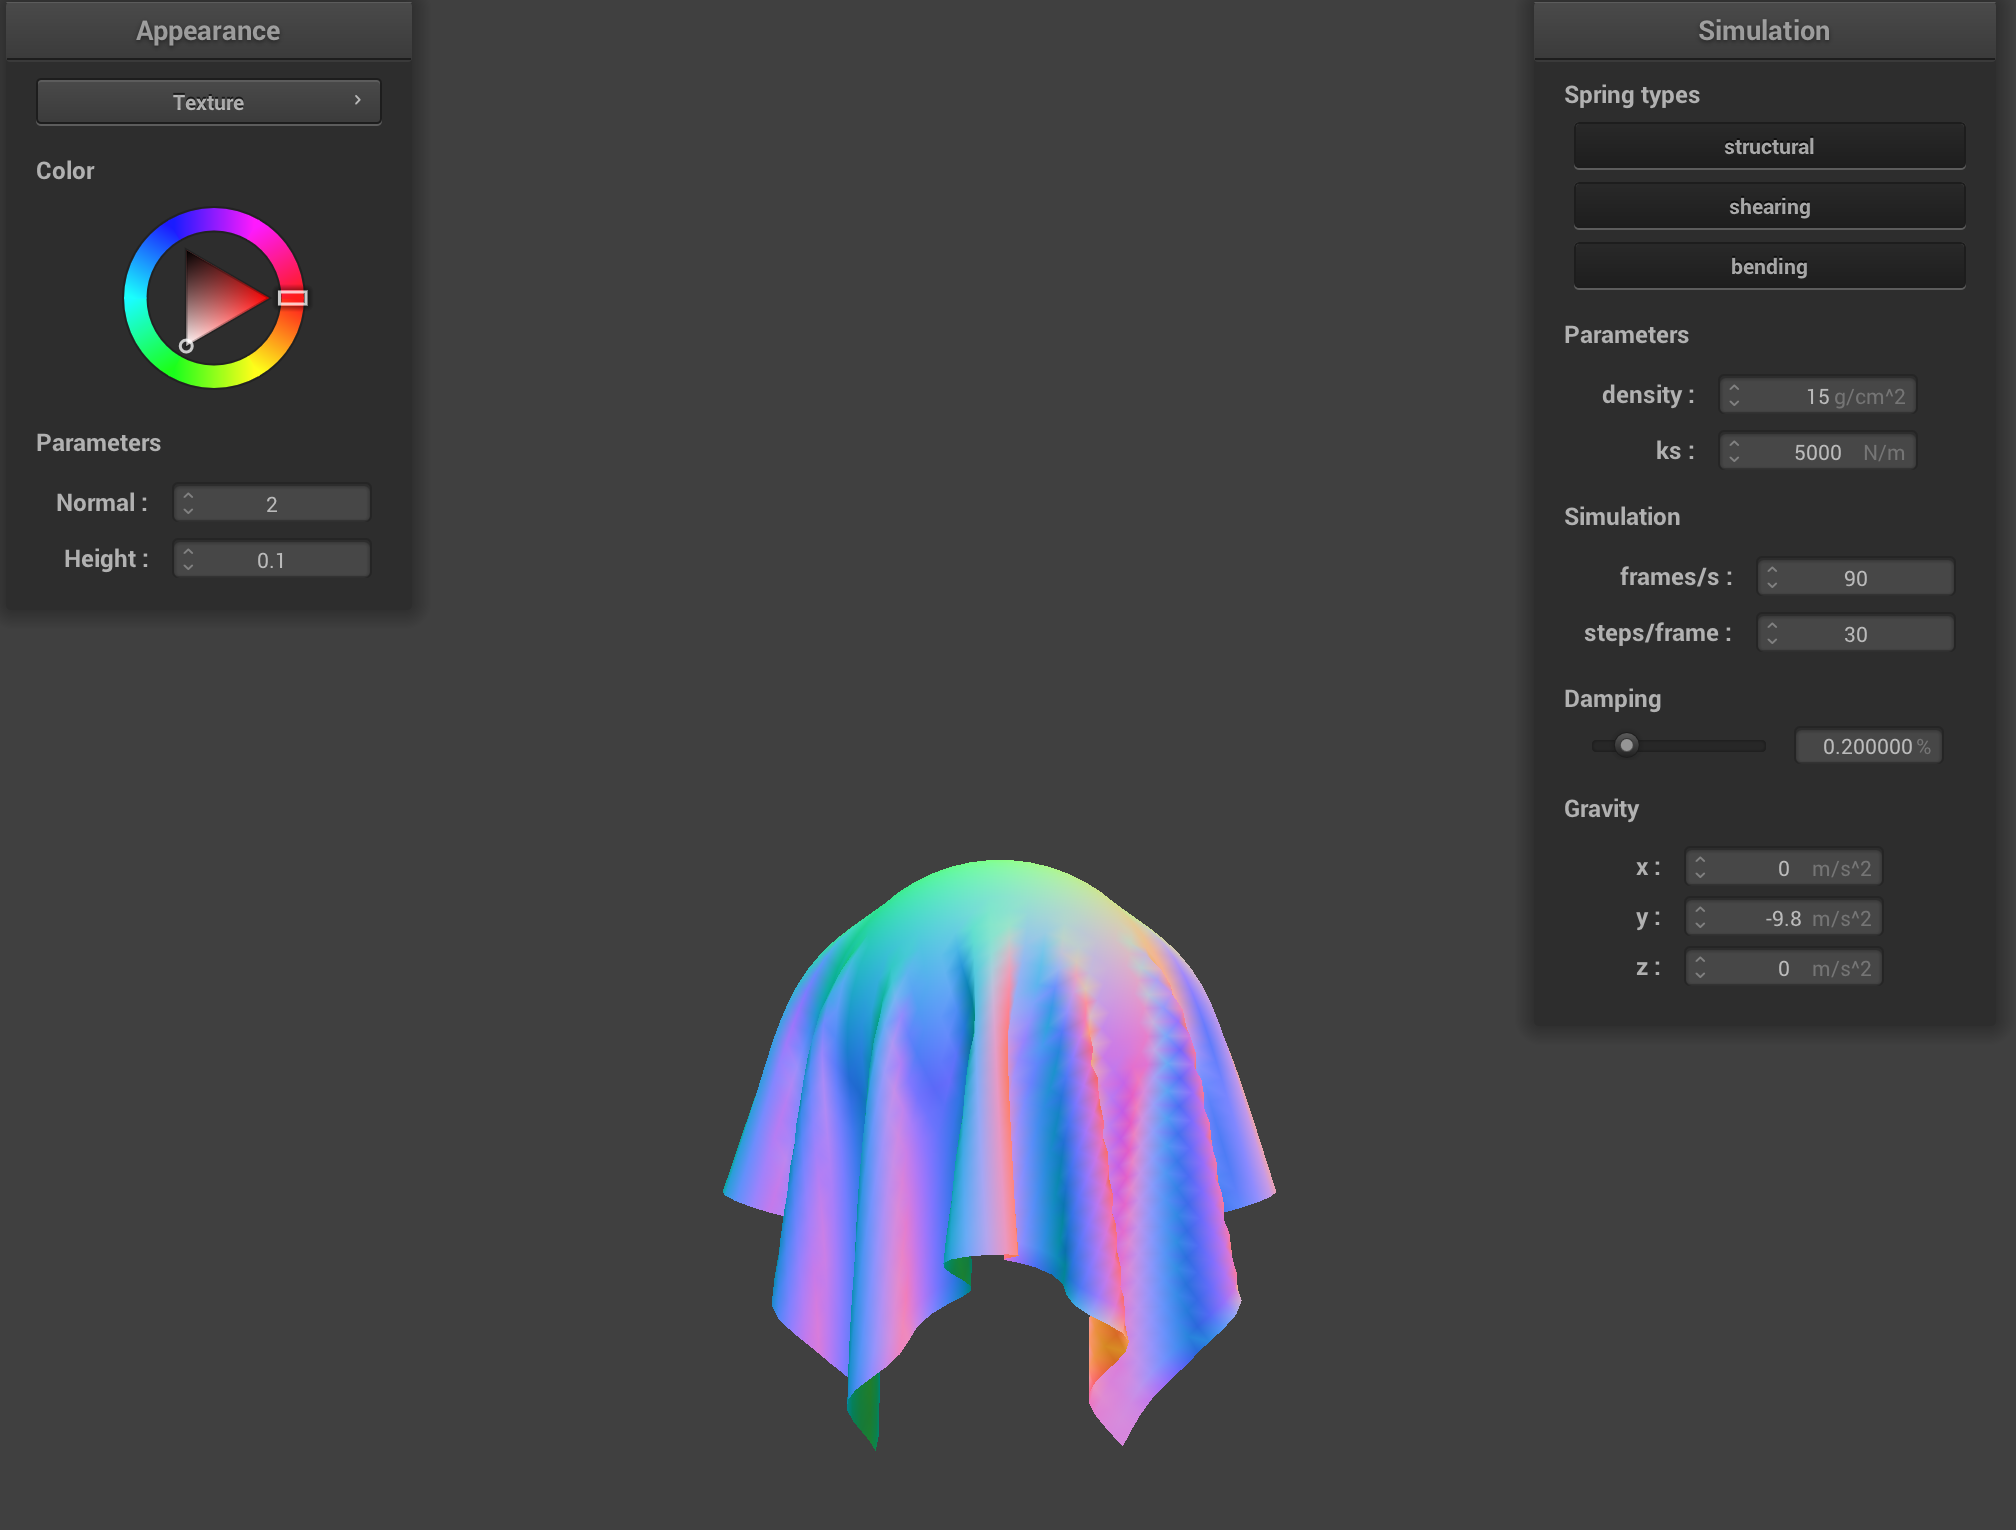
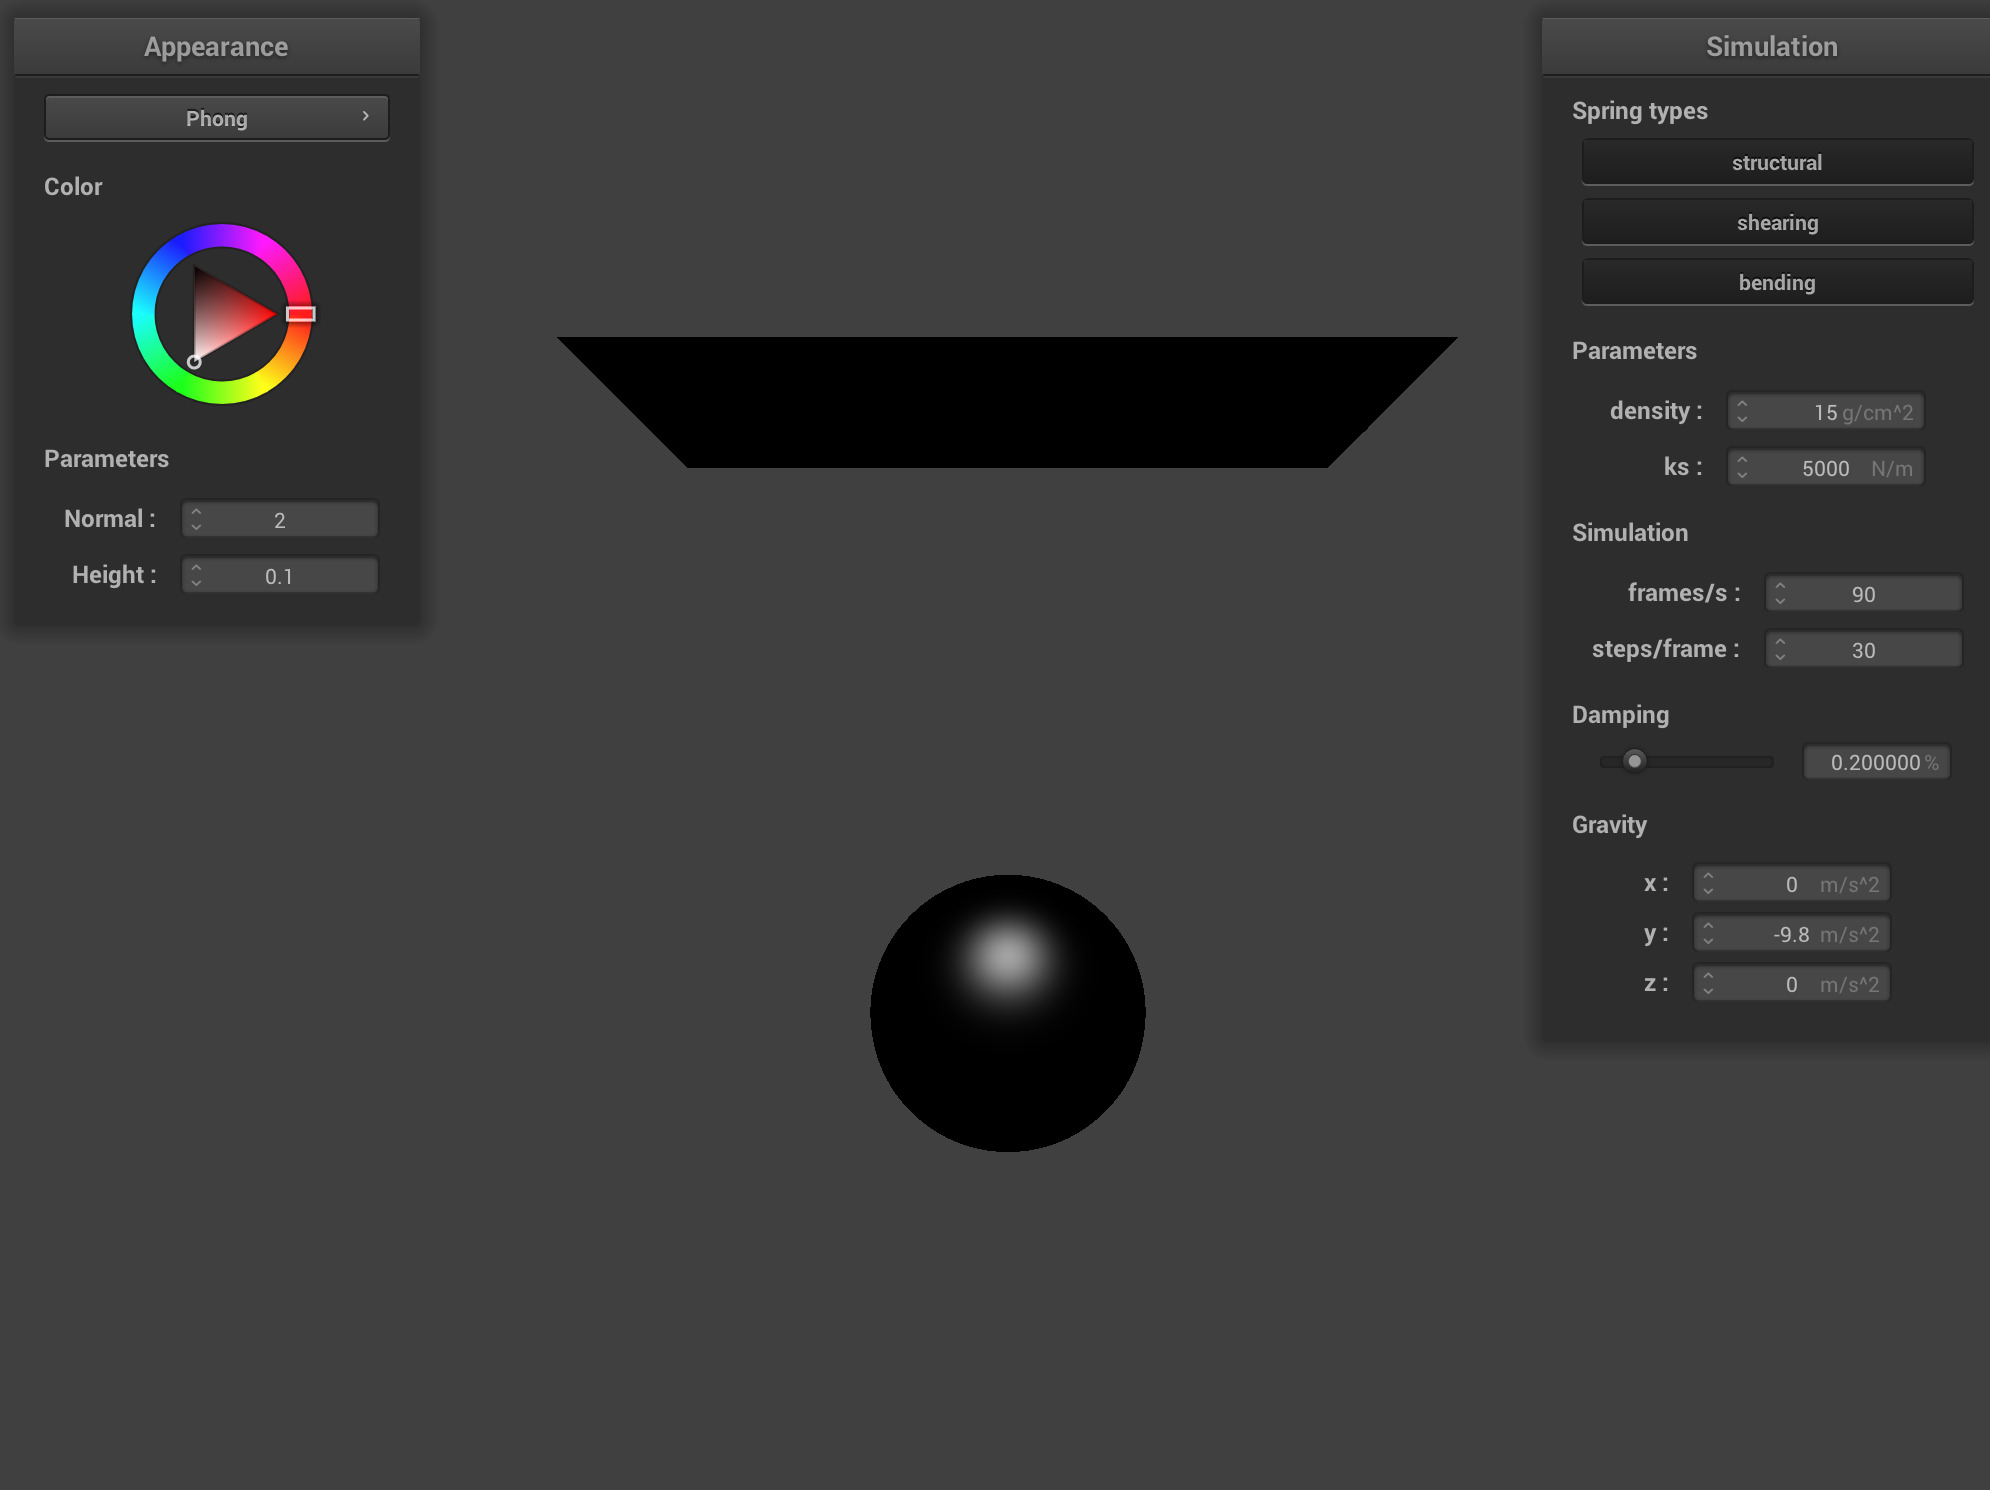
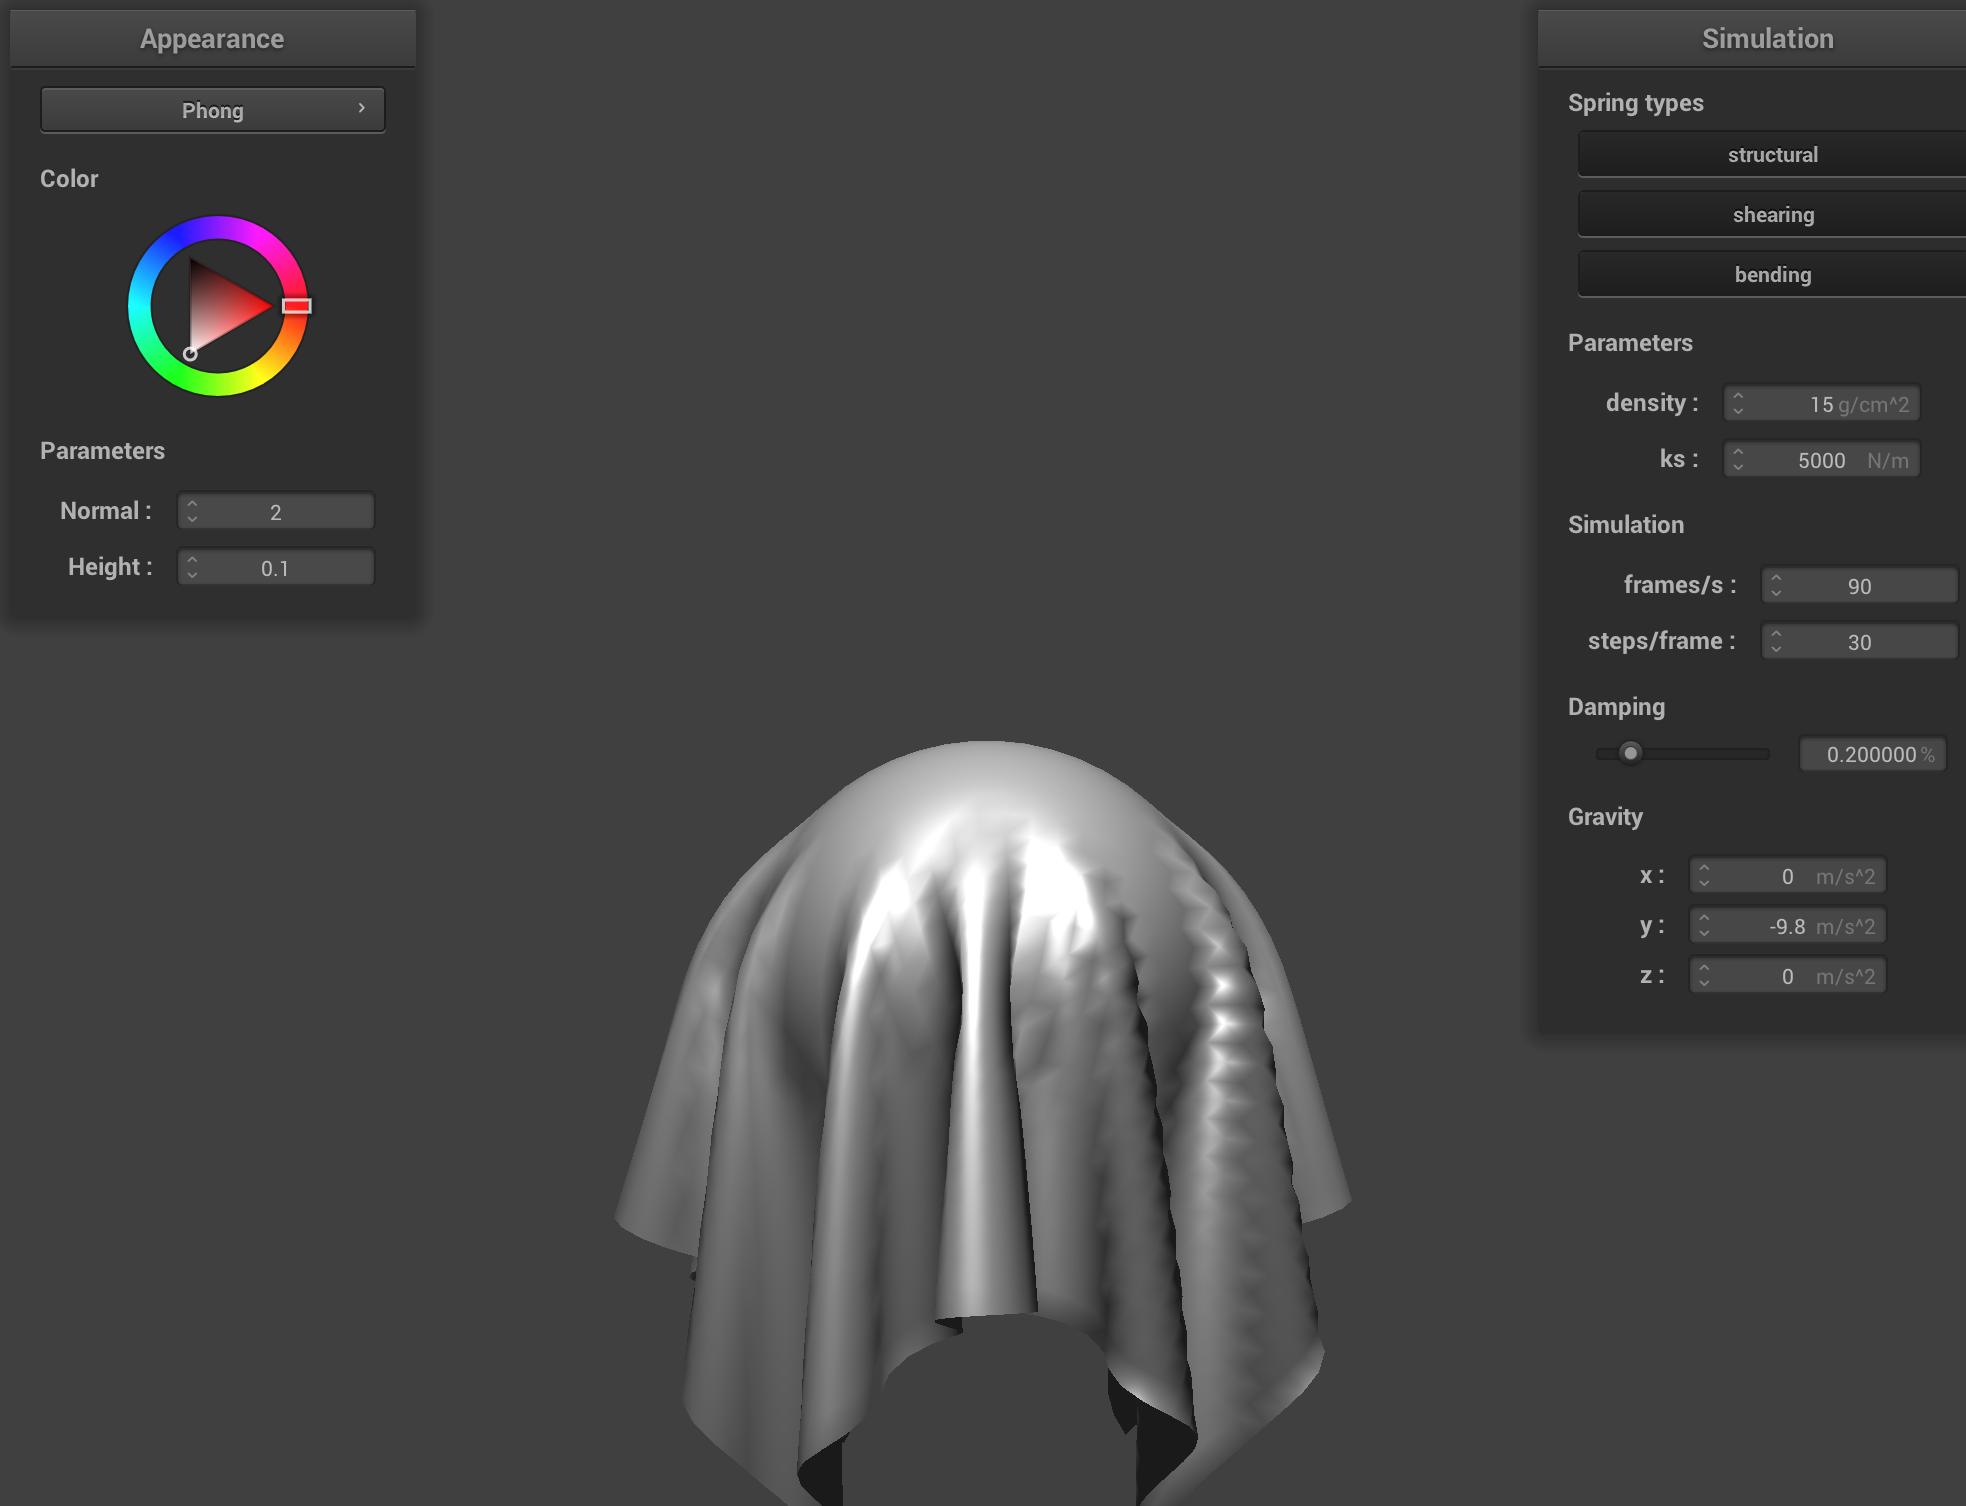
This is the shaded cloth from scene/pinned4.json in its final resting state, with all the default parameters.
Part 3: Handling collisions with other objects
In implementing sphere collisions, I check if a given point mass is inside of the sphere. If it is, I push it back onto the surface of the sphere, with an adjustment for friction. The first thing I did was calculating the direction vector, by computing the vector from the sphere's center to the point masses' current position. Then, I check if a collision happens. To resolve this collision, I calculate the nearest point to the sphere's surface and compute a correction displacement, and apply friction to modulate the collsion response. This final value is what the point masses' current position is updated to.

This lower spring constant leads to a cloth that is looser and flowier. Thus, as the cloth rests on top of the sphere, there are more folds and creases. |
There are less creases and the folds are bigger, than the lower spring constant. |
There are significantly less folds and are much larger. This is because a high spring constant leads to a cloth that is stiffer. |
Similarily, for collision with the plane, I am also taking a point mass and adjusting its position if its inside the plane, depending on which side the cloth is on relative to the plane. If the point mass crosses, we bump it back to the original side. We do this by using the norm of a vector to calculate the necessary distances.
Part 4: Handling self-collisions
Currently, the cloth clips through whenever it falls on itself/folds in on itself as II aren't adressing for self collision. the naive method of doing this is looping through all point paris, but in reality I only need to check the nearby points when considering self collision. As a result, I will seperate out the volume into a series of 3D boxes stored in a hashtable. For the given hash function I want to reduce collisions, so I used the following hash function for the x, y and z coordiantes of the voxel:
hash = x + y2 + z3
This hash function is calculated for each point mass to populate the given hashtable. Then given a point mass, the function self_collide will look for nearby point masses within 2*thickness apart. If so, a correction vector that is needed to apply to the point mass such that the pair would be 2*thickness distance apart is averaged and scaled to be the new position coordinate.
The image sequence below shows snapshots over 3 periods of time, showing how the cloth is self avoiding and does not self intersect.
|
|
|
Increasing the density means each point mass carries more weight so the heavy cloth accelerates faster under gracity creating more and deeper folds. This contrasts the low density cloth where the force is lower so there is a slower fall making the cloth appear to flutter/have slower momentum.
|
|
Increasing the ks makes the cloth stiffer as a result of high spring stiffness. High ks cloth maintains more of its original structure, resisting slower deformation. This contrasts the low spring stiffness (low ks) where point masses are more flexible so the cloth collides with itself more resulting in more and deeper folds.
|
|
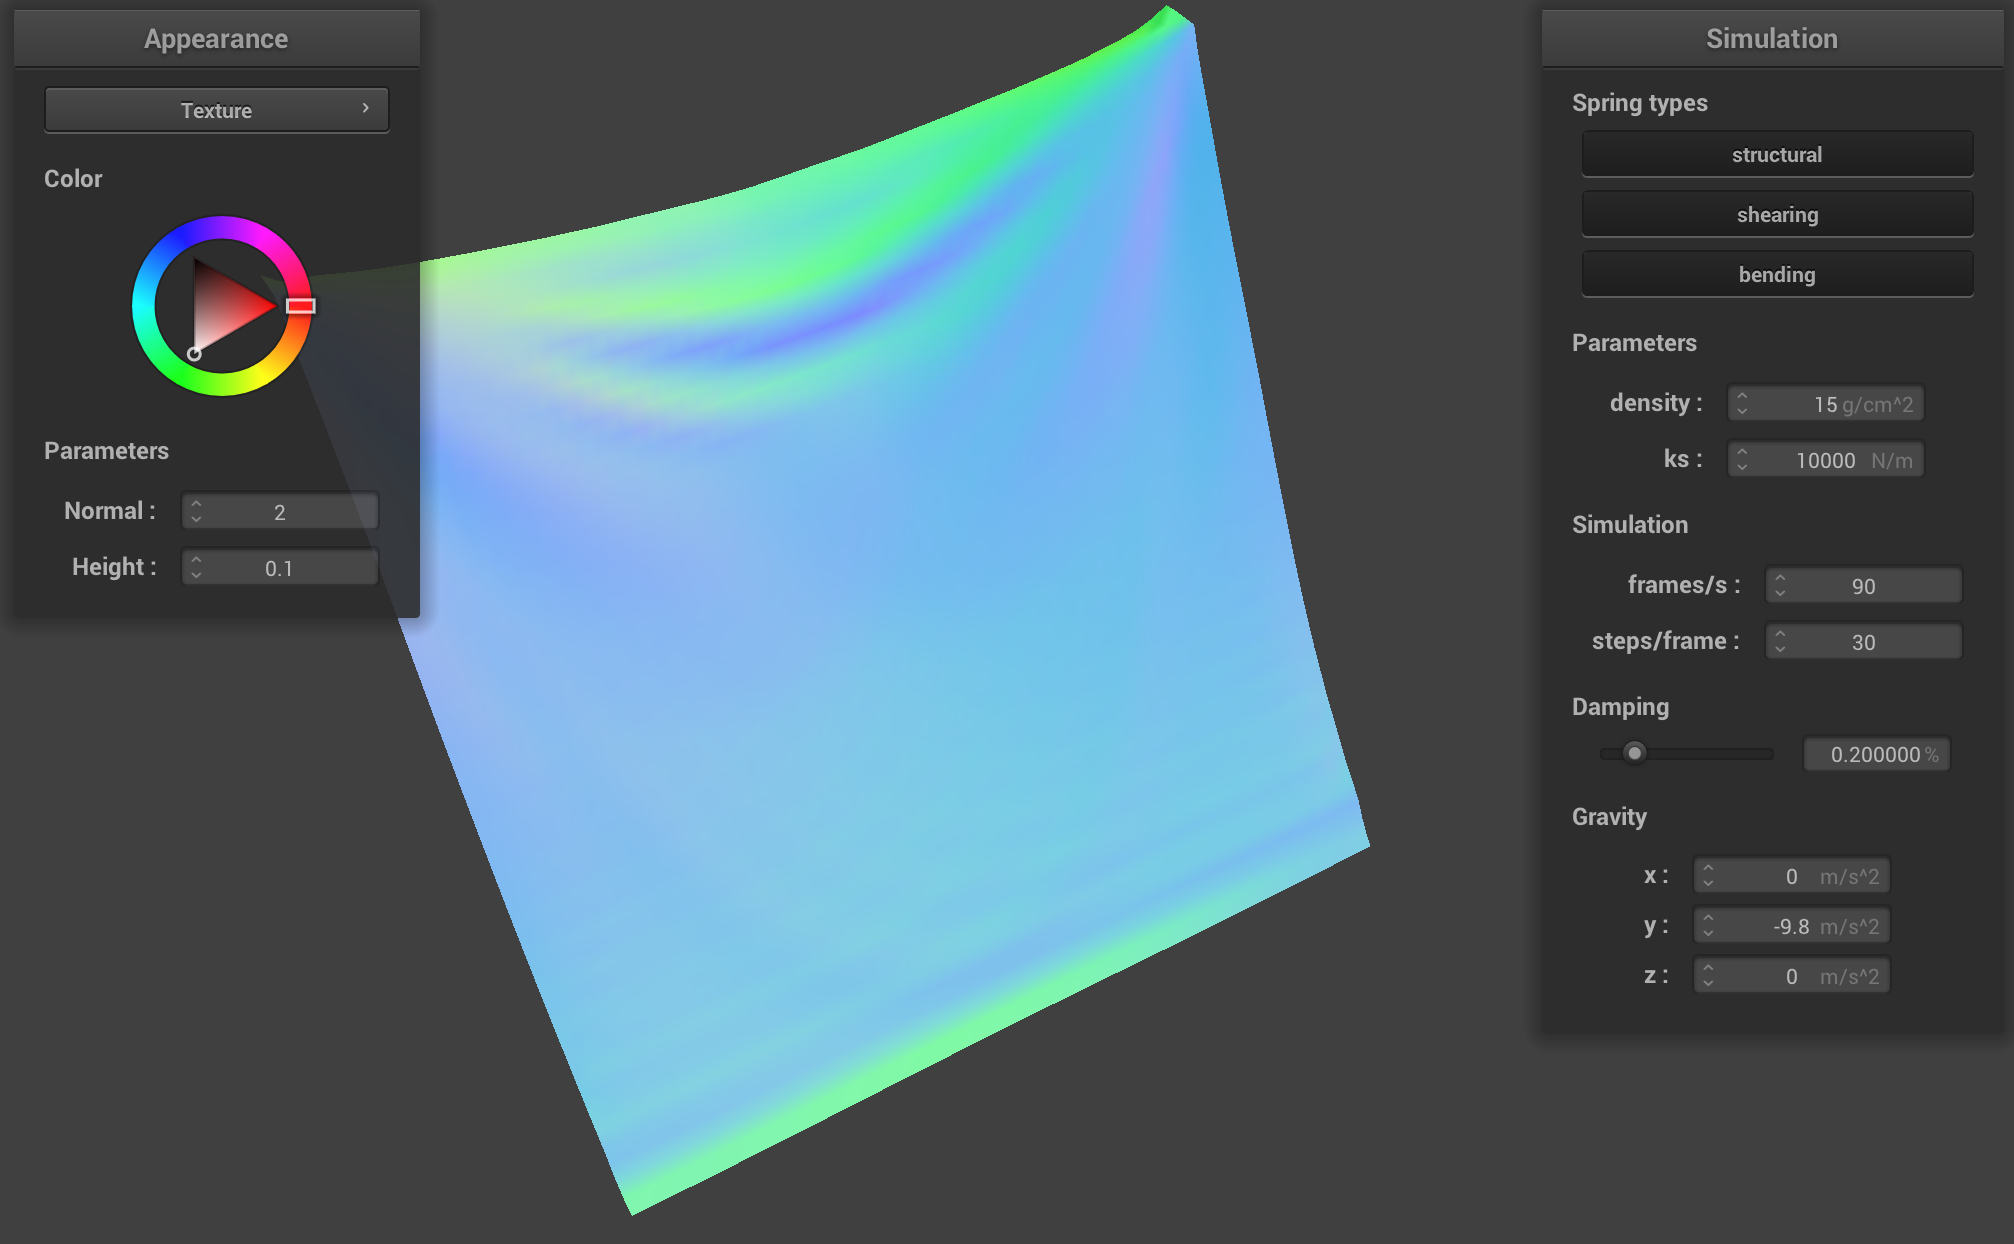
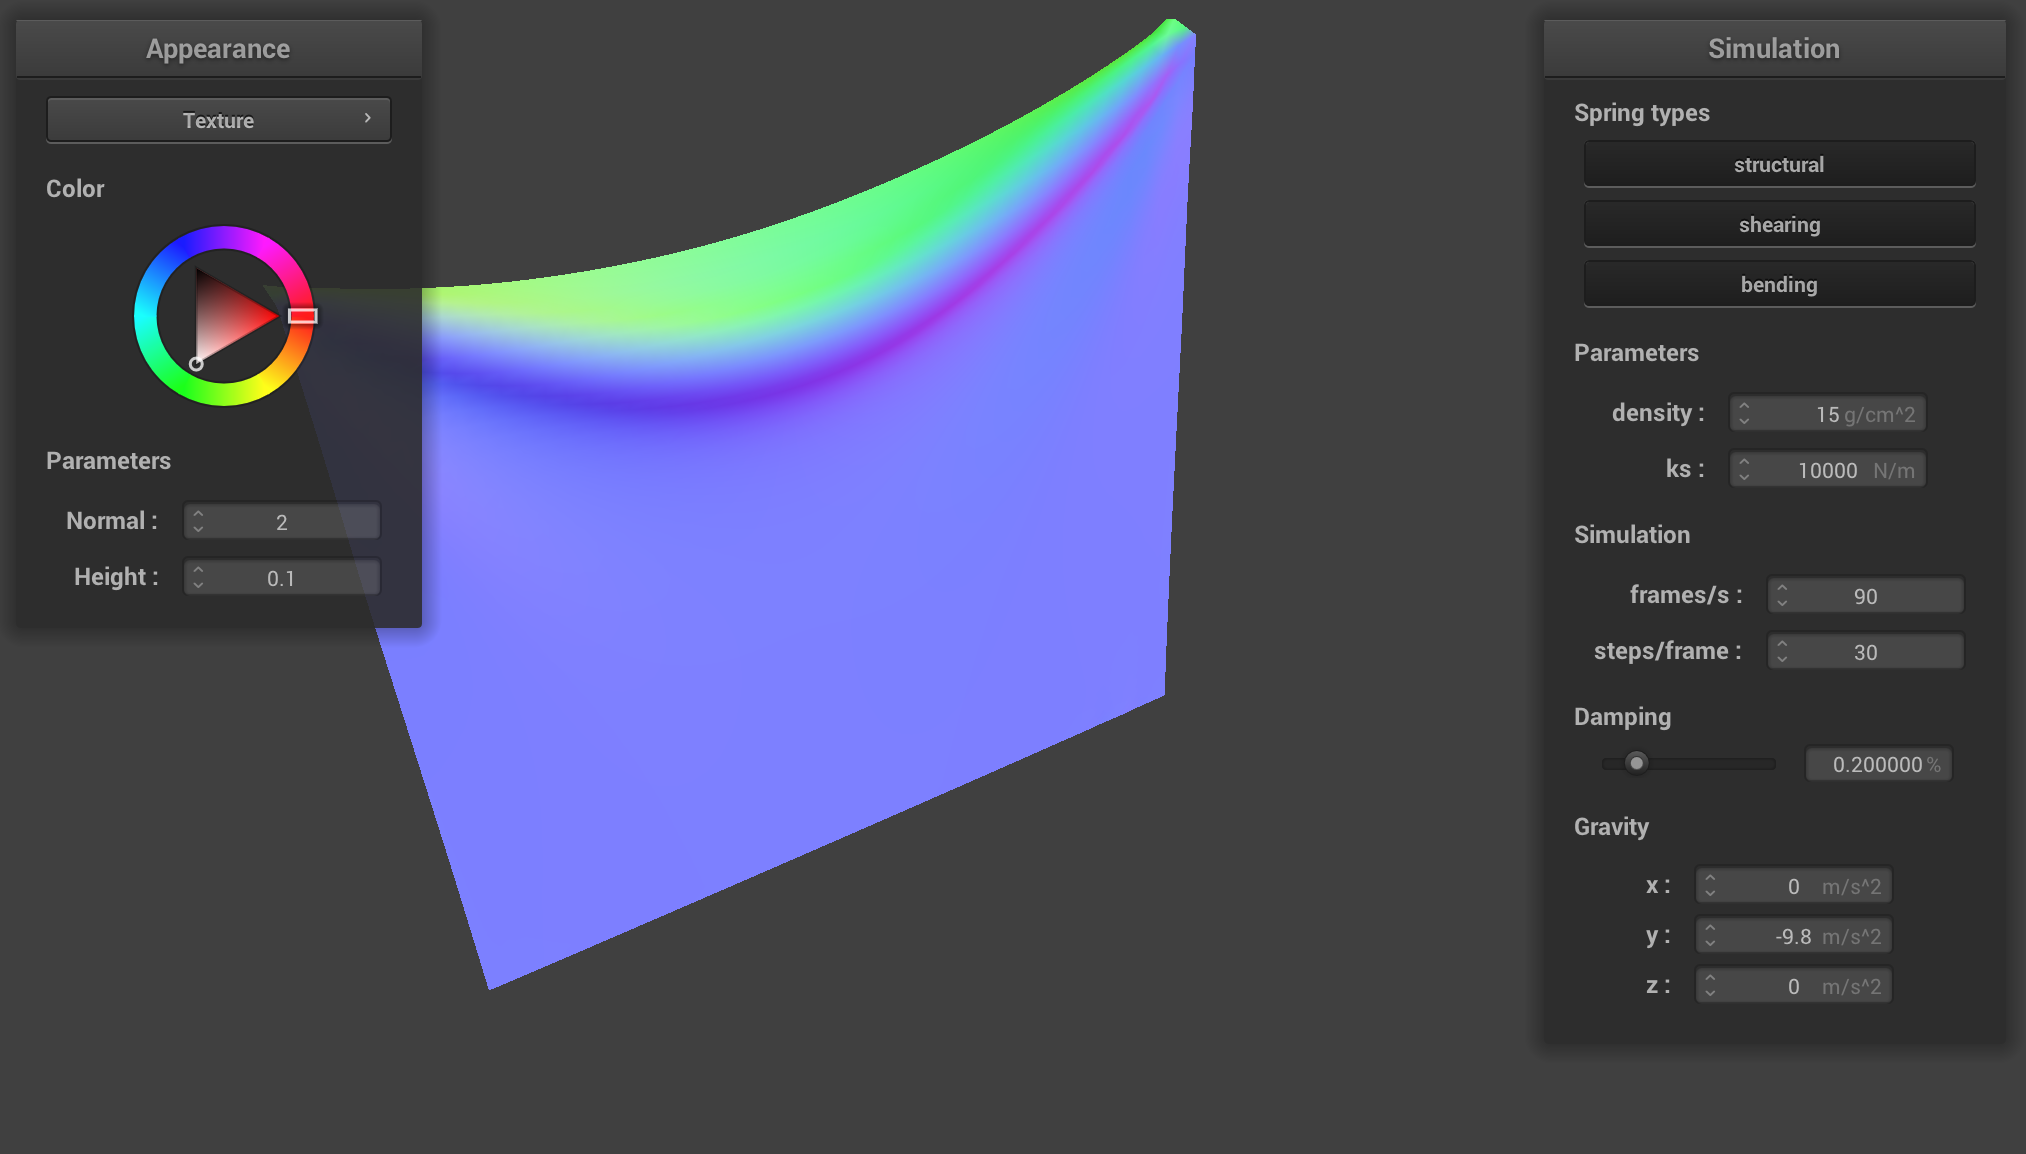
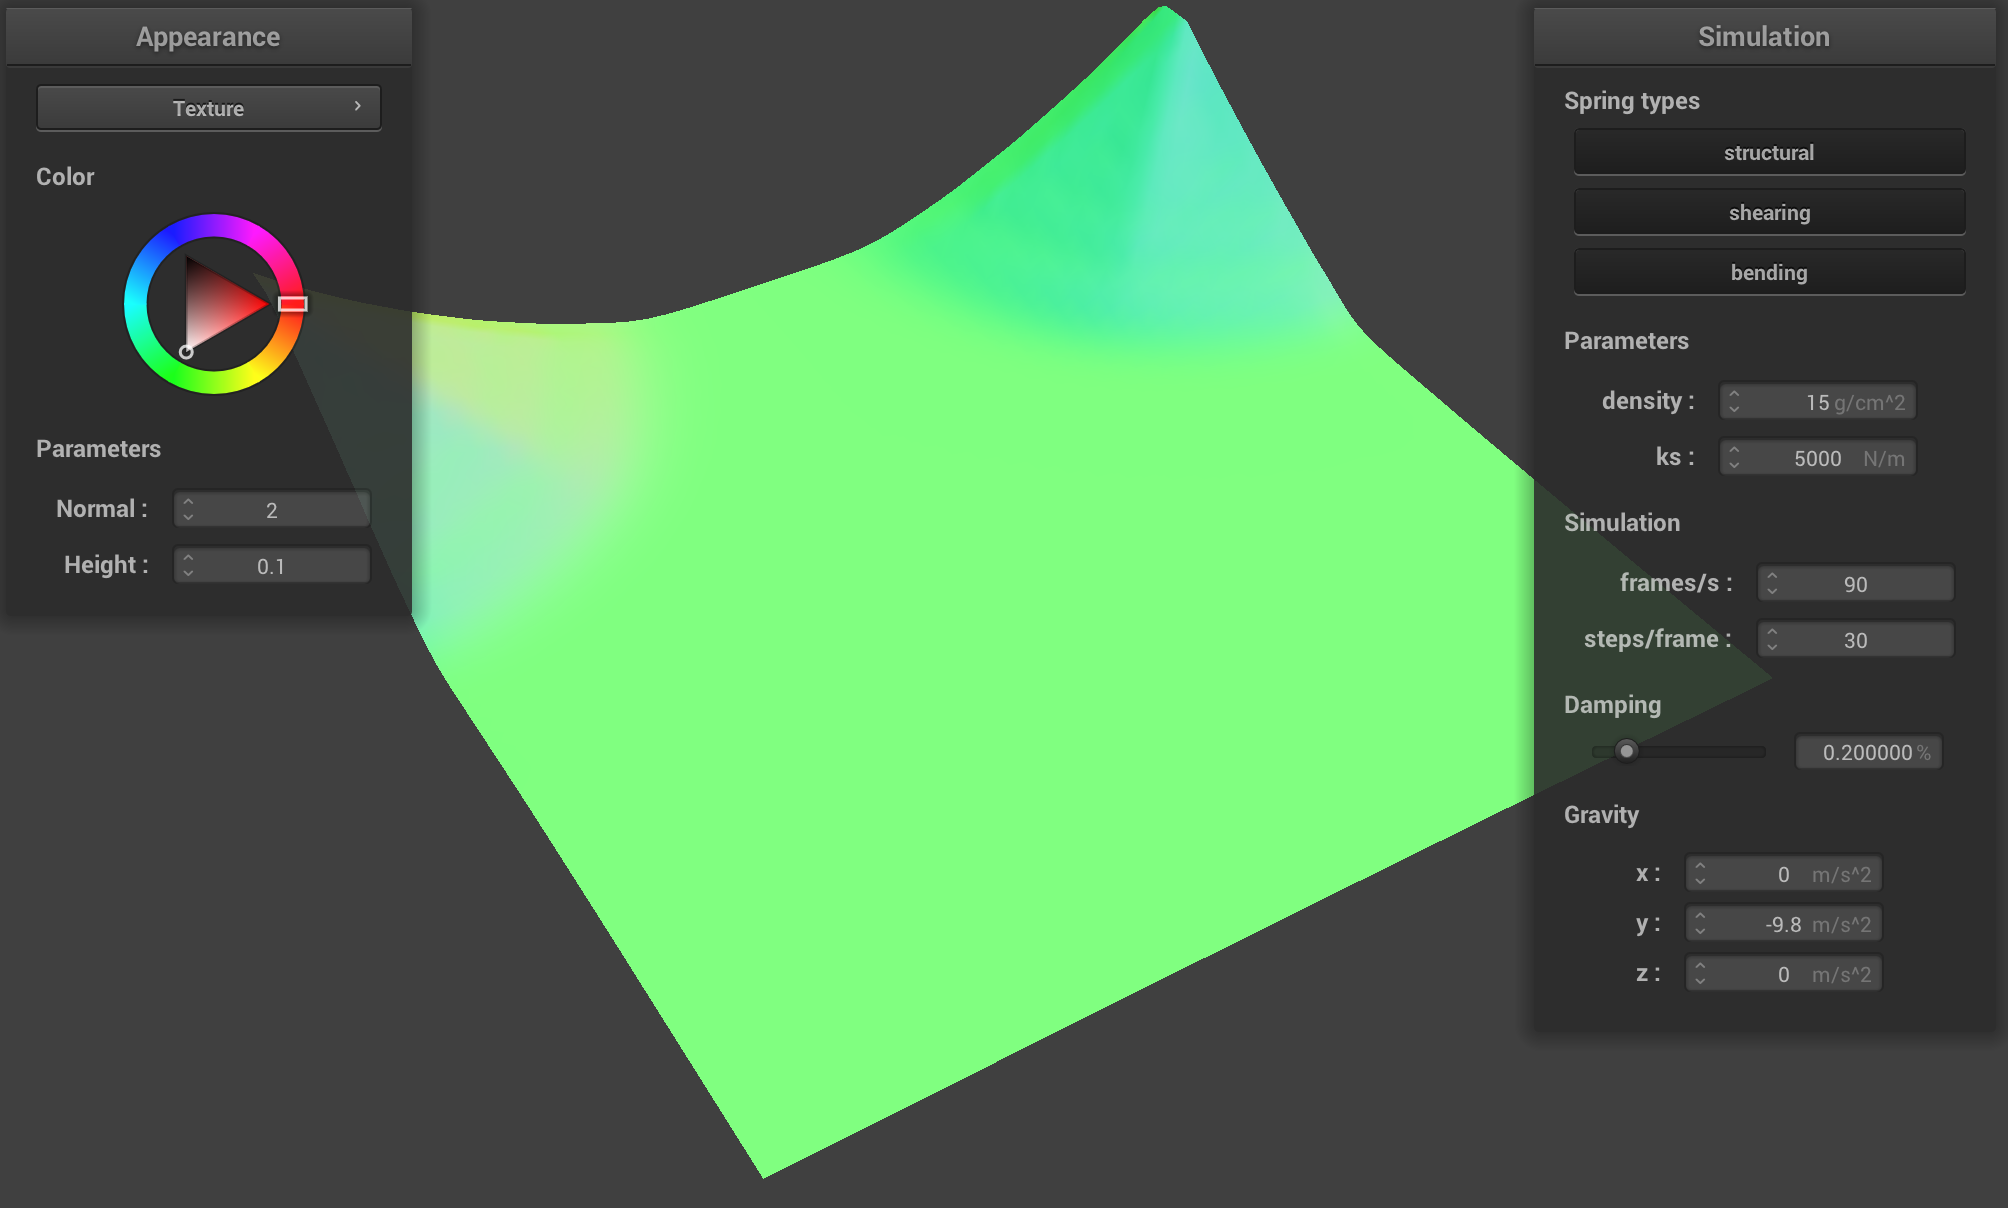
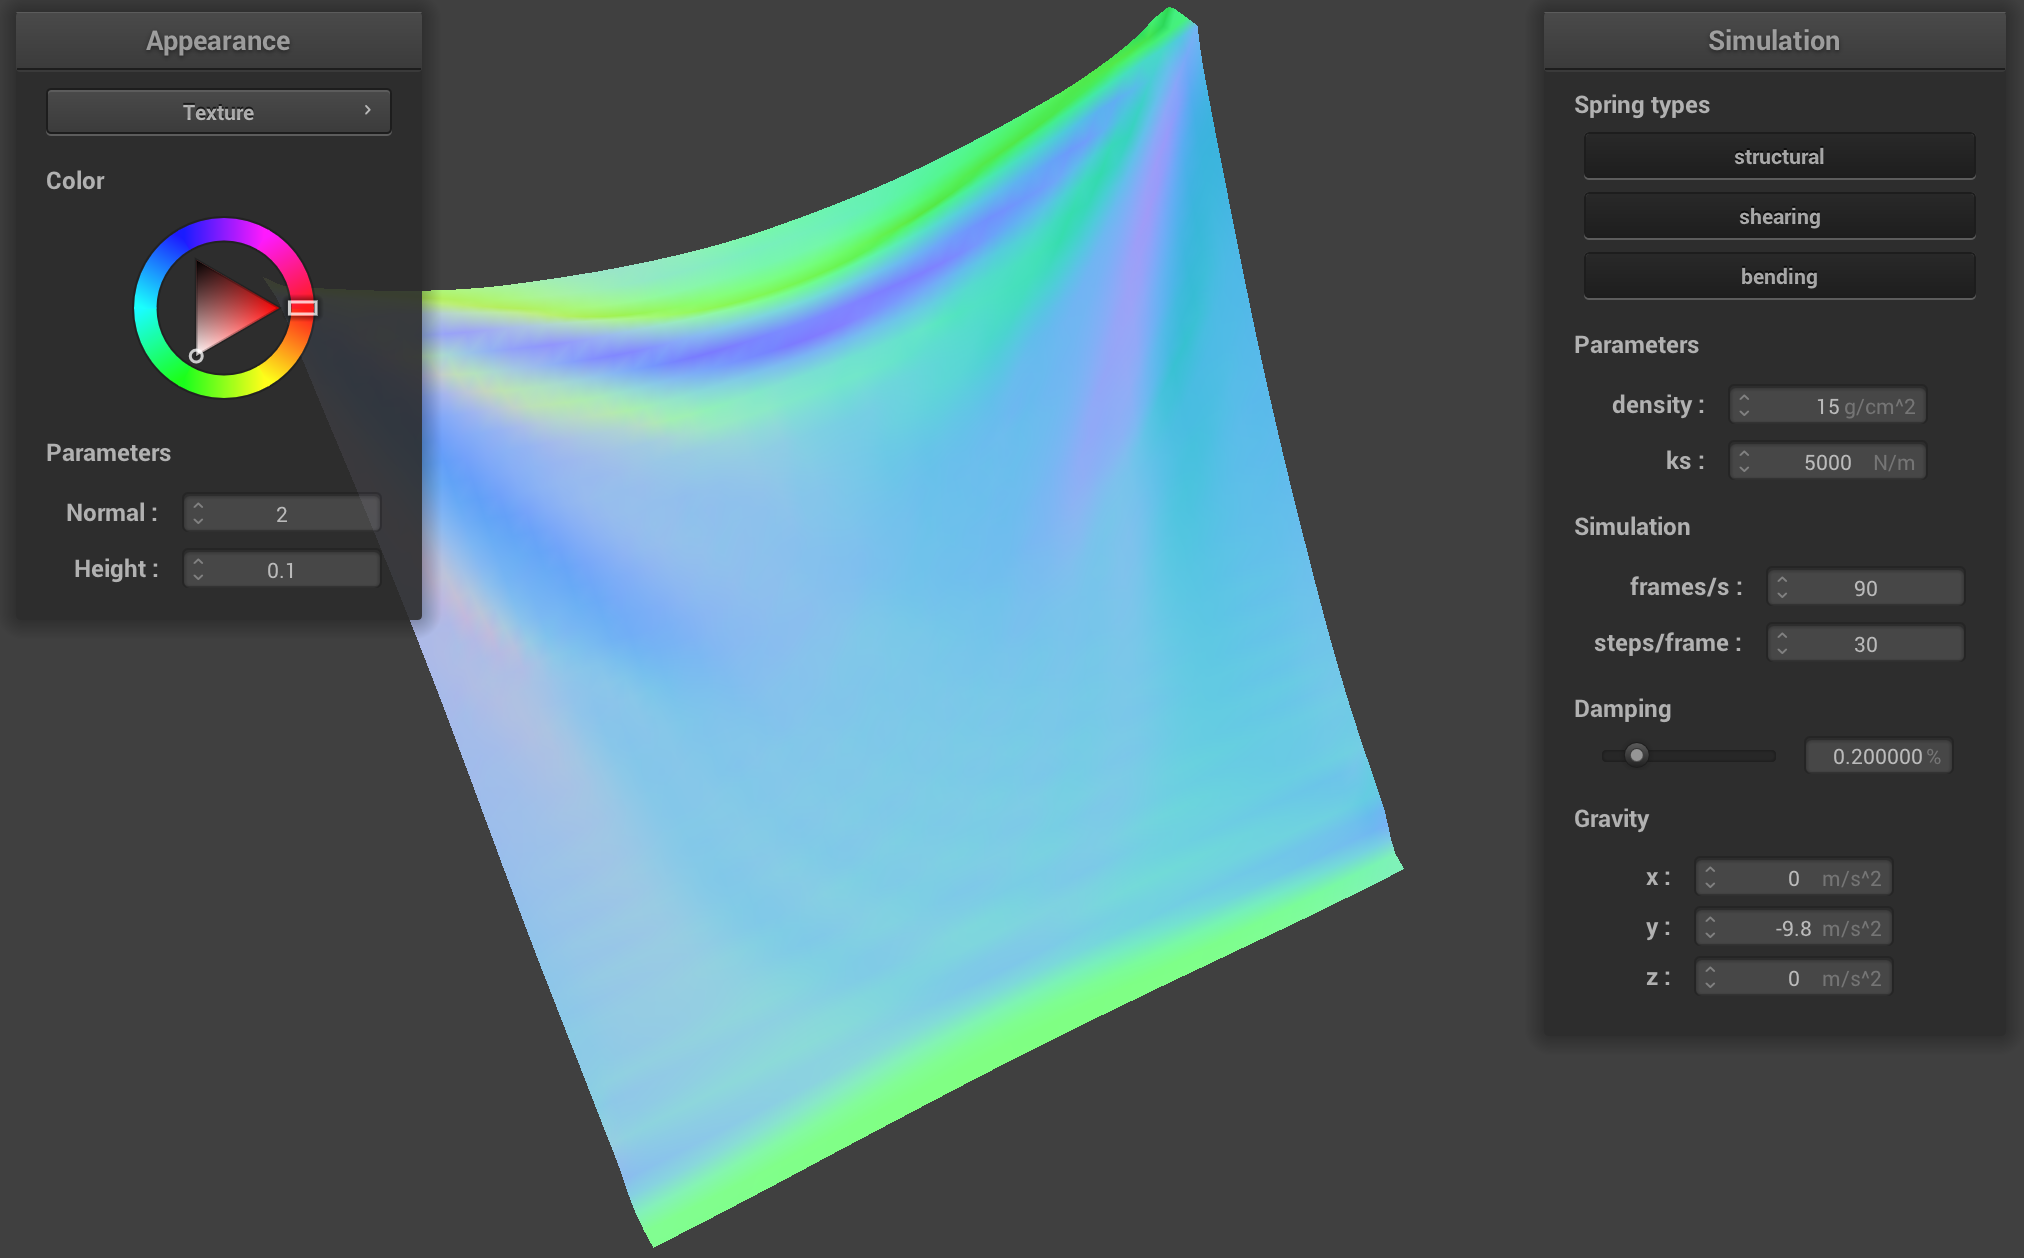
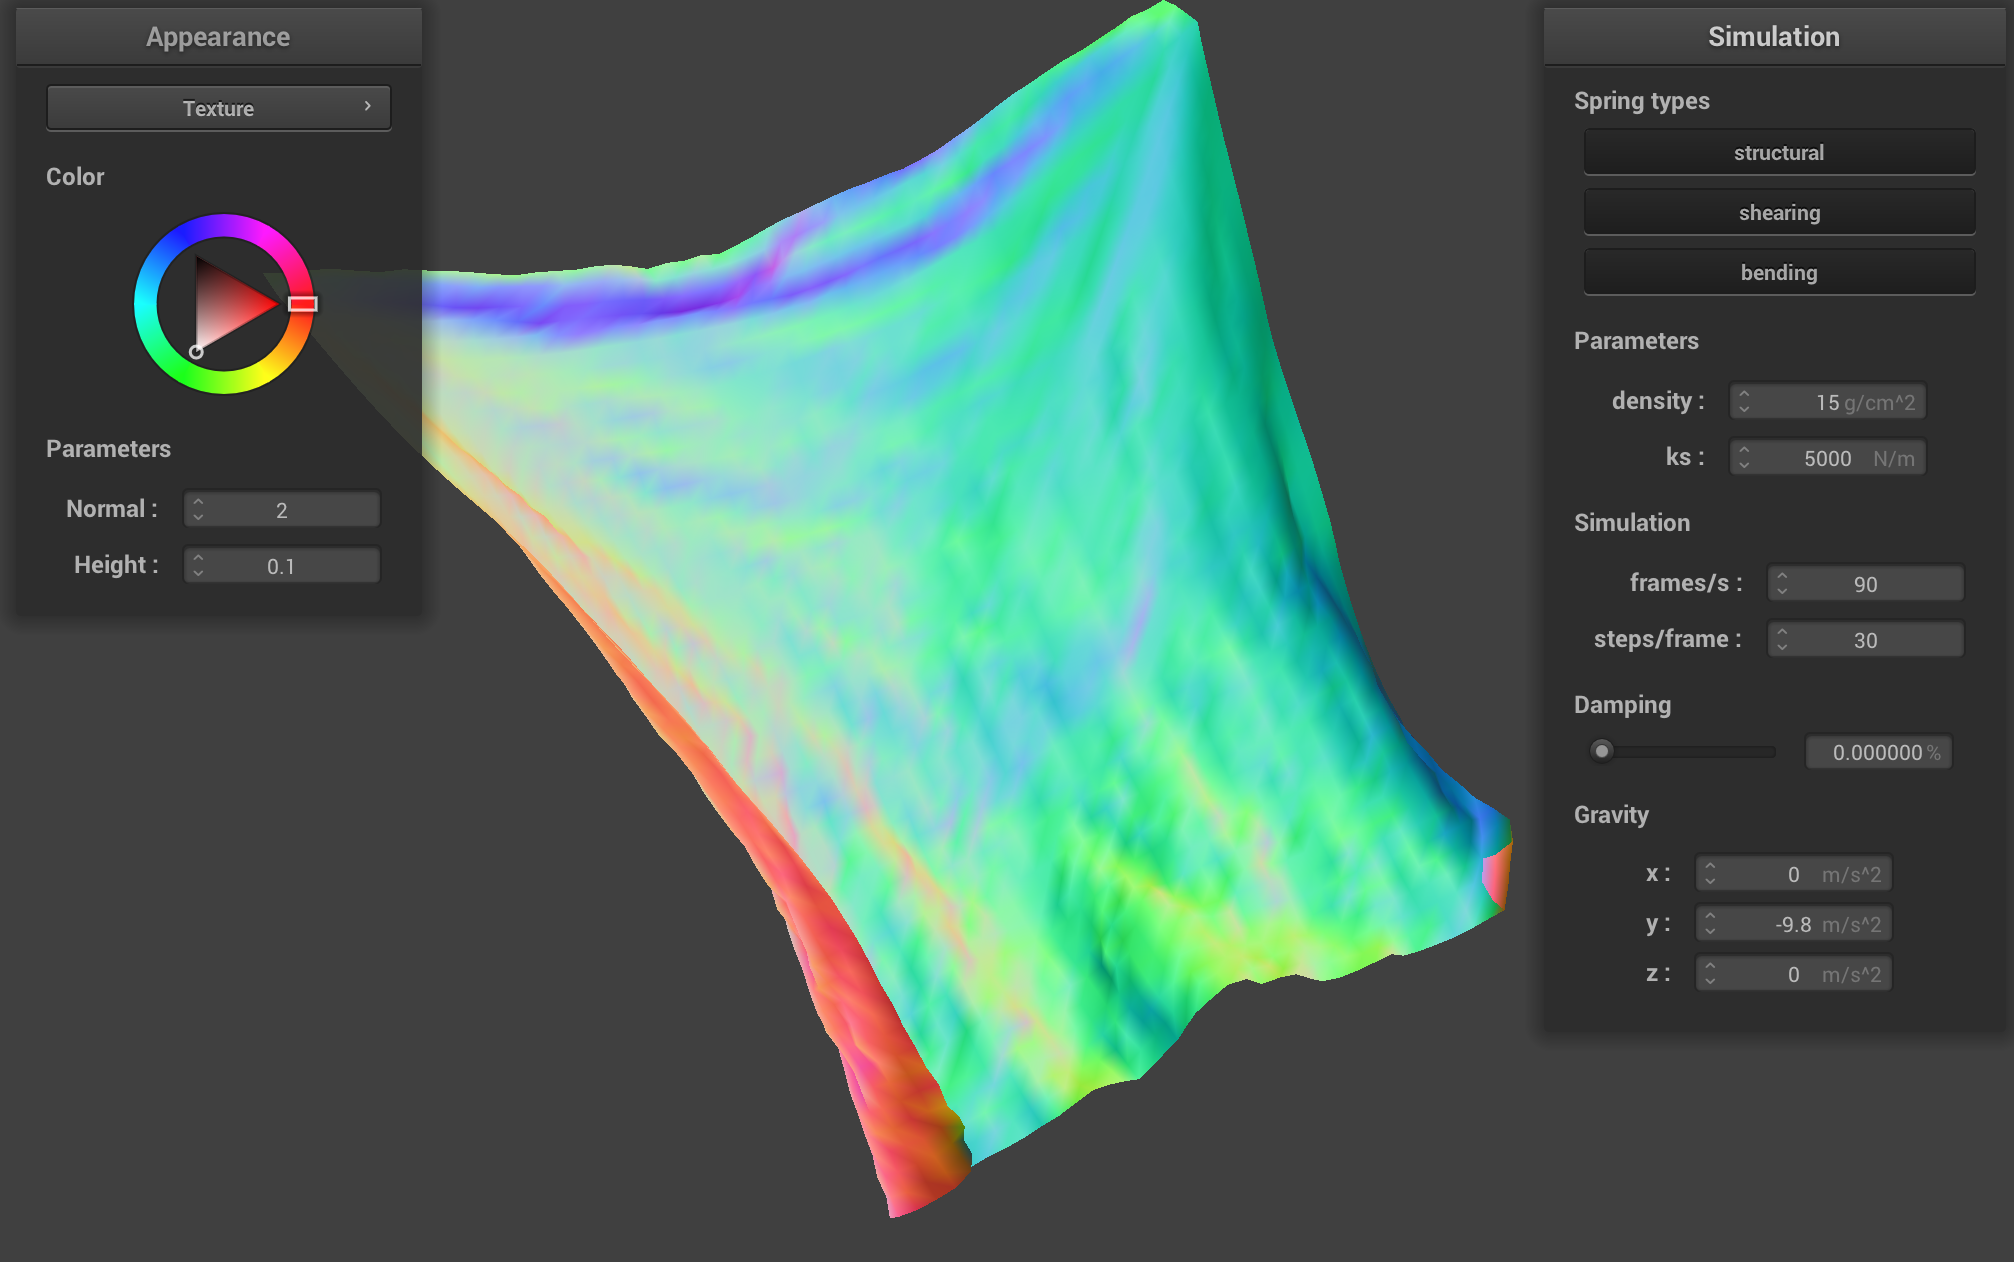
Part 5: Shaders
In this part, we use a shader program to modify the way in which the cloth is rendered in an inexpensive way. They are built in two parts: (1) a vertex shader that assigns vertex attributes to the scene to modify the shape/geometry and (2) a fratment shader which assigns a RGB-alpha vector for each pixel to determine color. Together, they transform the 3D scene data into a 2D image with lighting.
Blinn-Phong Shading
Blinn Phong shading is used to create realistic lighting effects by combining three components: ambient diffuse and specular. The ambient component is a constant that simulates general light in the scene. It is defined by
\( I_a = k_a \cdot I_{a} \)
The diffuse component is based on Lambert's cosine law and mimics how sufaces scater light uniformly. The more directly a surface faces the light the brighter it appears. It is defined by\( I_d = k_d \cdot I/r^2 \cdot \max(0, \vec{N} \cdot \vec{L}) \)
The specular component creates highlights, simulating mirrorlike reflection on a surface. This is done using a halfway vector between the light and view direction. This is defined by\( I_s = k_s \cdot I/r^2 \cdot \max(0, \vec{N} \cdot \vec{H})^p \)
Combined it creates a realistic shading of the scene. We can vary some of the weights in these equations to simulate the appearance of different materials. The weights I used are k_a = 0.1, k_d = 1.0, k_s = 1.0, I_a = 1.0, p = 20.

|
|
|
|
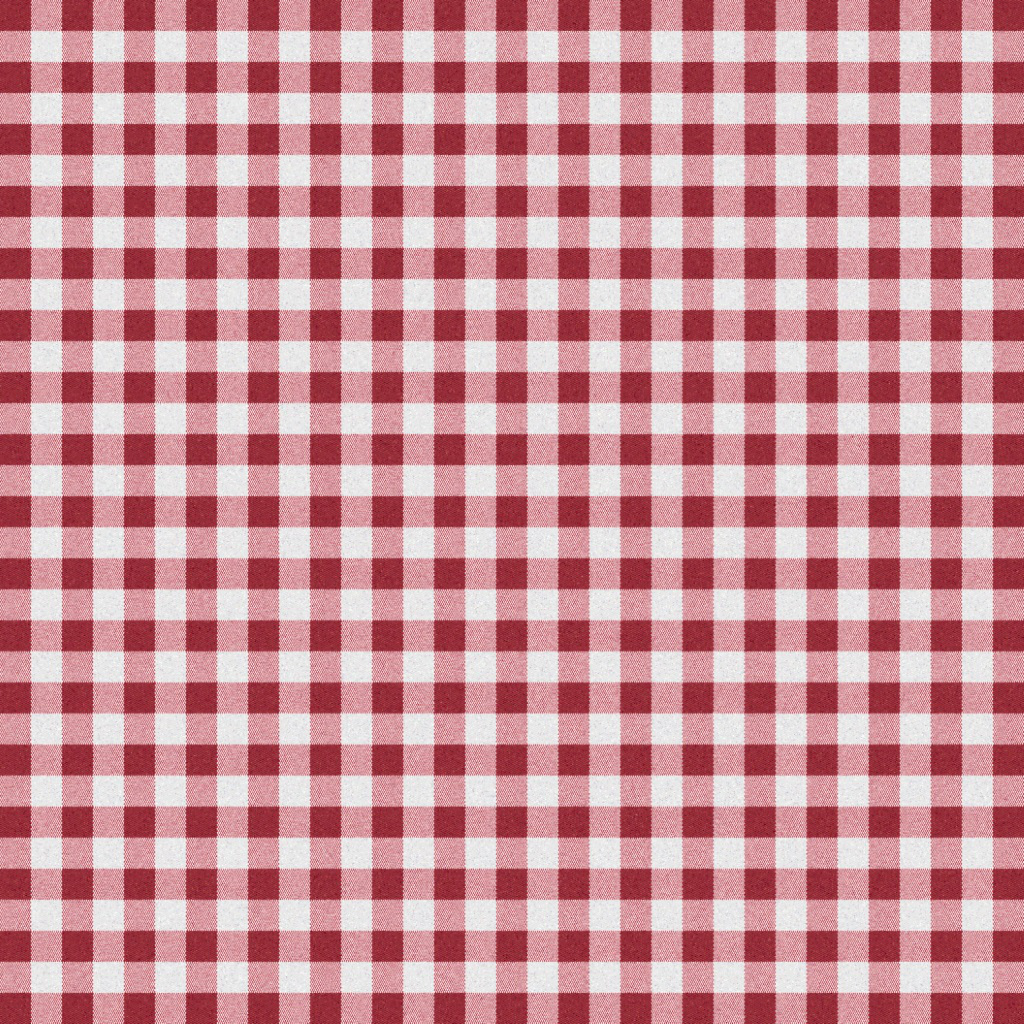
Texture
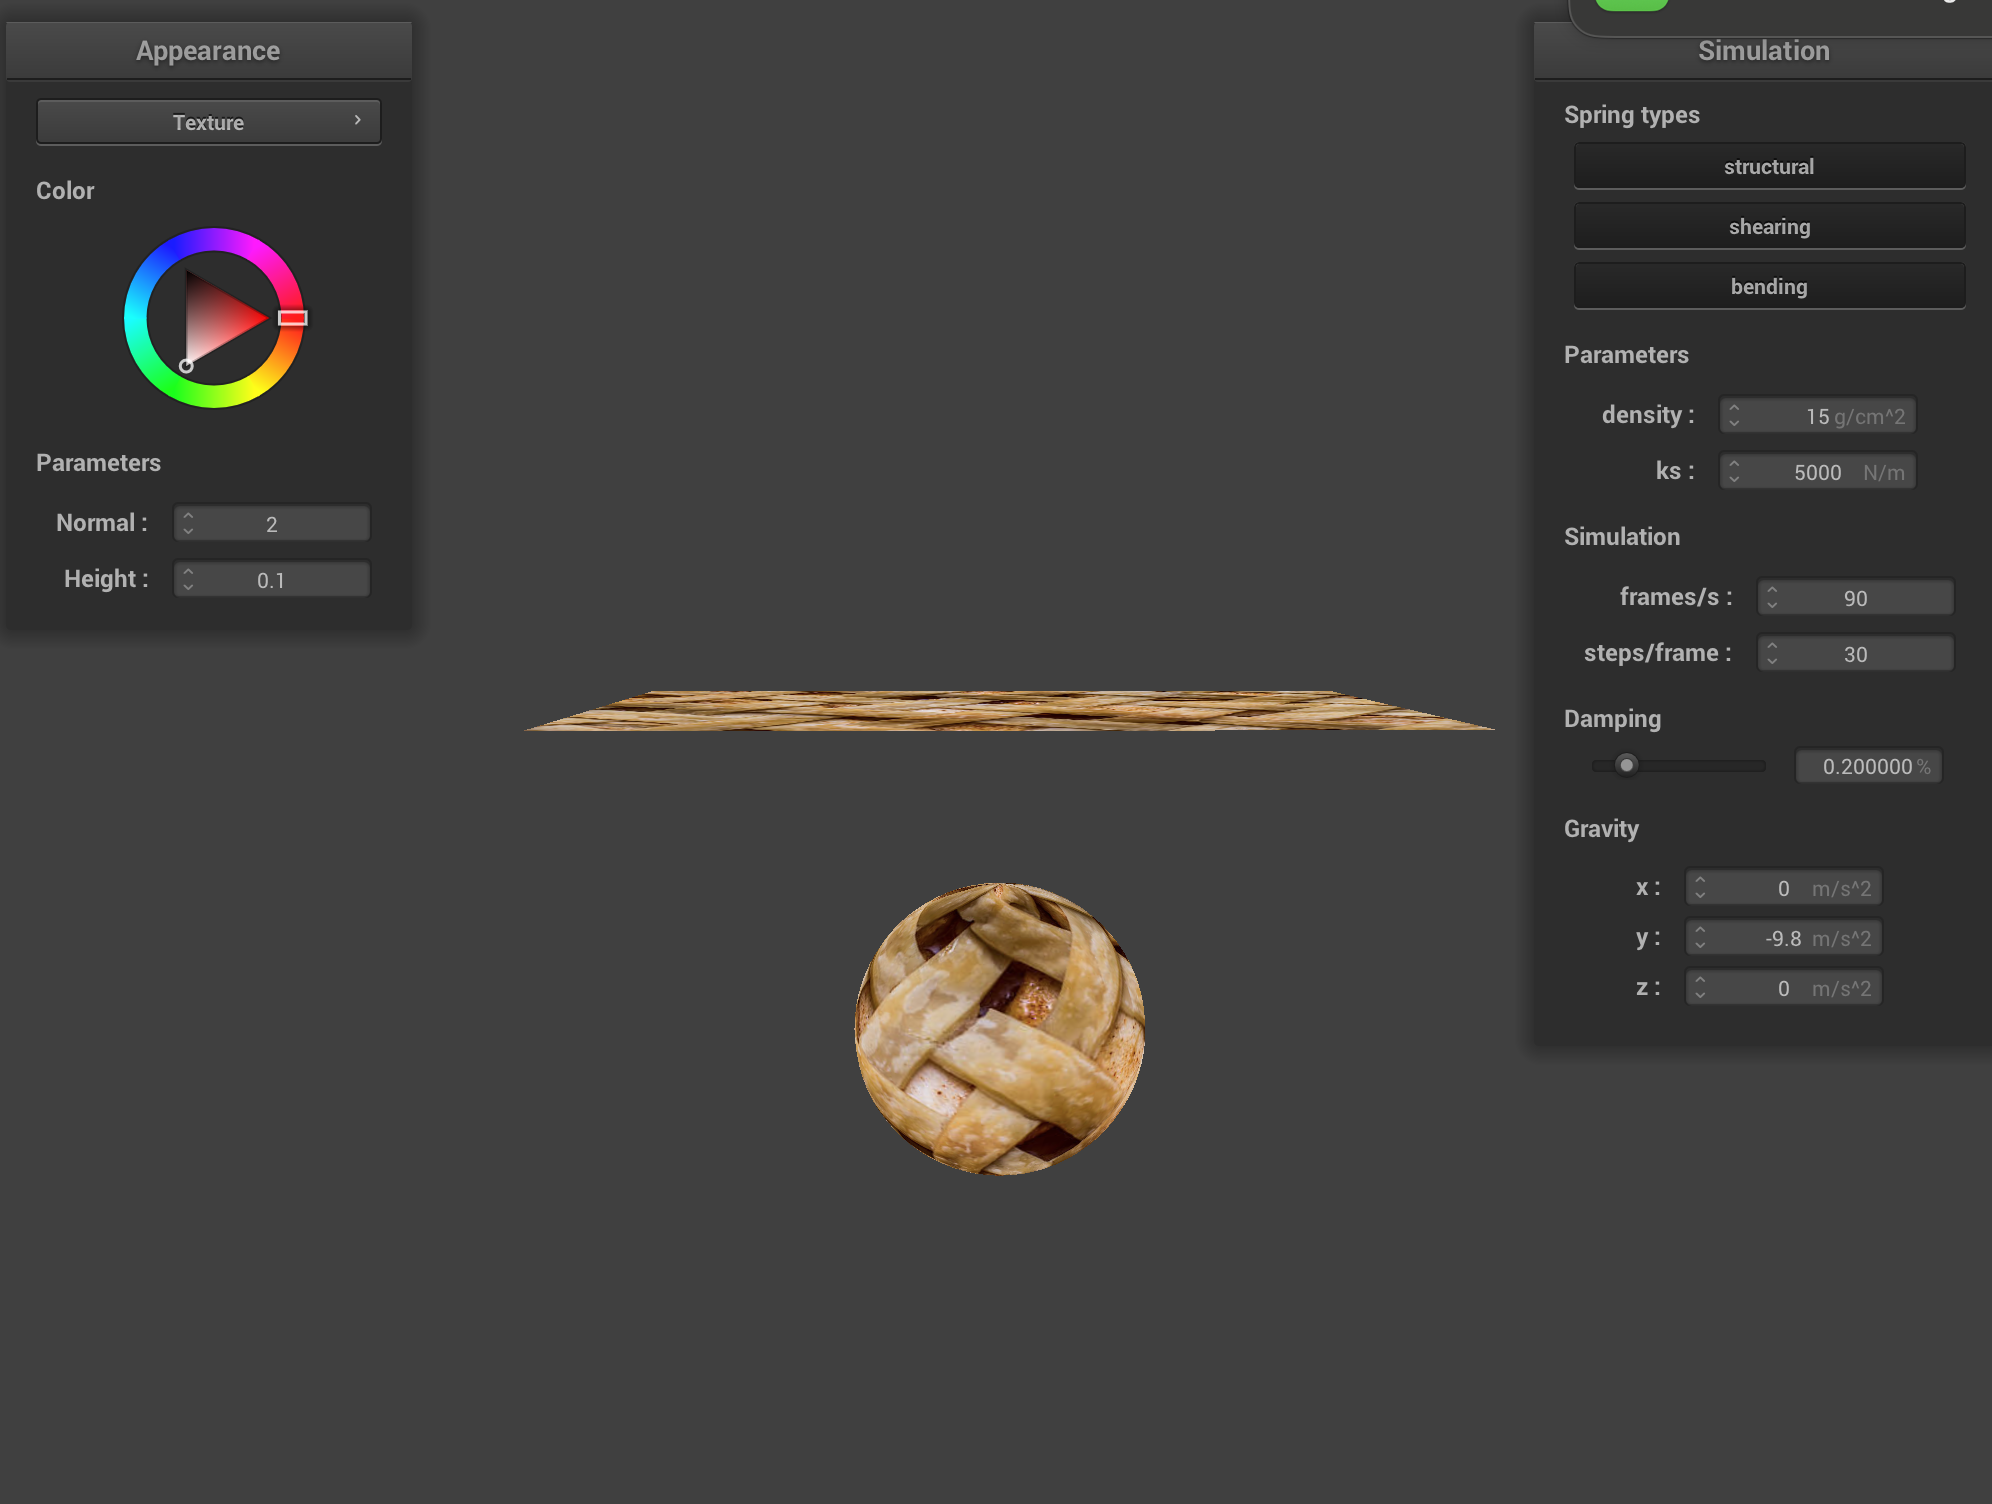
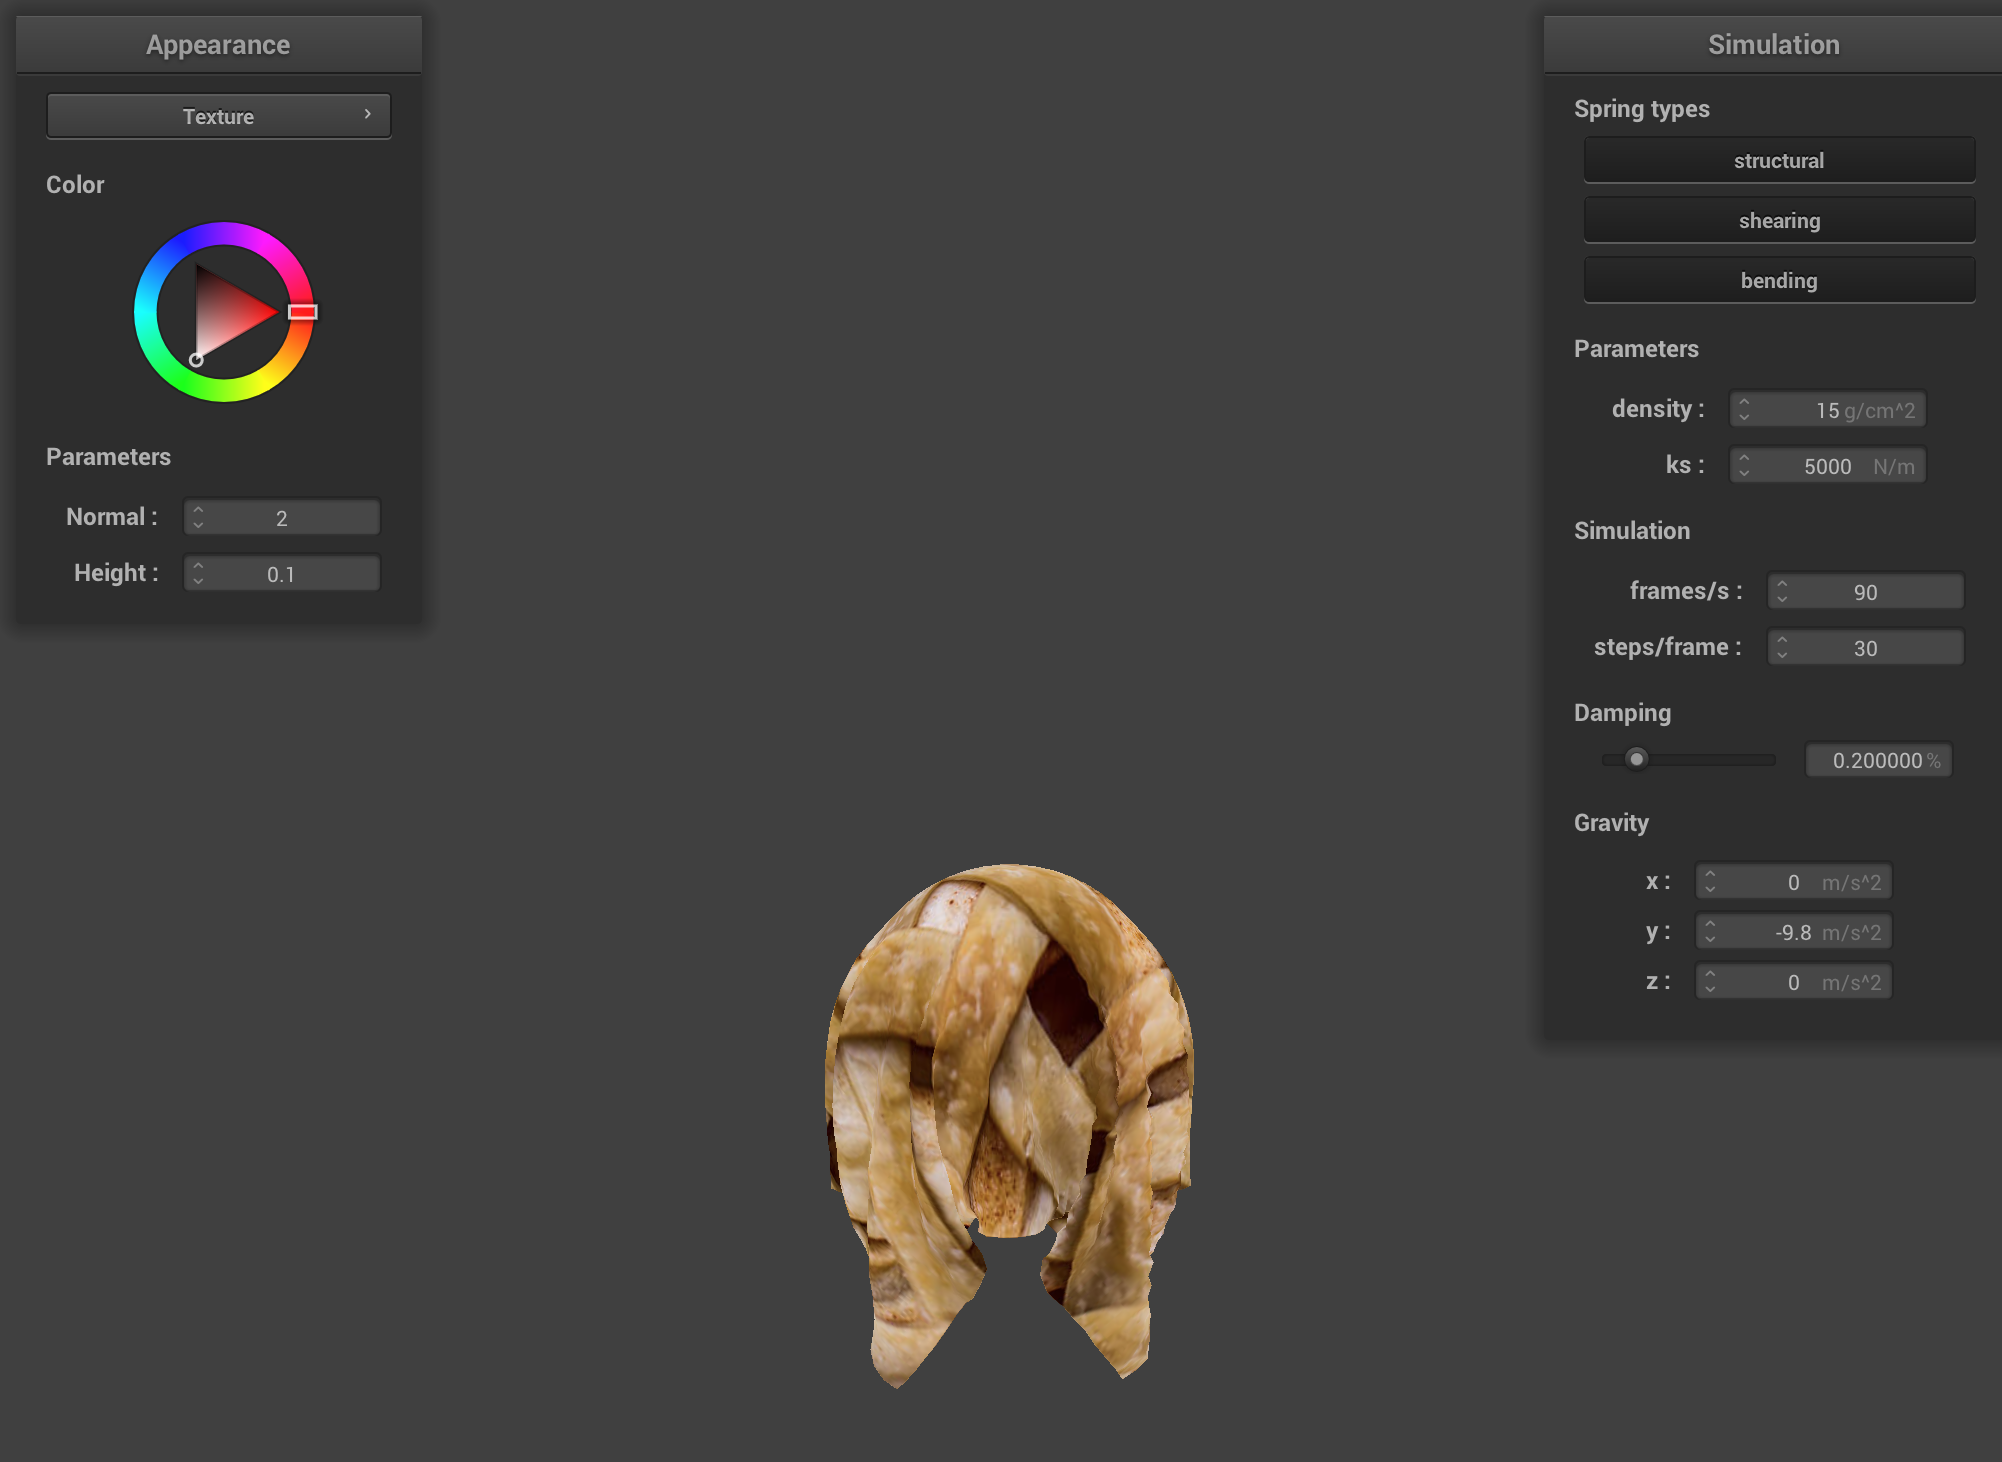
I modified to a custom pie crust texture:
|
|
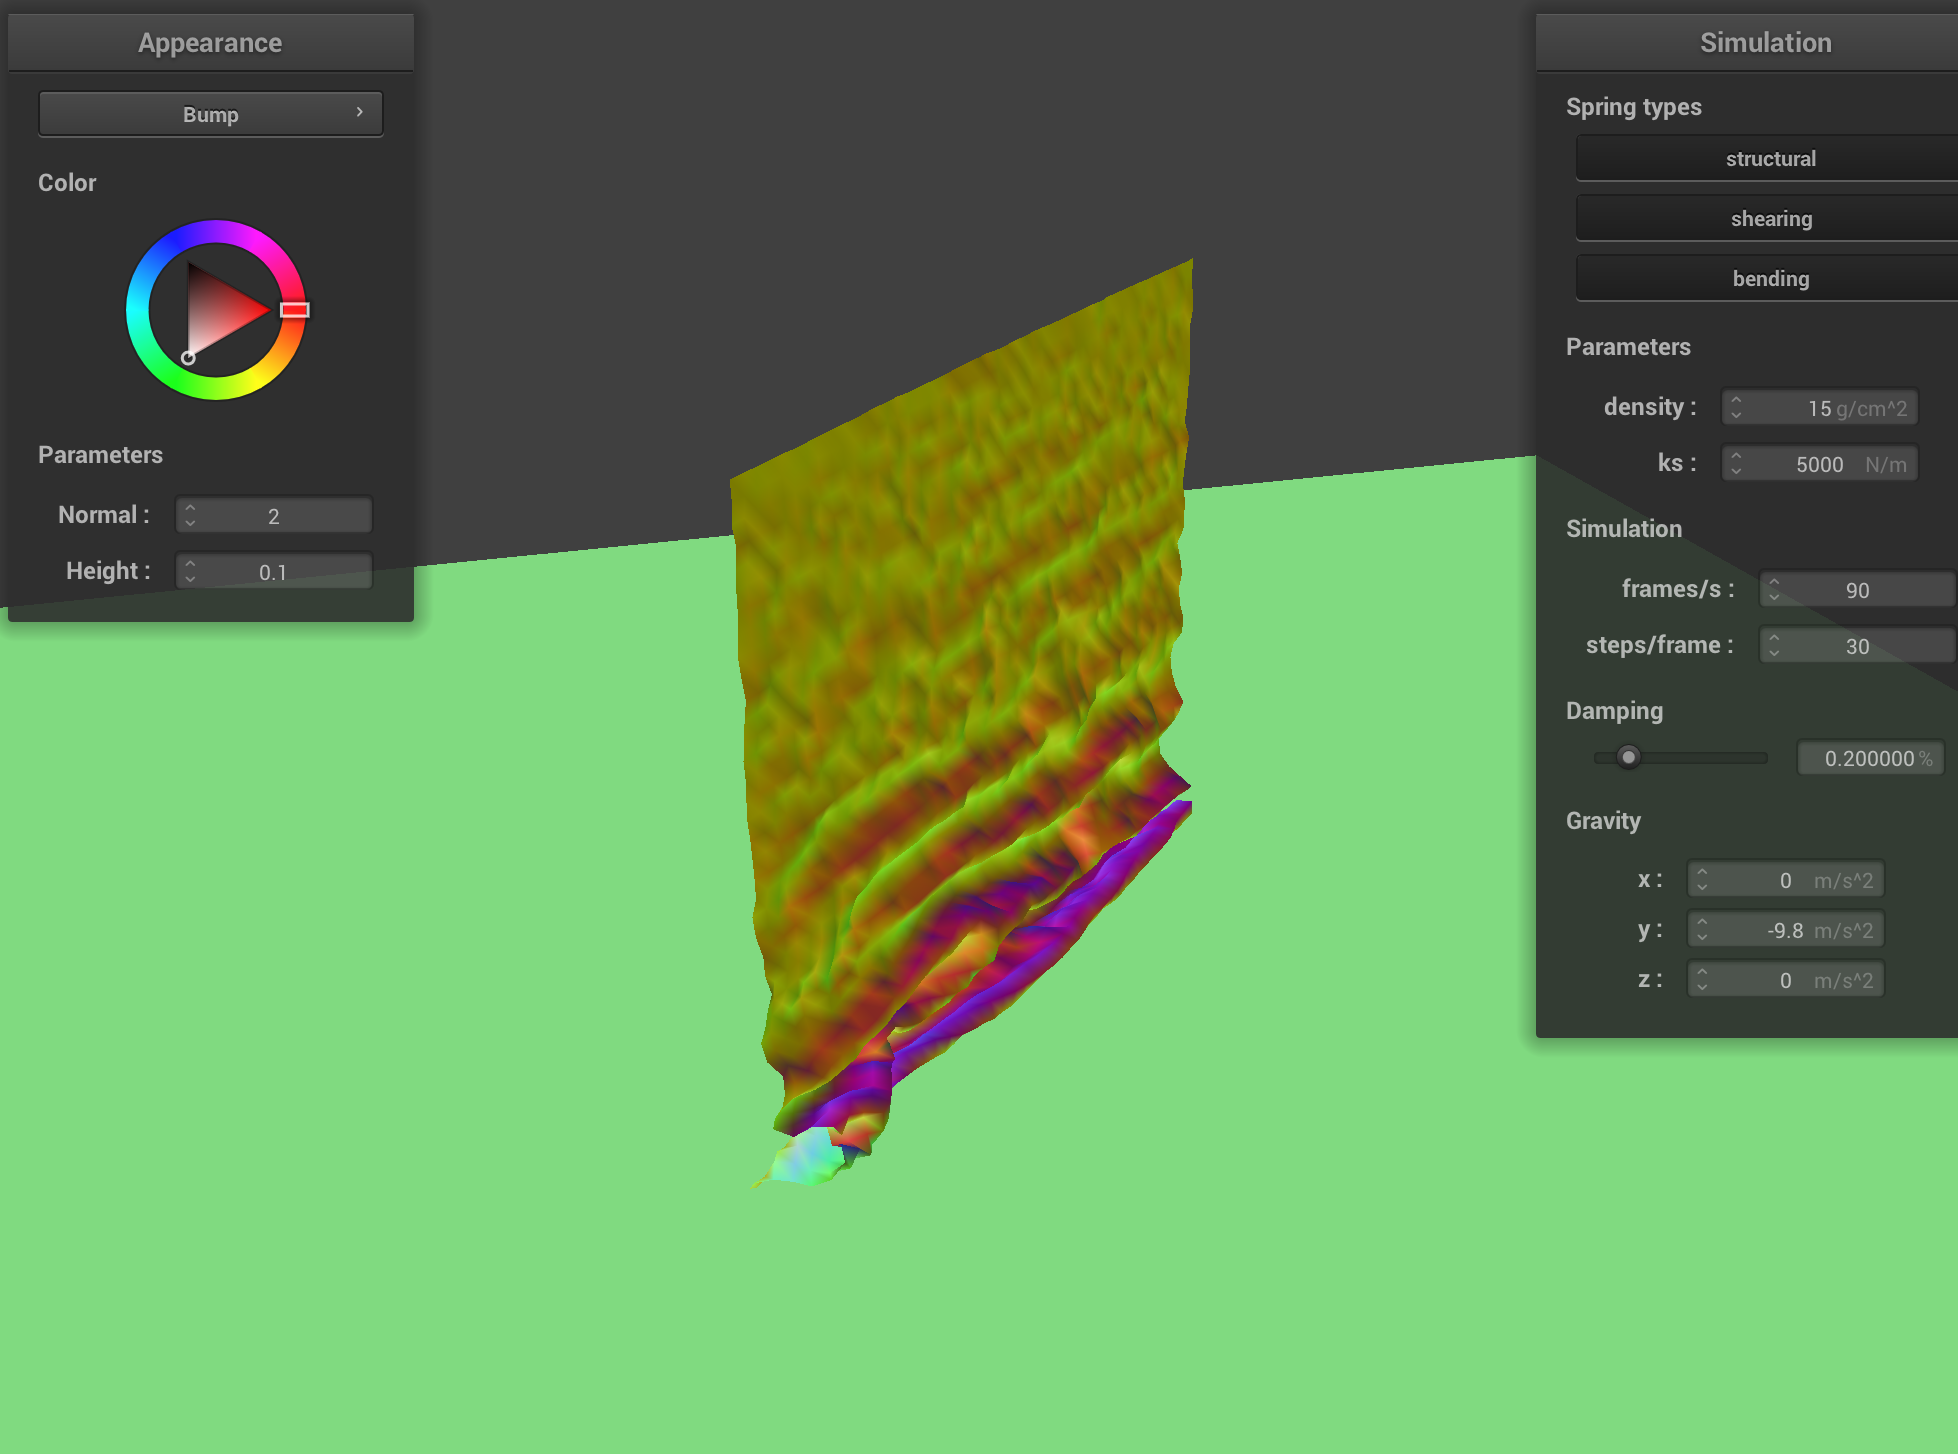
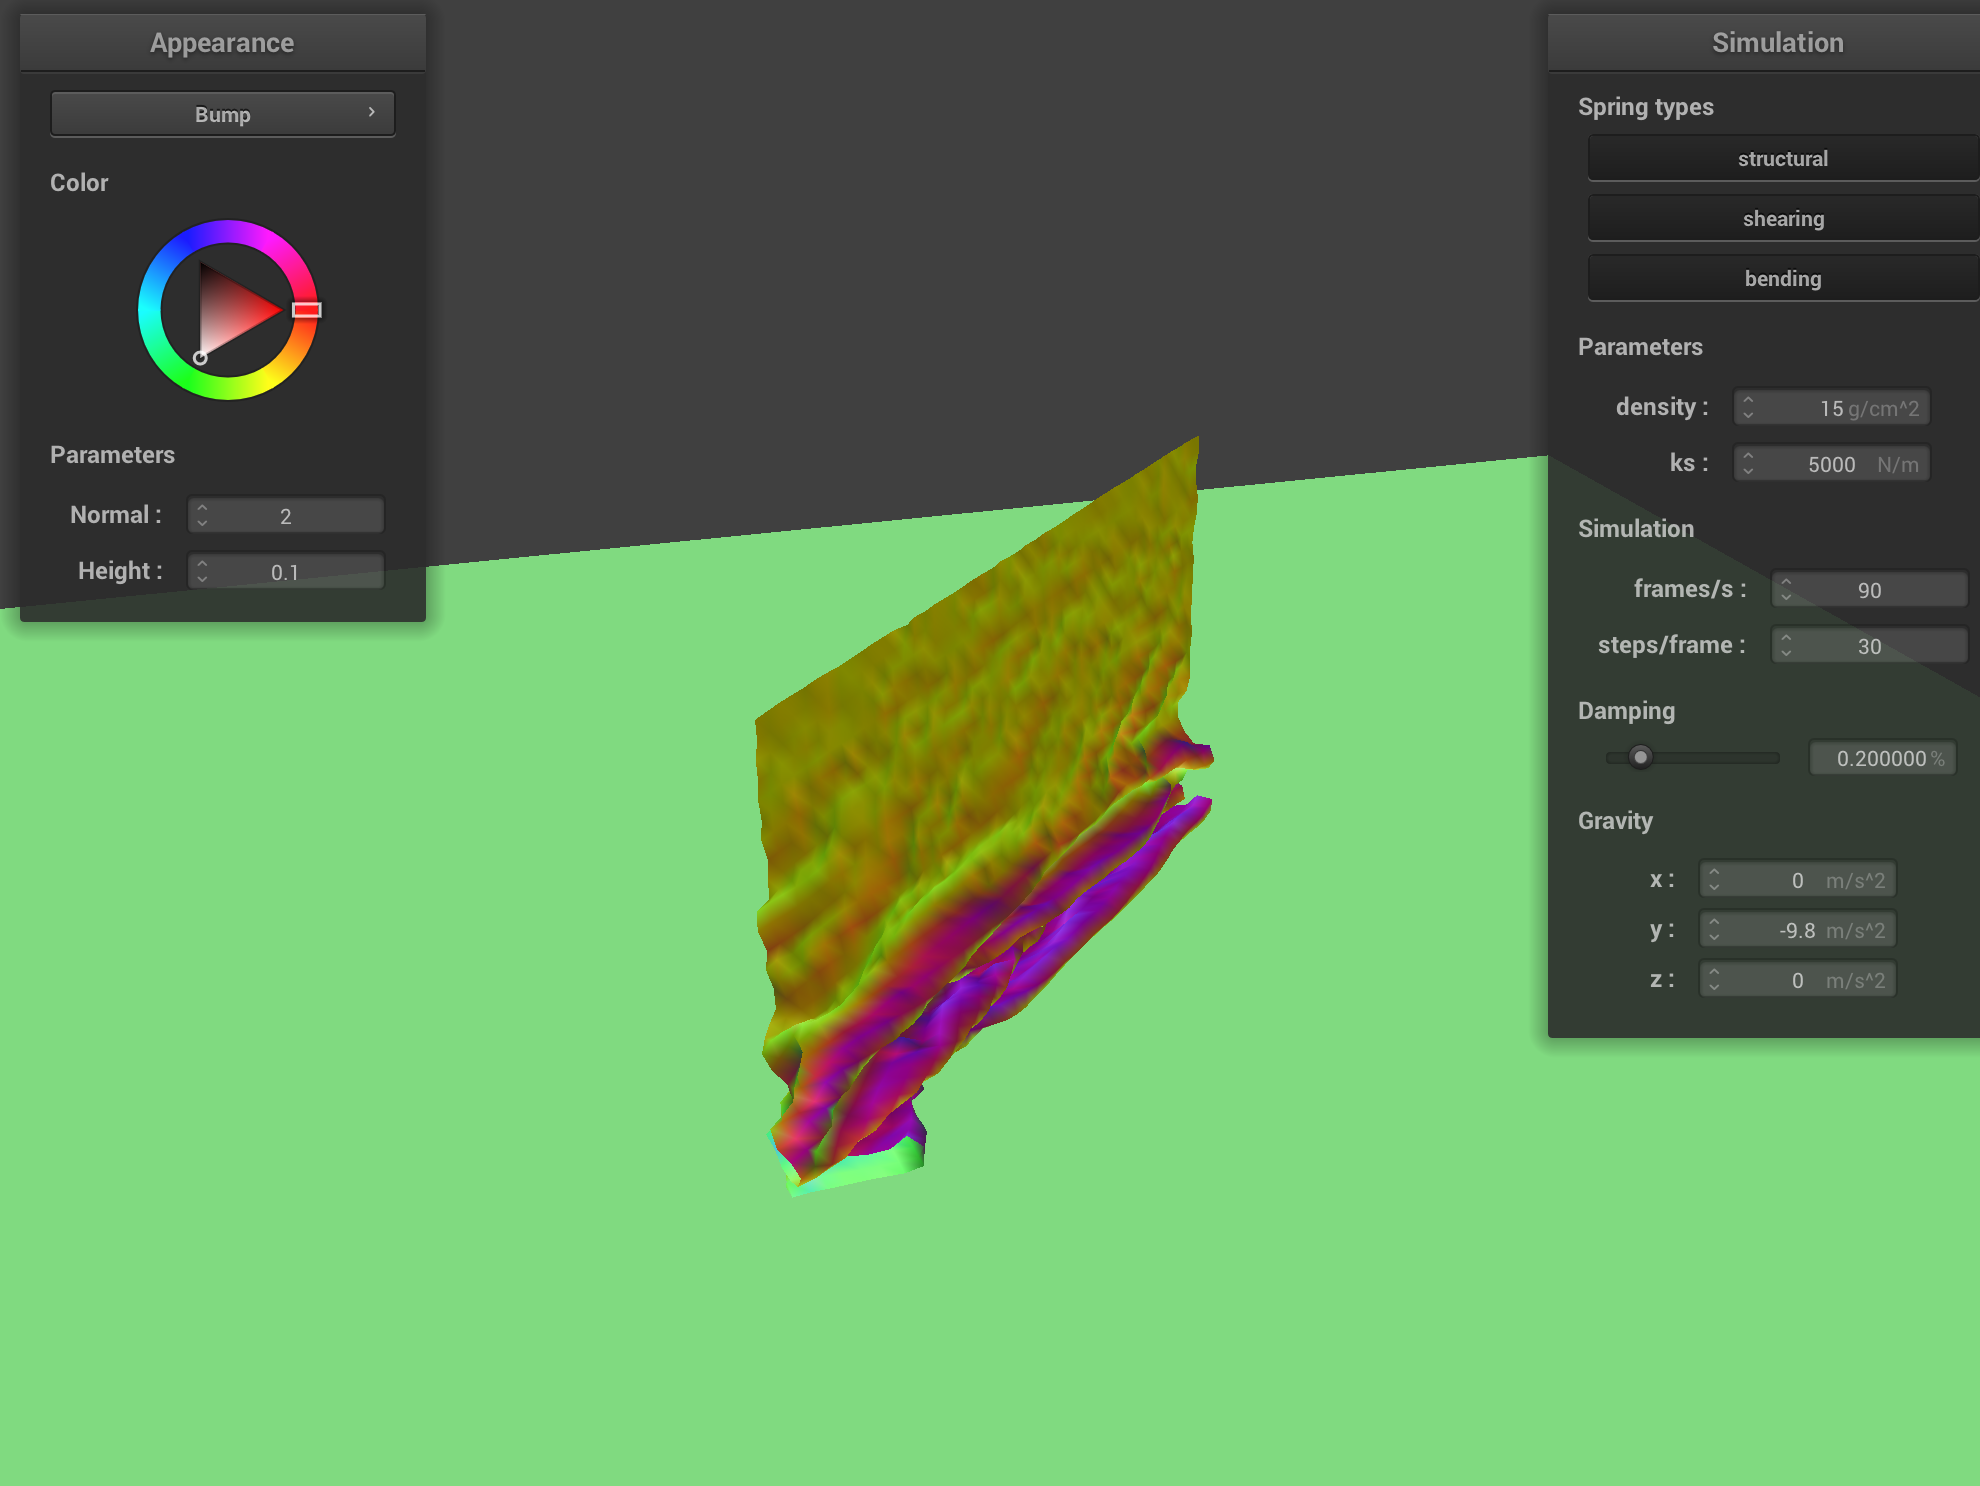
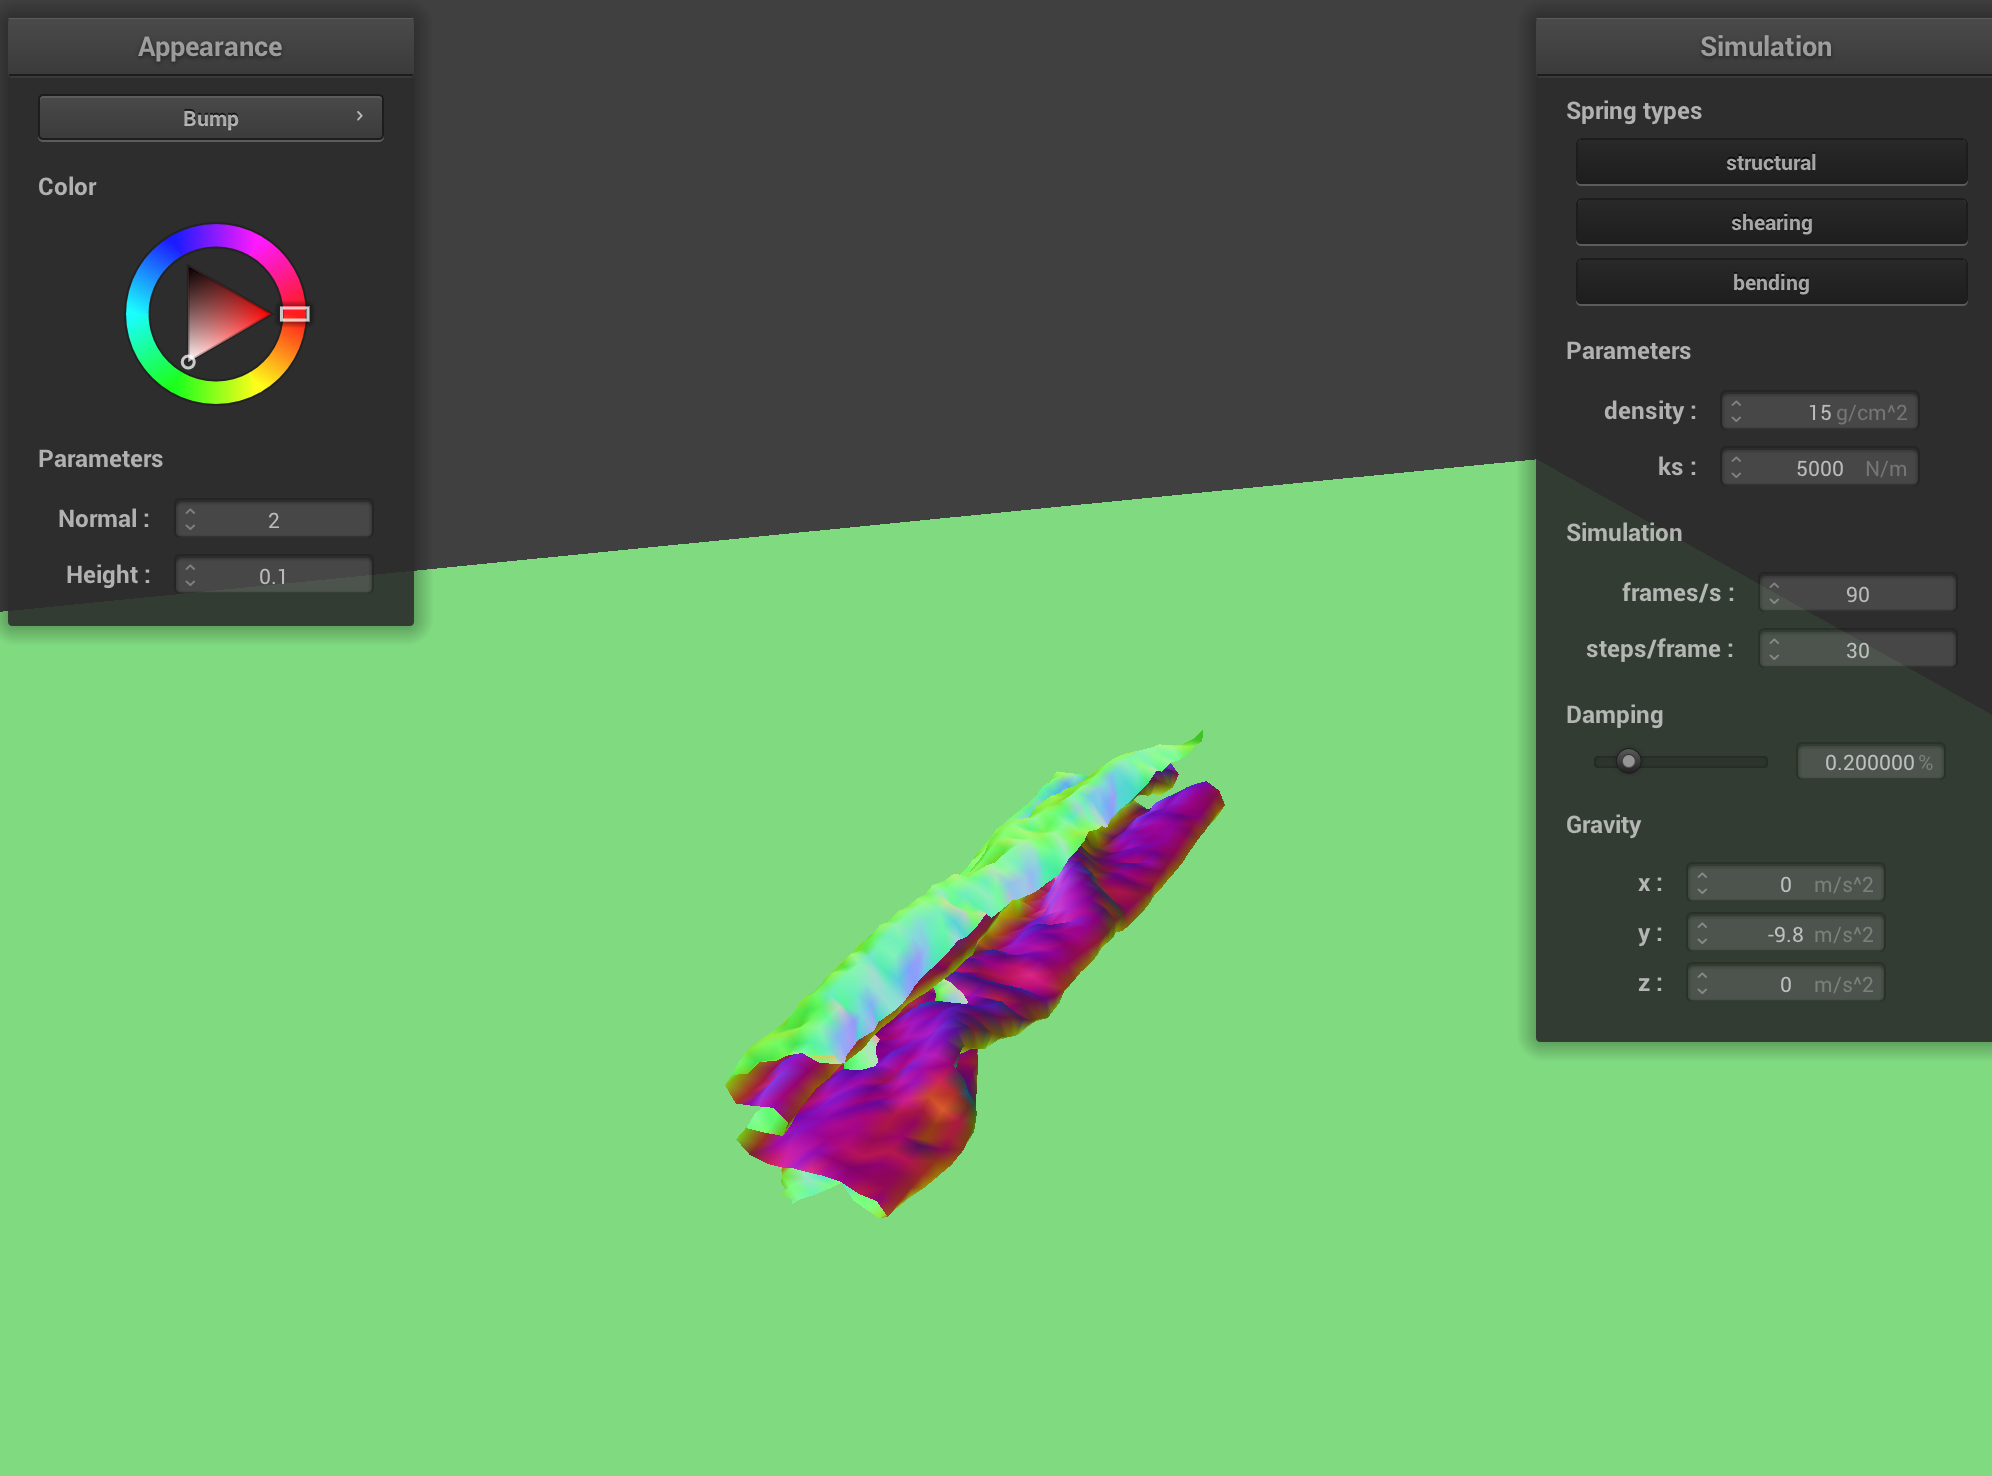
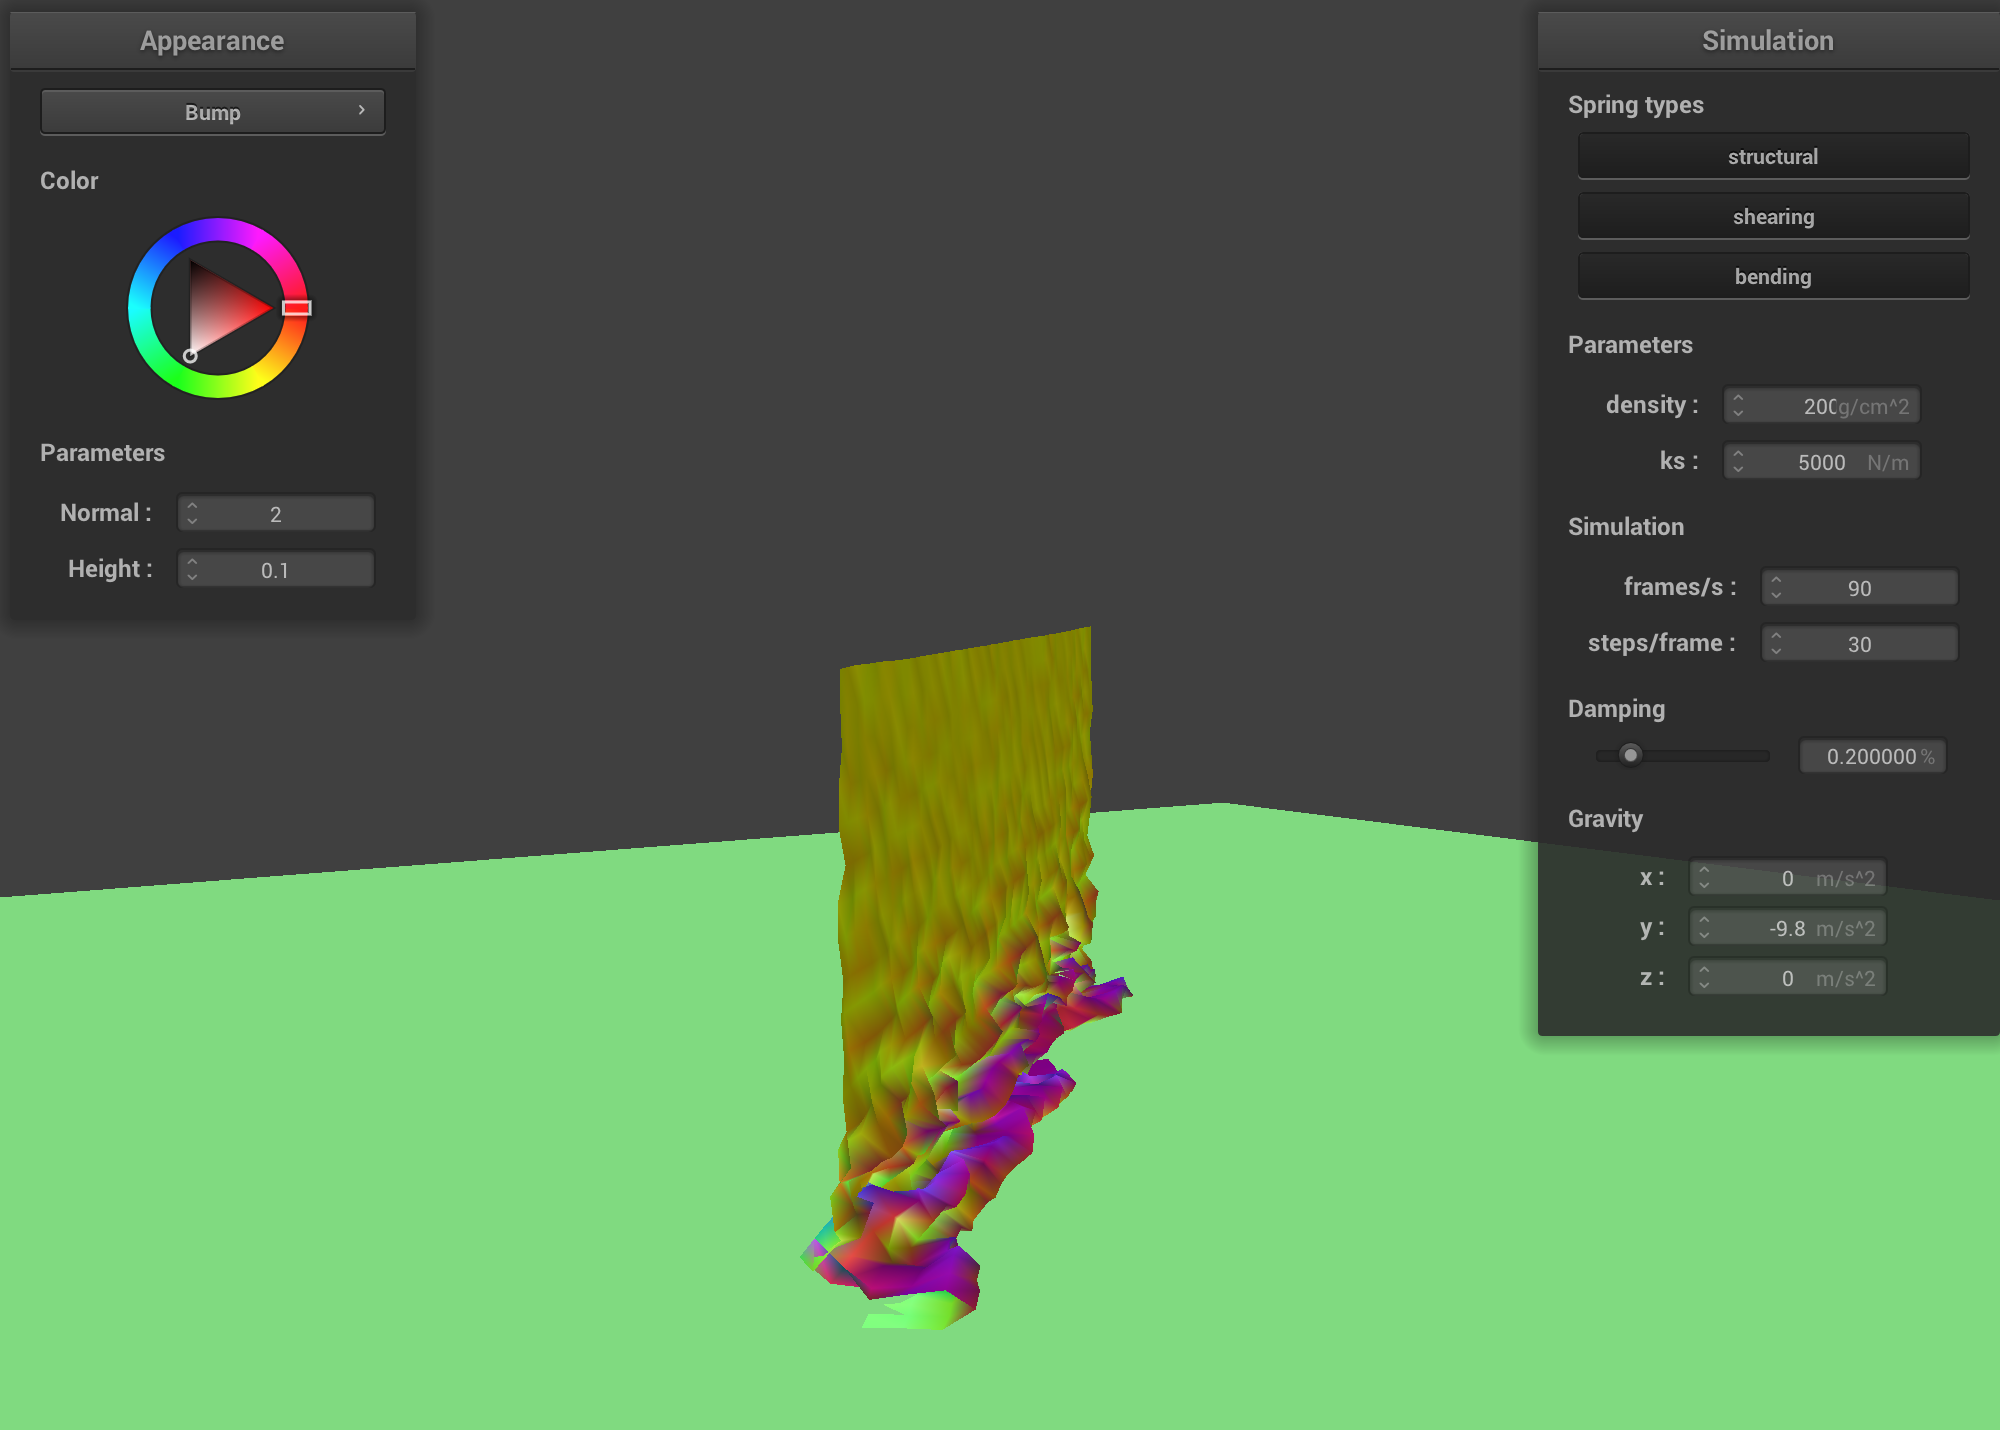
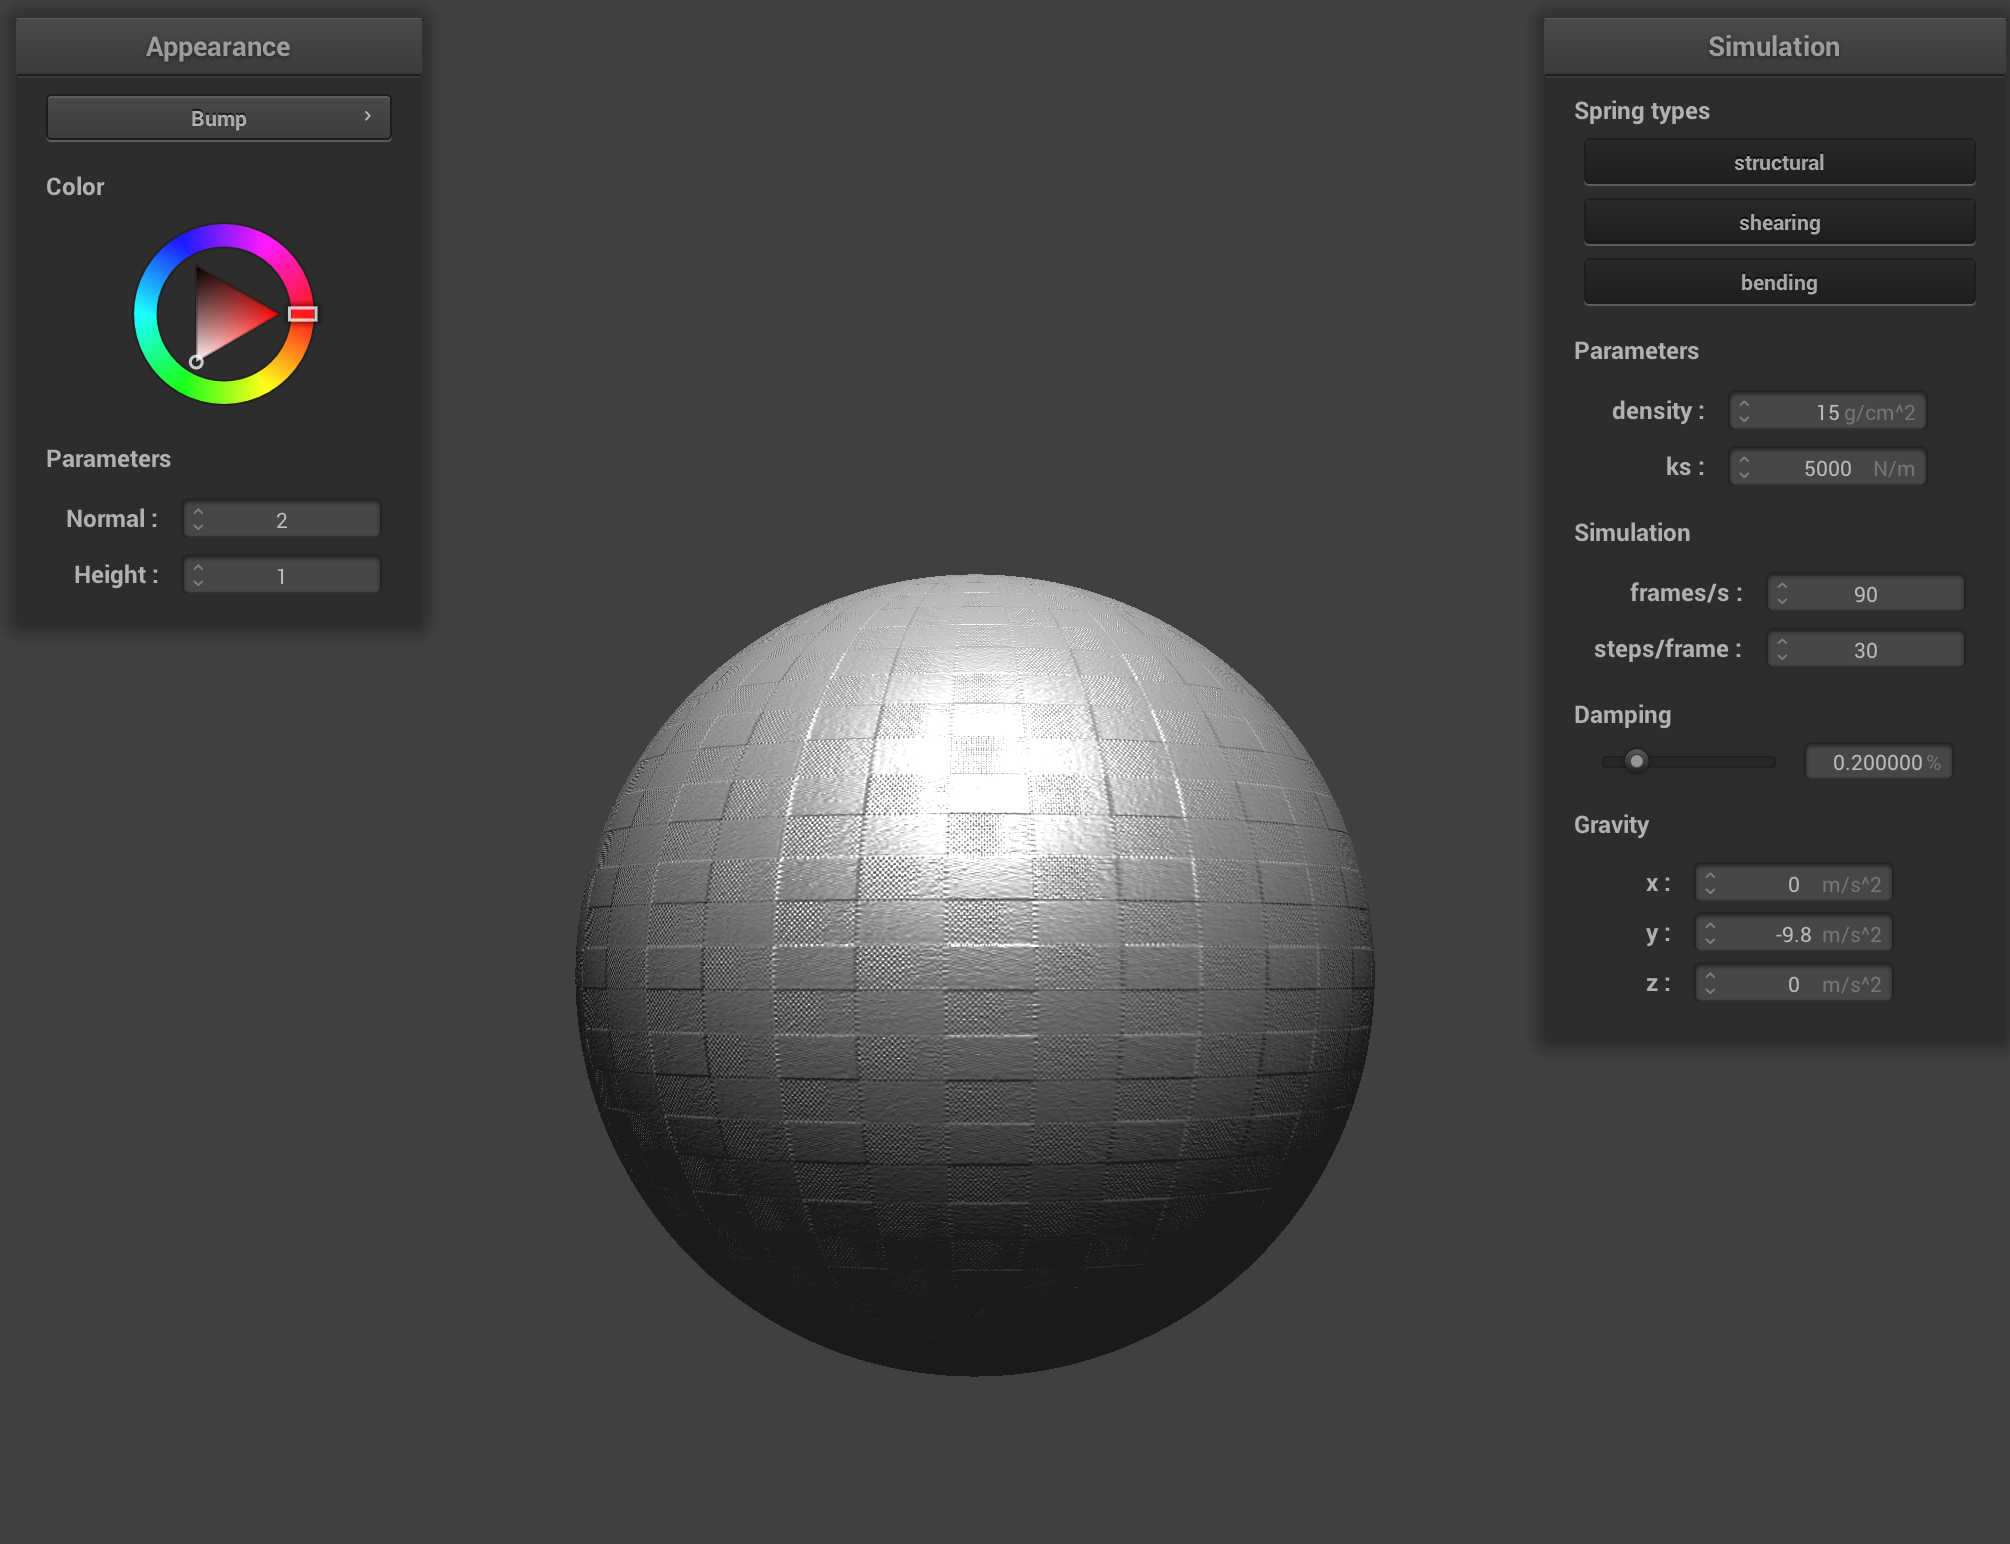
Bump and Displacement Maps
I implemented bump and displacement mapping using the following texture:
For the first row, the surface is sampled at -o 16 -a 16 wile the second is -o 128 -a 128. From this we can see that the bump map performs better for the former while the displacement map performs better/is more accurate of the texture for the latter.
Because bump mapping only affects lighting its appearance is pretty consistent across course and fine sampling resulting in similar textures (with (-o 128 -a 128) being a bit finer in detail) across courseness. Displacement mapping uses height information, as a result the geometry iteself is altered. Therefore for course mesh, with fewer verticies, the mapping becomes blocky and results aren't that good. A fine mesh (-o 128 -a 128) greatly benefits as the more verticies results in a more naturla curvature and refined representation of the texture details.

|

|
|

|
Mirror

|
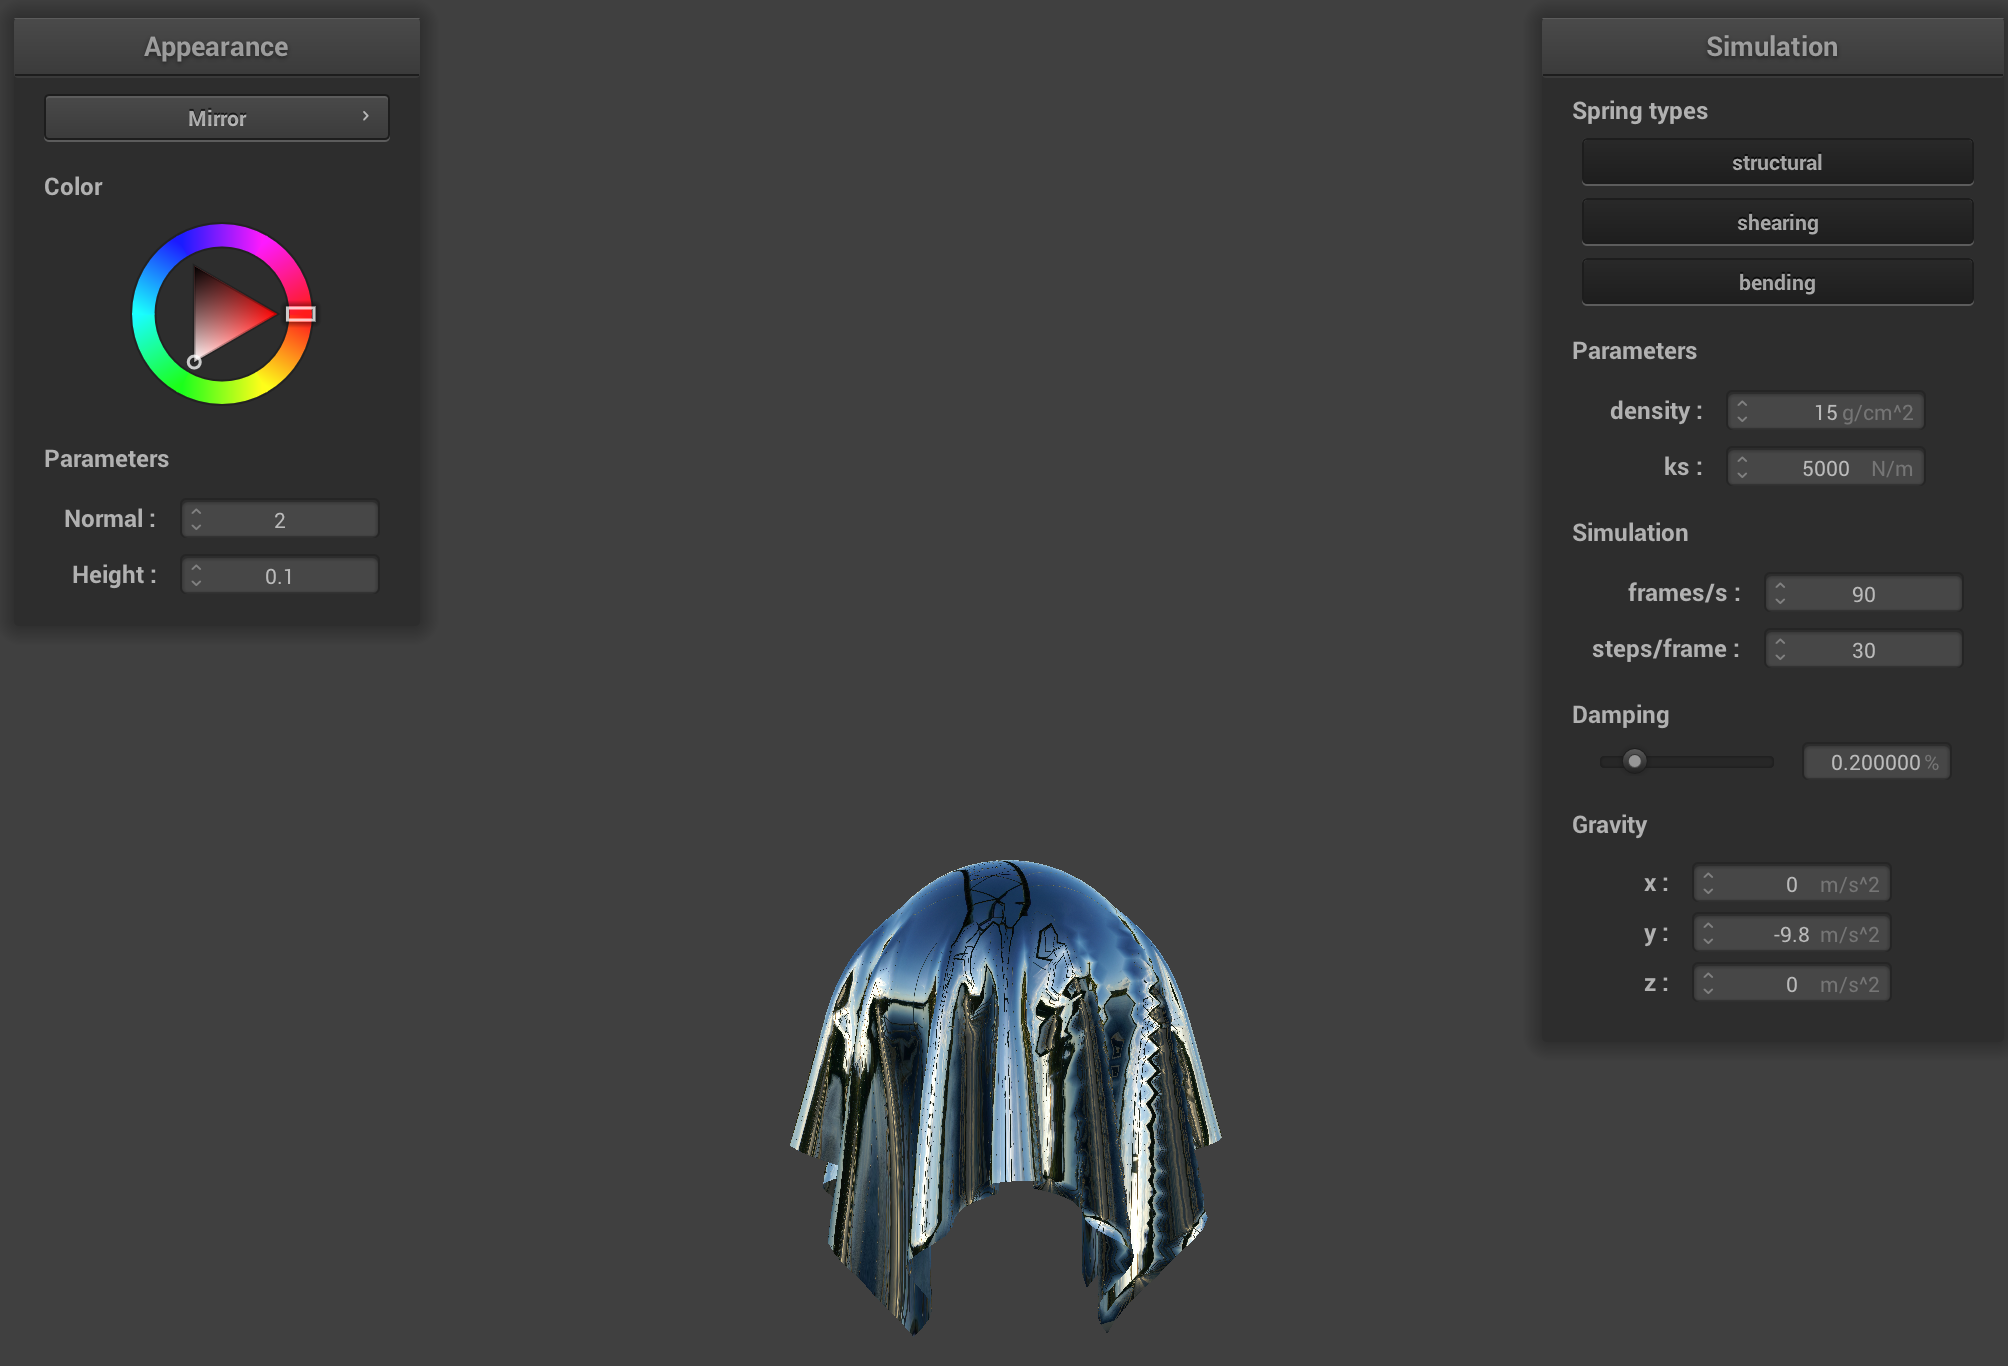
|
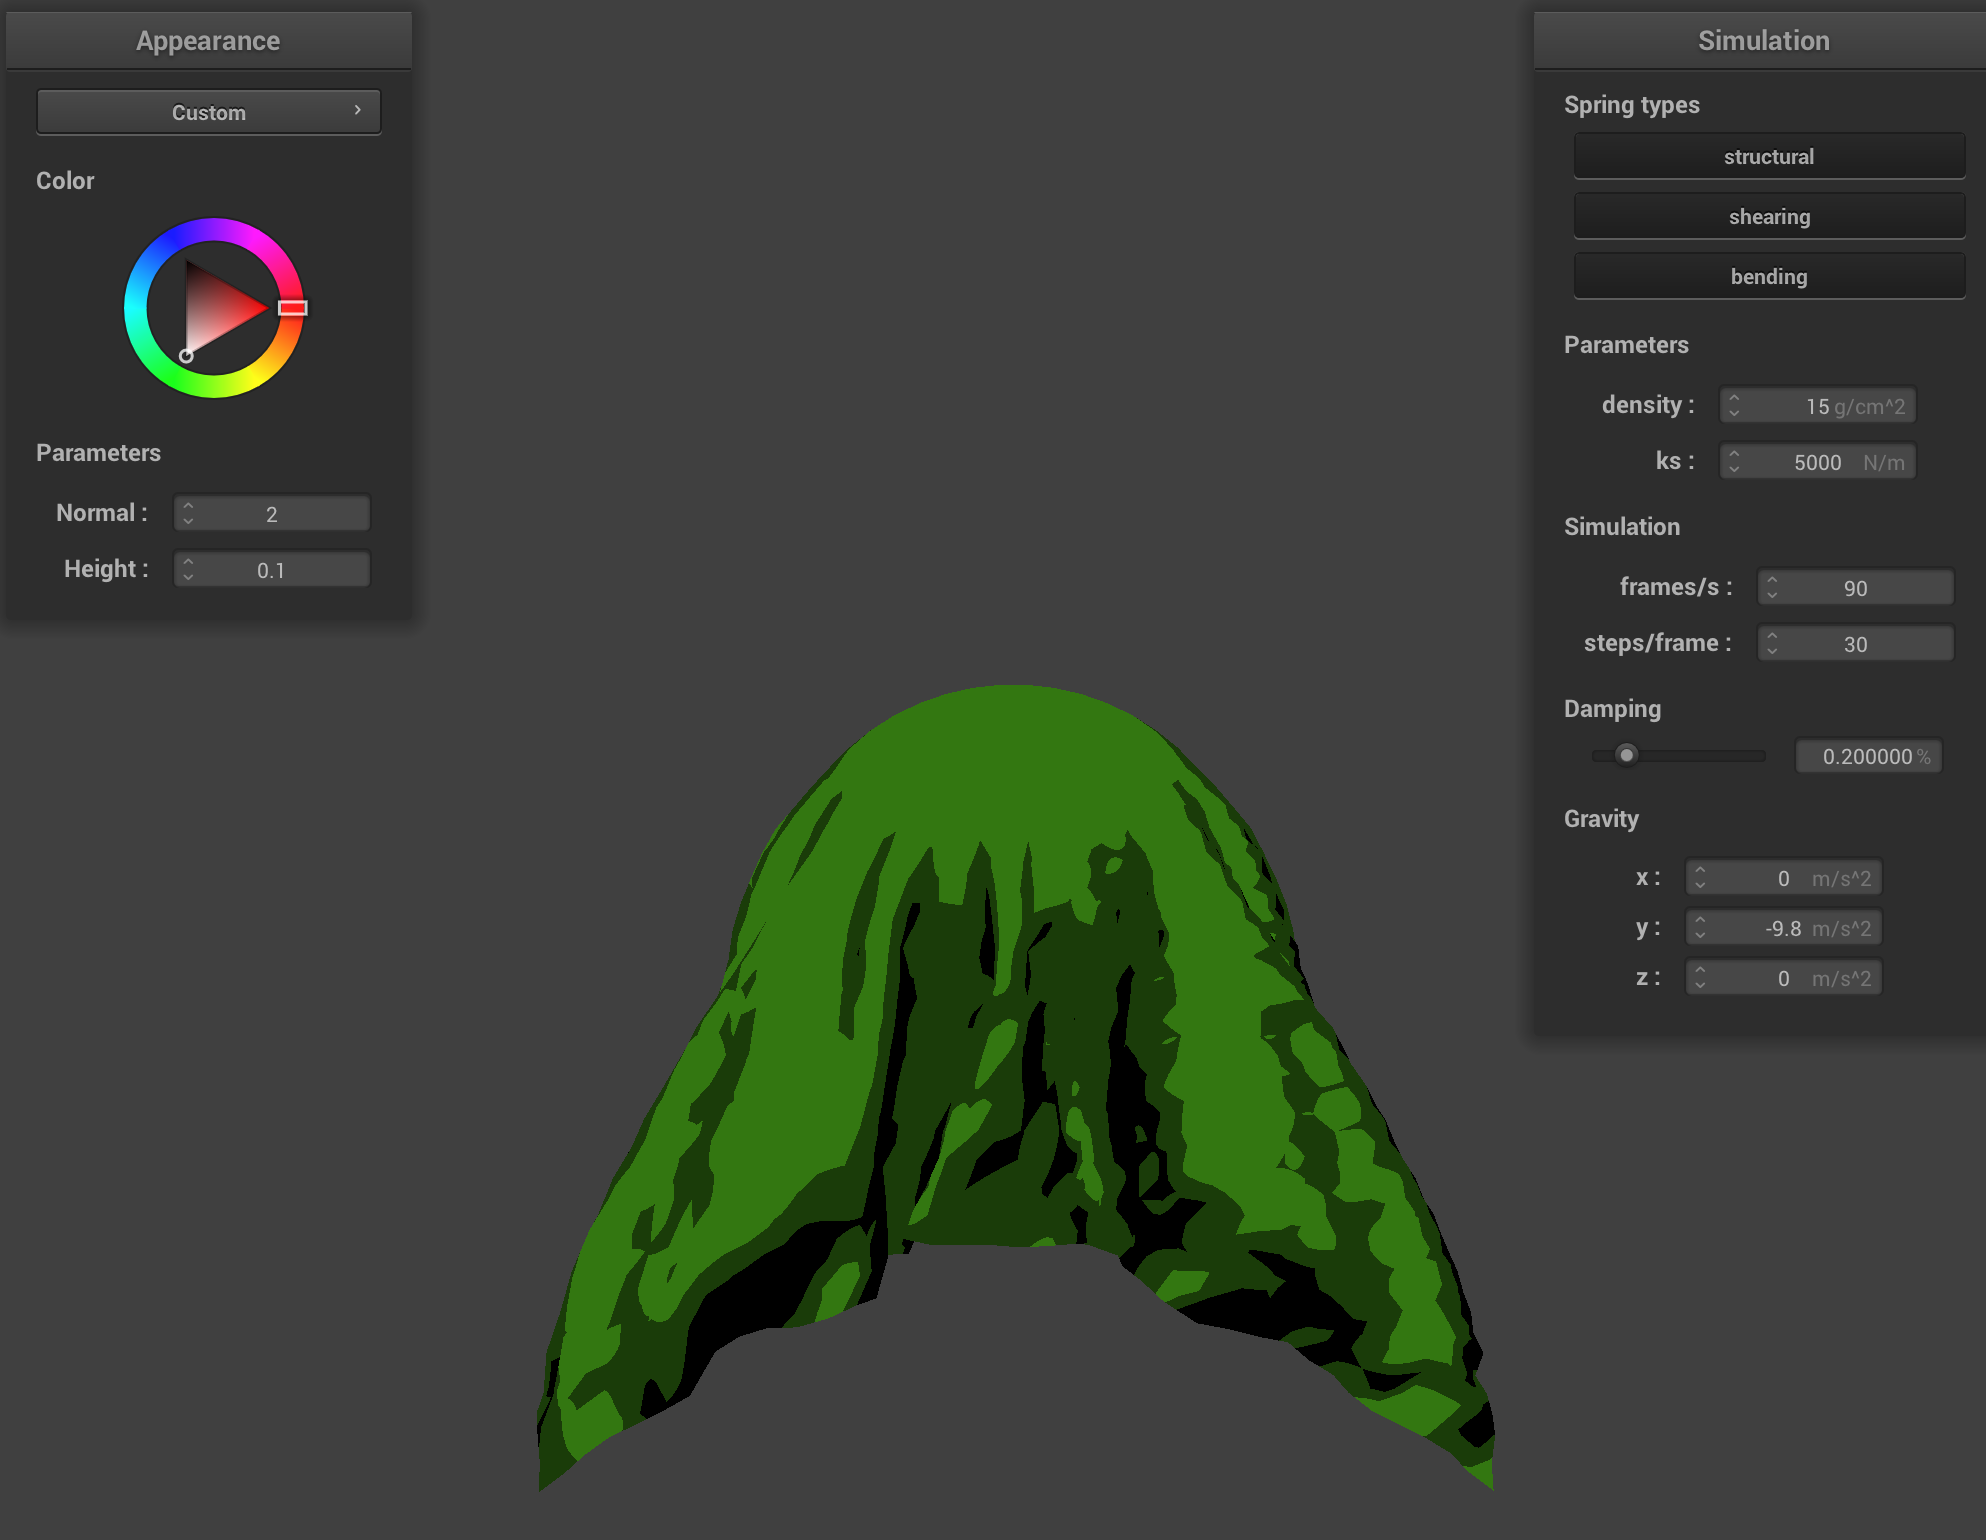
Custom
To create a cartoon like shading, I restricted the coloring to n-band, so that it only colors in the different shades of a specific color. It simplifies the gradients of light on a surface so that instead of smooth transitions you get distinct bands of brightness. To restrict to n-bands, I multiply the diffuse term by the number of desired bands and round to the nearest integer, cutting continuous values into discrete ones. Below is an example of a 4-band and 3-band shading.

|
|